Customer Sites
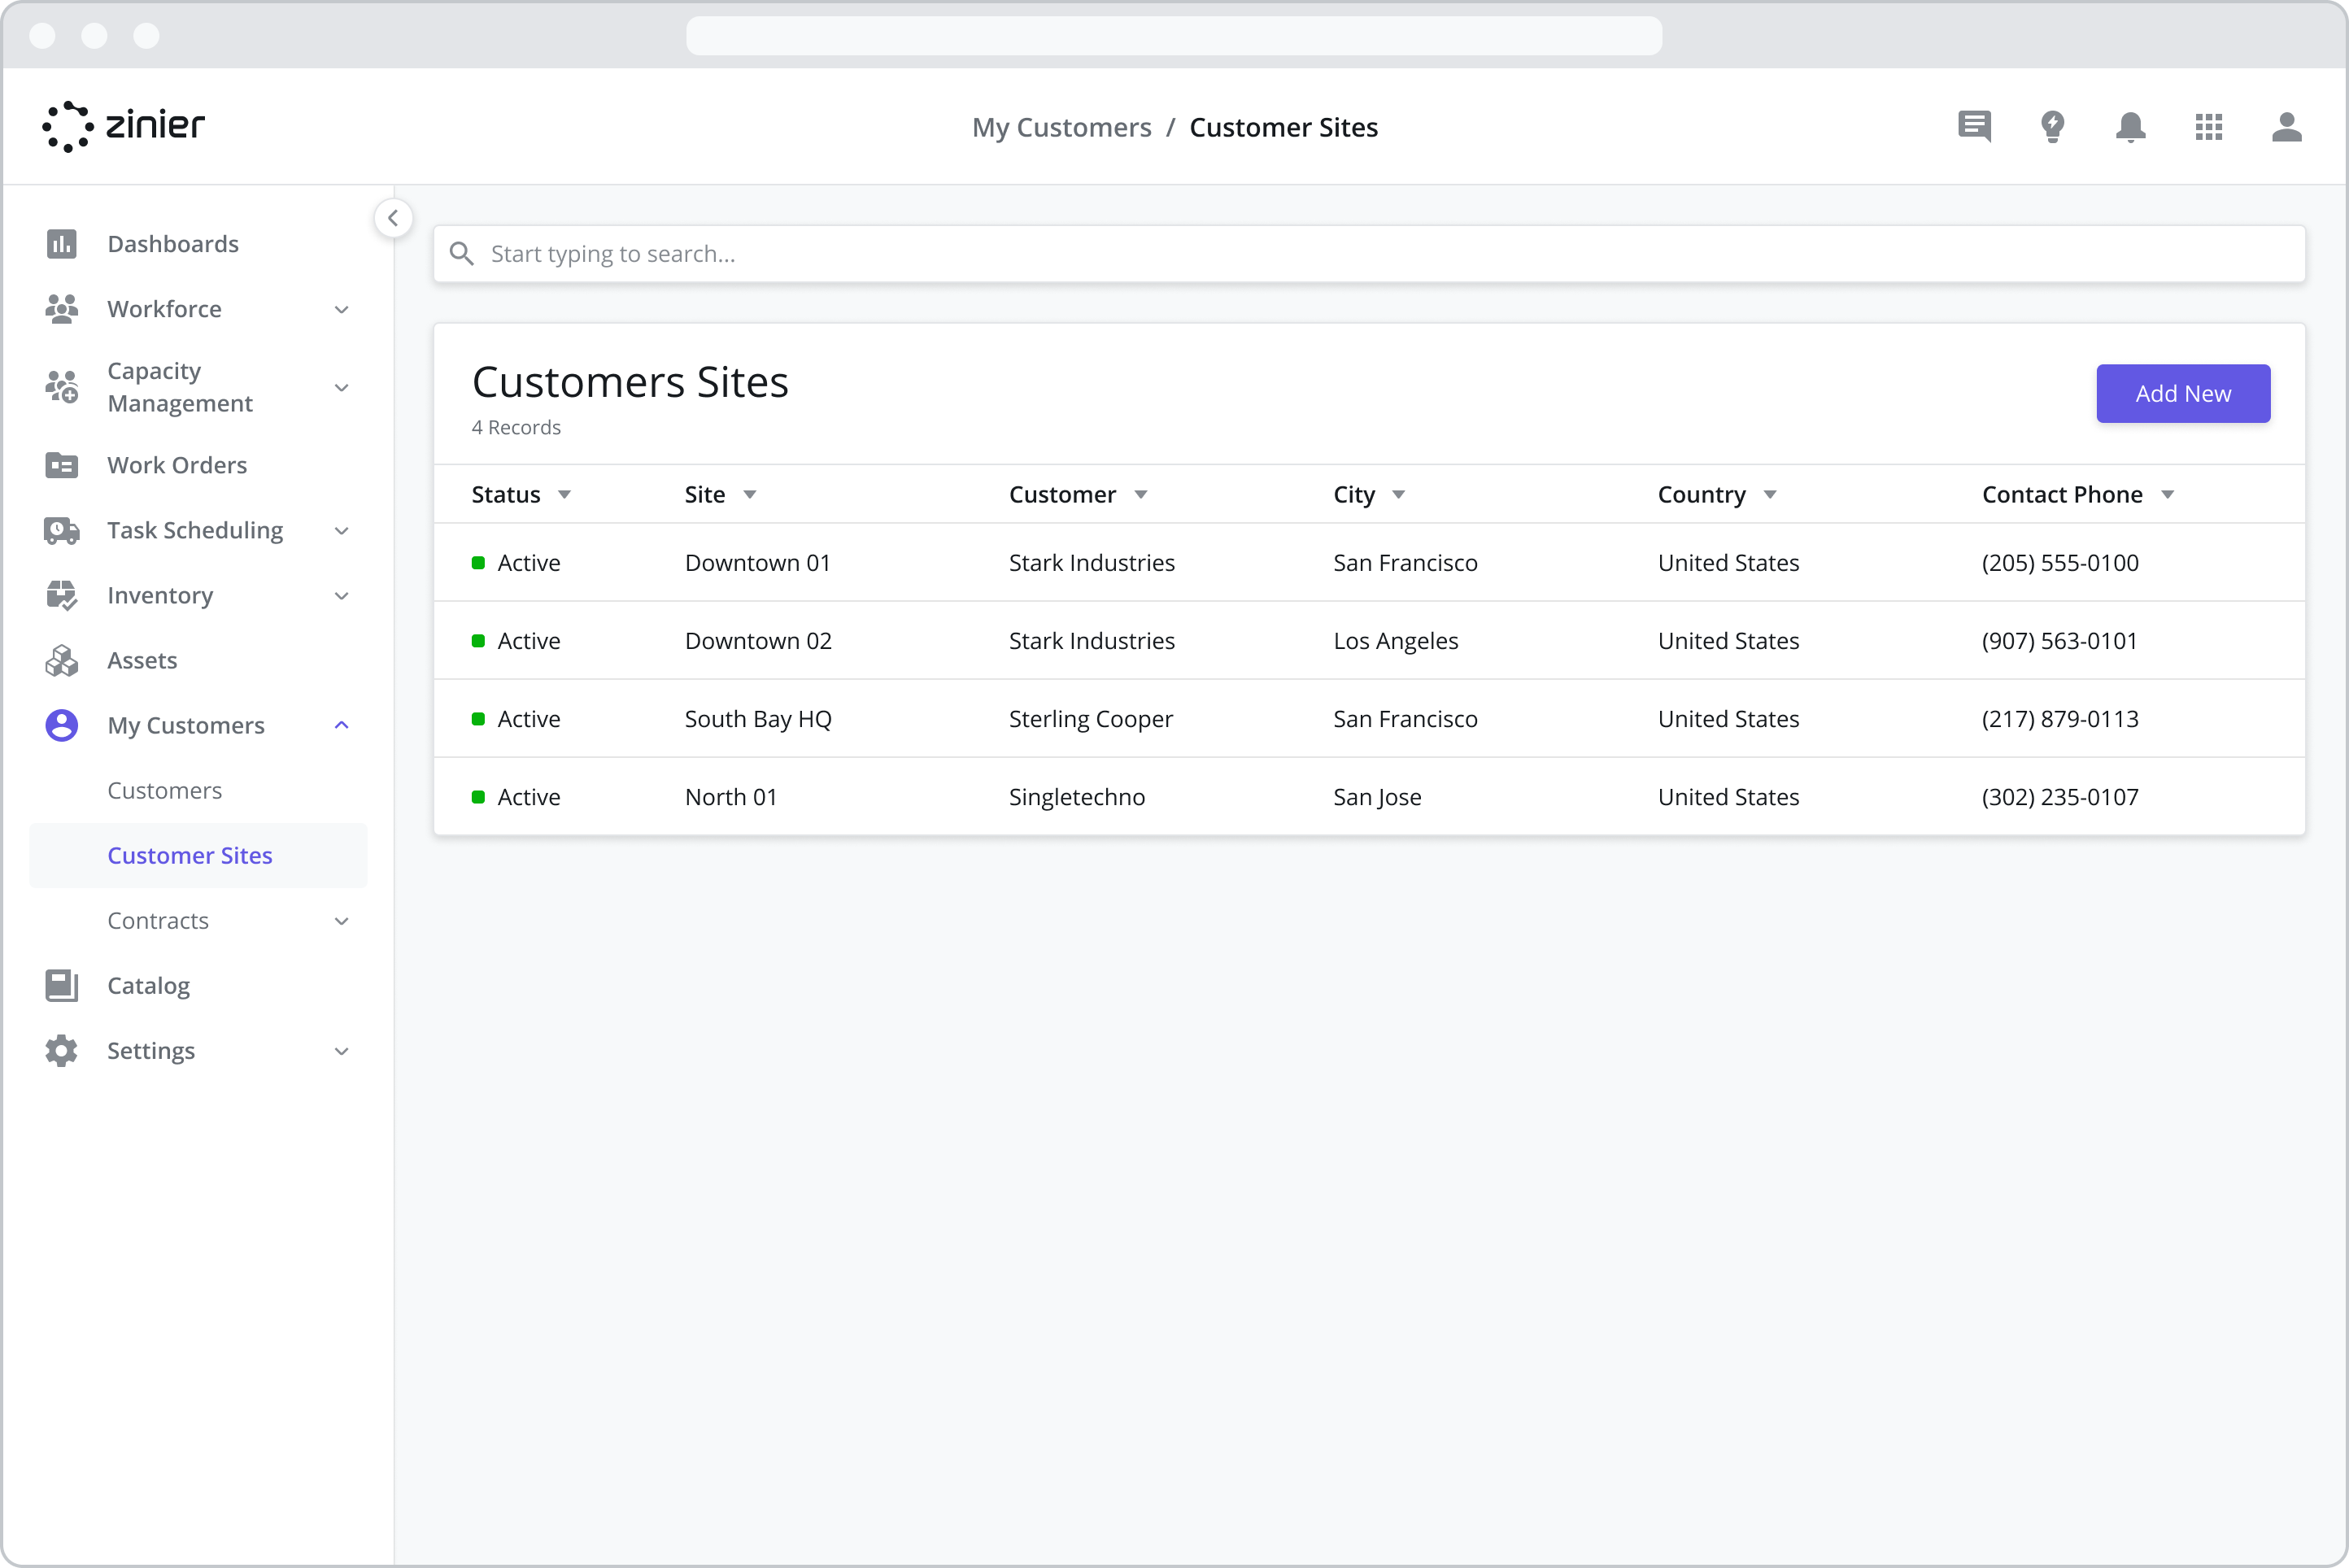
Customer Sites are key records used in several places across the product. They serve as the location for an Asset associated with a customer AND the location where Tasks are performed in the field.
Adding New Customer Sites
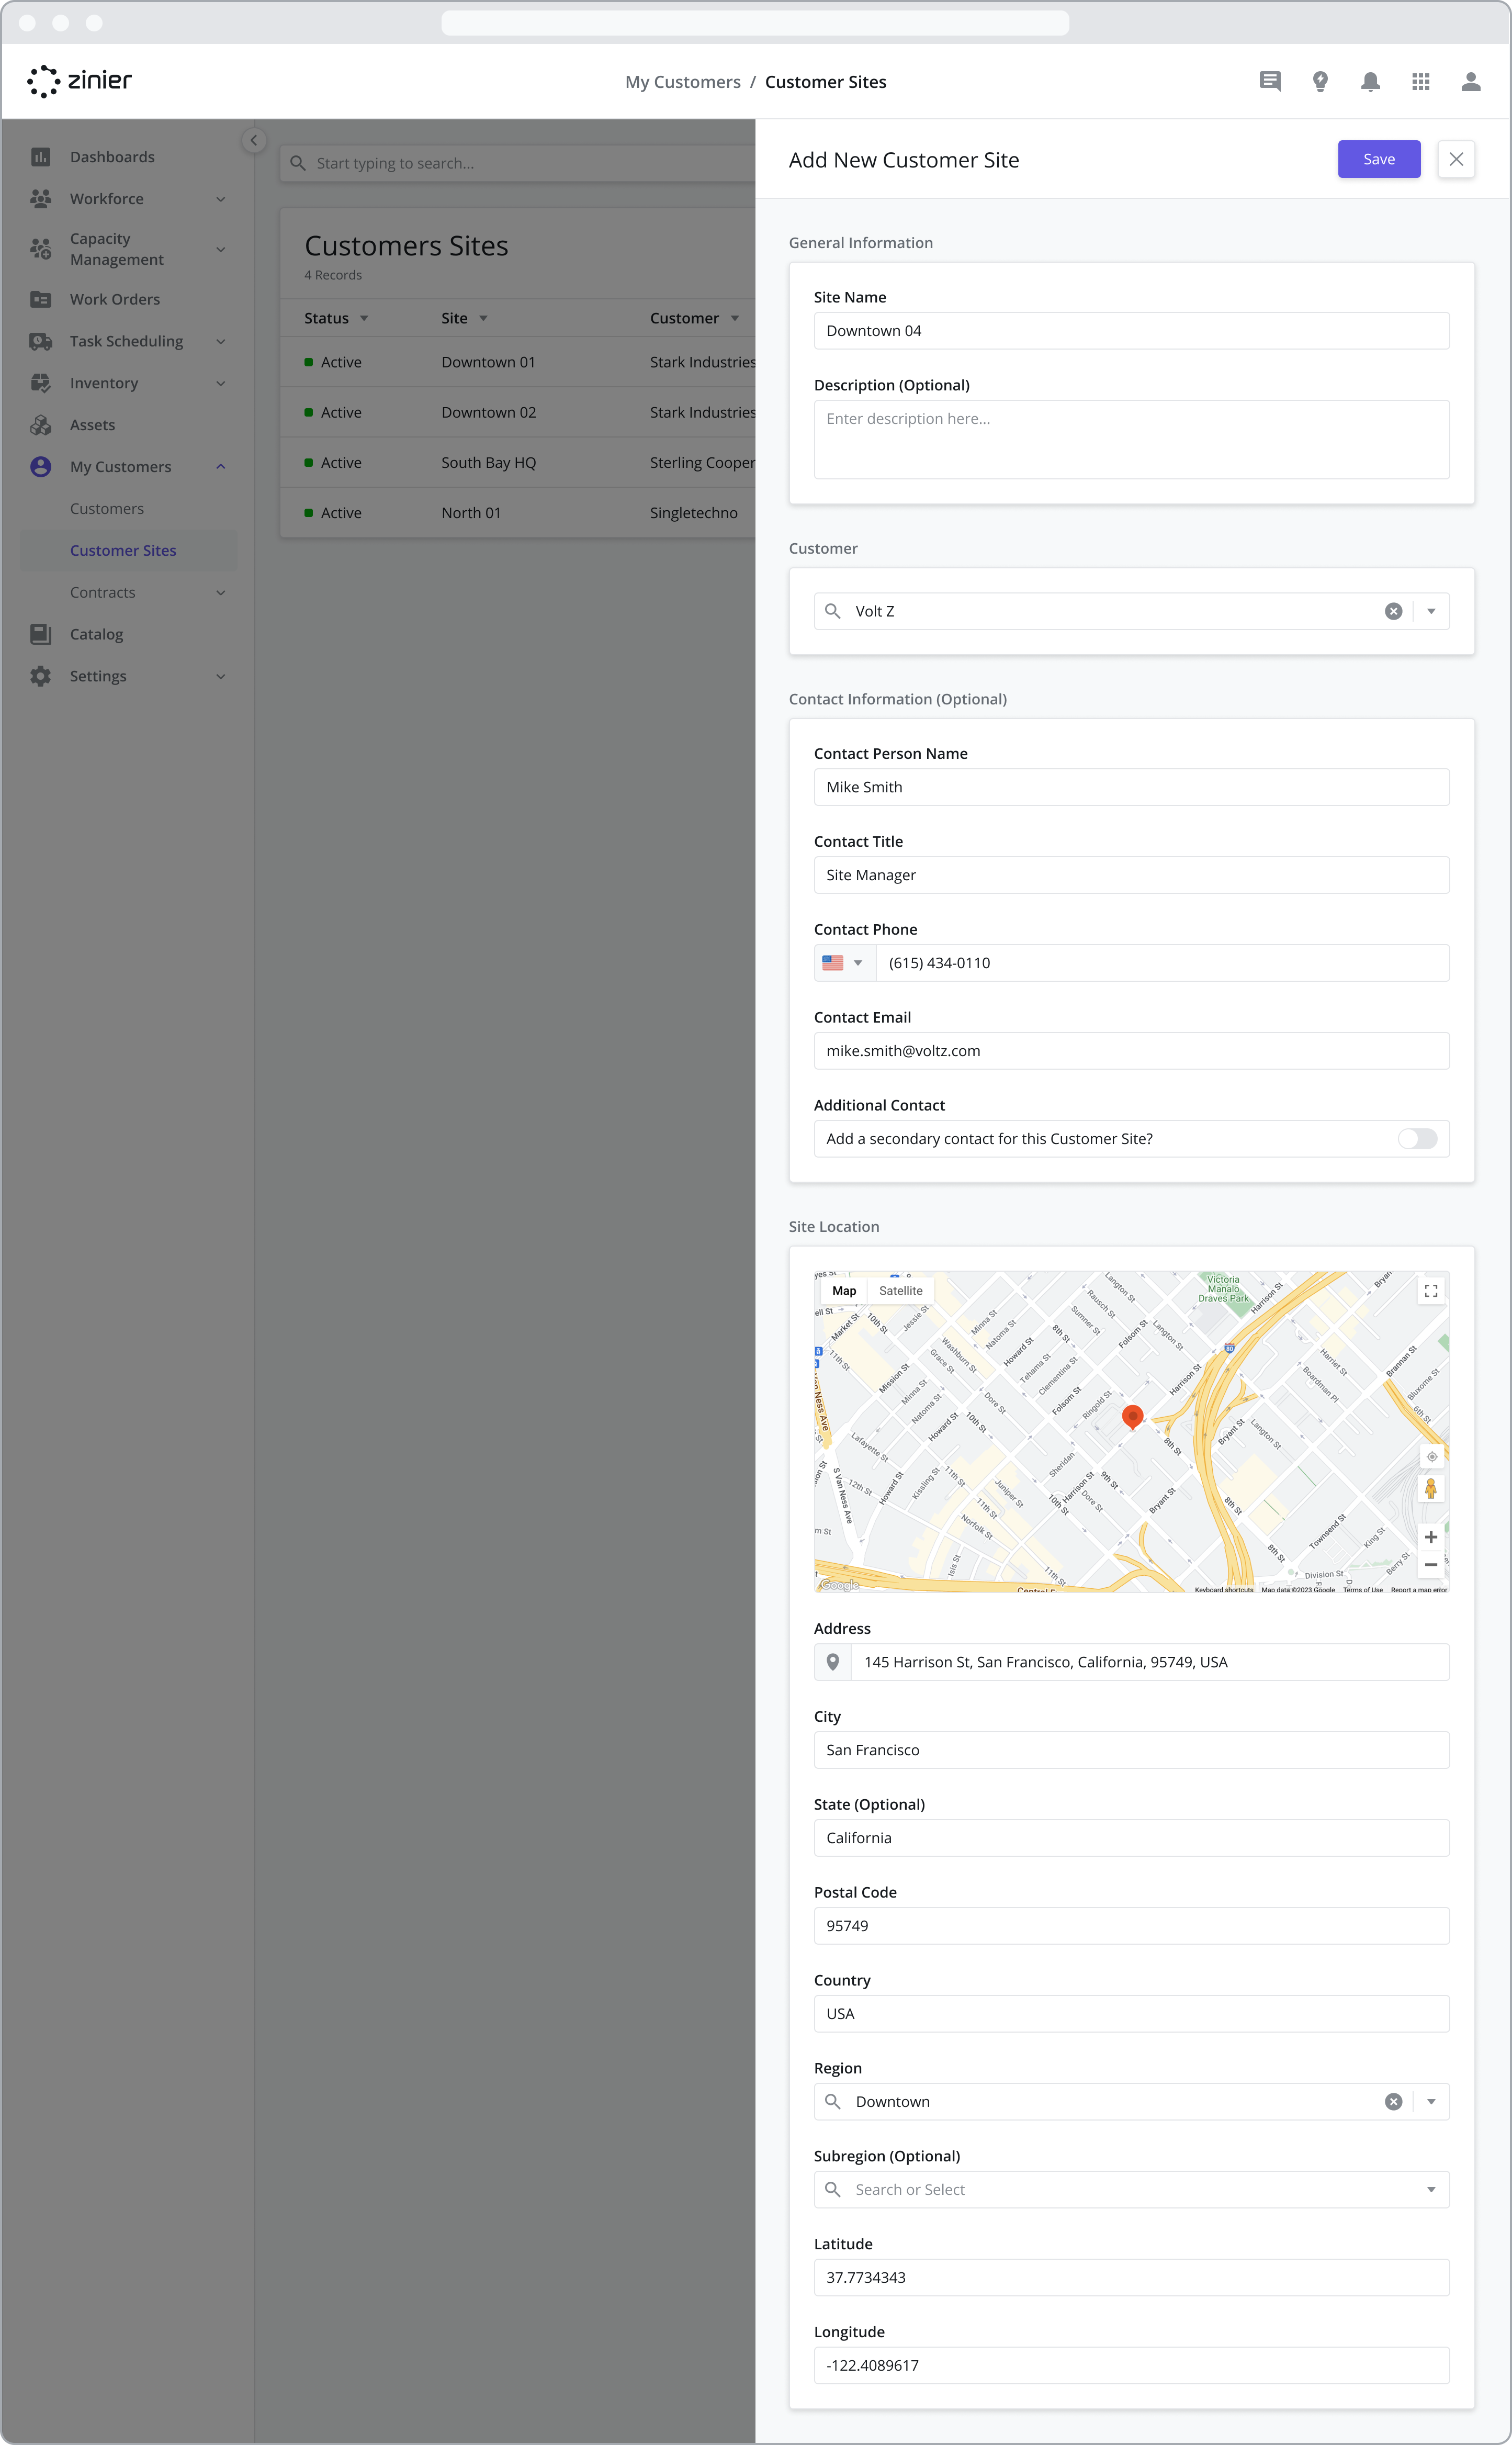
To add a new Customer Site, follow the steps below:
Go to the My Customers > Customer Sites module
Click the “Add New” button from the data grid
Enter a Name and Description (Optional)
Select the Customer associated with the site from the searchable dropdown menu
Enter the Contact Information (Optional). After selecting the Customer, this information will be auto-populated from the same section in the Customer sidepanel but can be overridden
Enter the Location Information including the address and region / sub-region if applicable (see below)
Click Save and Continue
Site Locations: Provide Latitude / Longitude via Google Maps API
Add the address of a Customer Site using Google Maps. Google Maps will provide the Lat / Long of the site address based on the input in the Address field. But you also have the option of providing your own specific Lat / Long -- especially useful if the address is not well documented by Google Maps.
The Lat / Long is important as it is used as the check-in location when a tech is assigned to a task at the site.
Assign Regions / Sub-regions
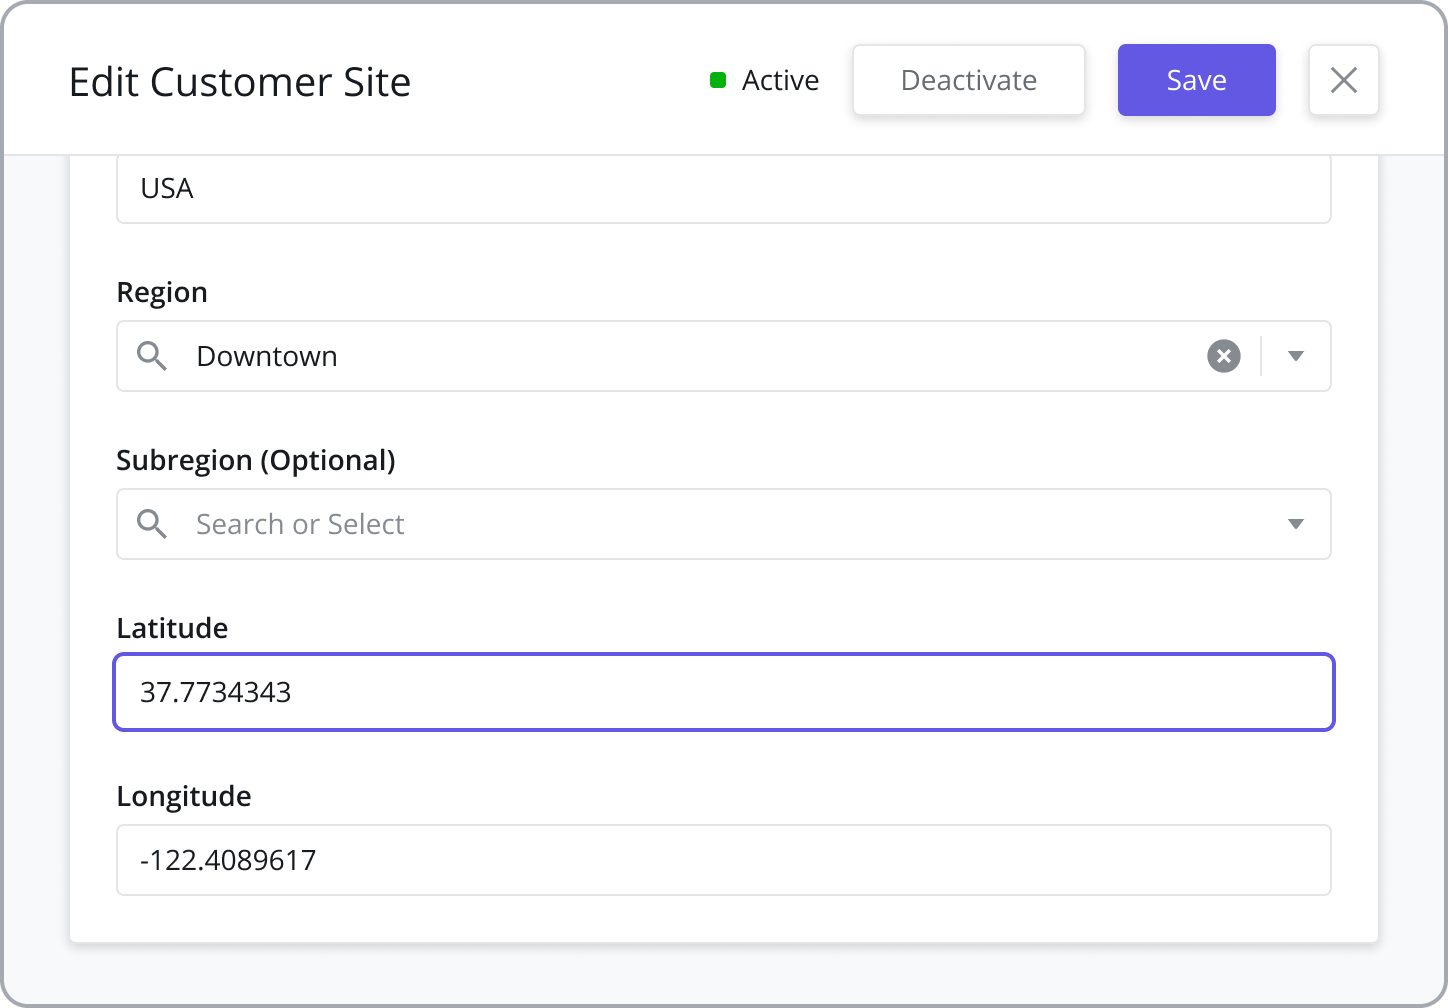
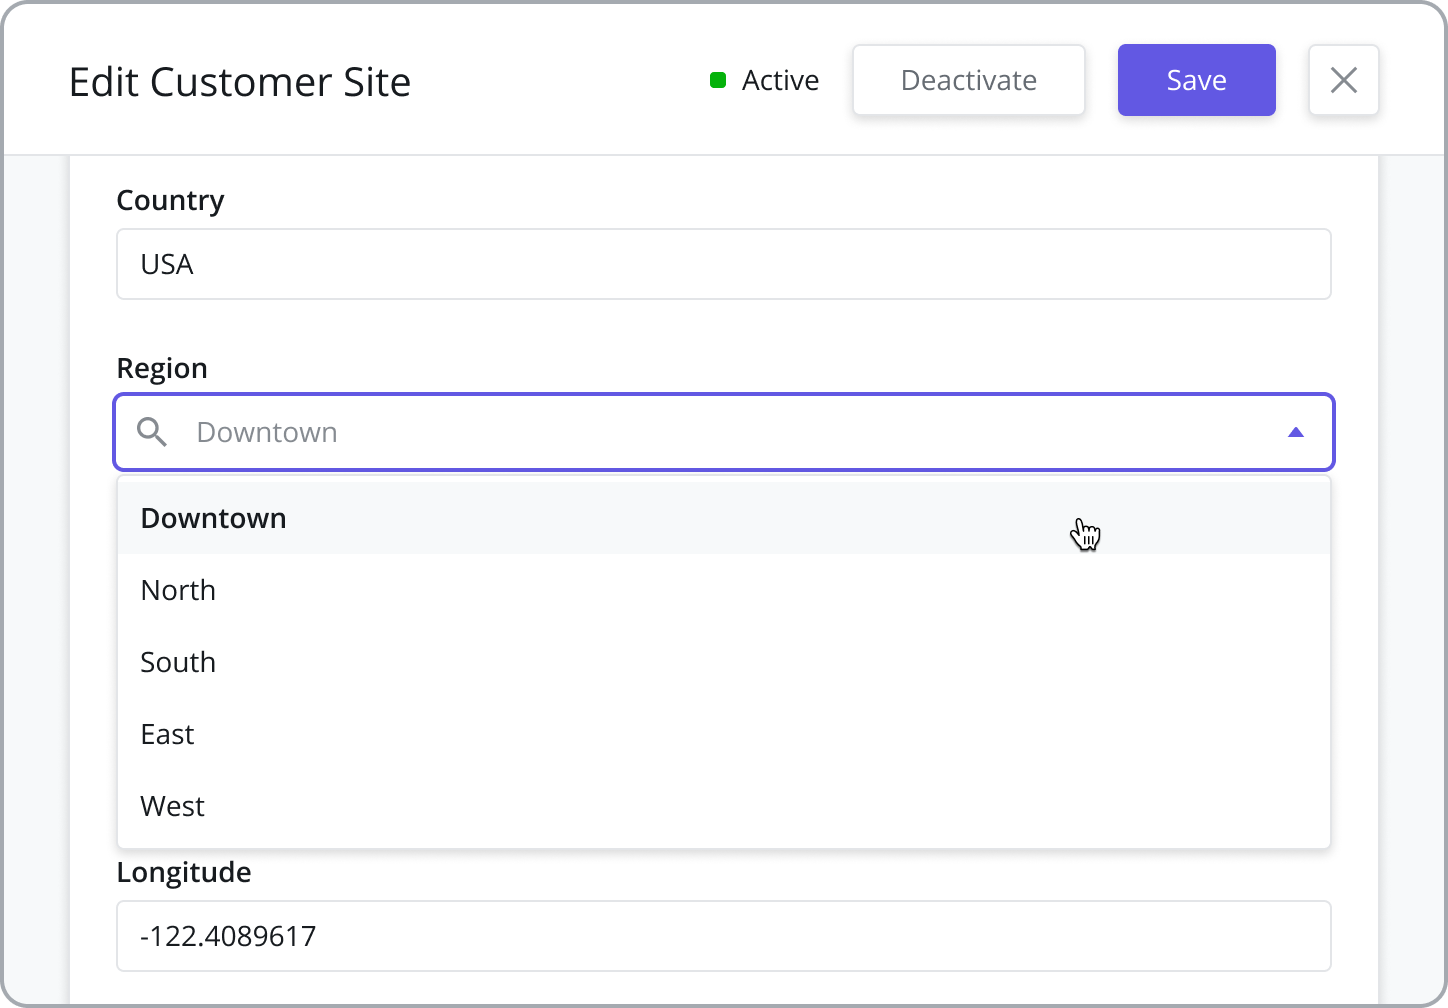
Assign regions and sub-regions to a Customer Site. Regions are (optionally) used as part of the matching criteria when assigning a Technician to a Task at a Customer Site.
IF a technician has been assigned to a Contractor, when the Tech Recommendation attempts to match a Technician with a Task, it will check to see if the Region of the Customer Site matches the Region(s) of the Contractor(s) the Technician is associated with. If the Technician is associated with a Contractor in the same Region as the Customer Site, the Technician can be assigned to Tasks performed at the Customer Site.
Regions must first be added from the Settings > Business Settings > Regions module before they can be assigned to the Customer Site. For more information on adding and configuring Regions, refer to Customer and Customer Site Settings.
Customer Site Status
Active: After creating a Customer Site, the status will automatically change to “Active.” This makes the Customer Site visible within the applicable modules across the Productivity Suite. For example:
Customer Sites and Tasks: Tasks added to Work Orders must have an “Active” Customer Site which indicates the location where the task will be performed in the field.
Customers in Contracts: “Active” Customers are used when creating Contracts and must be created before creating a Contract.
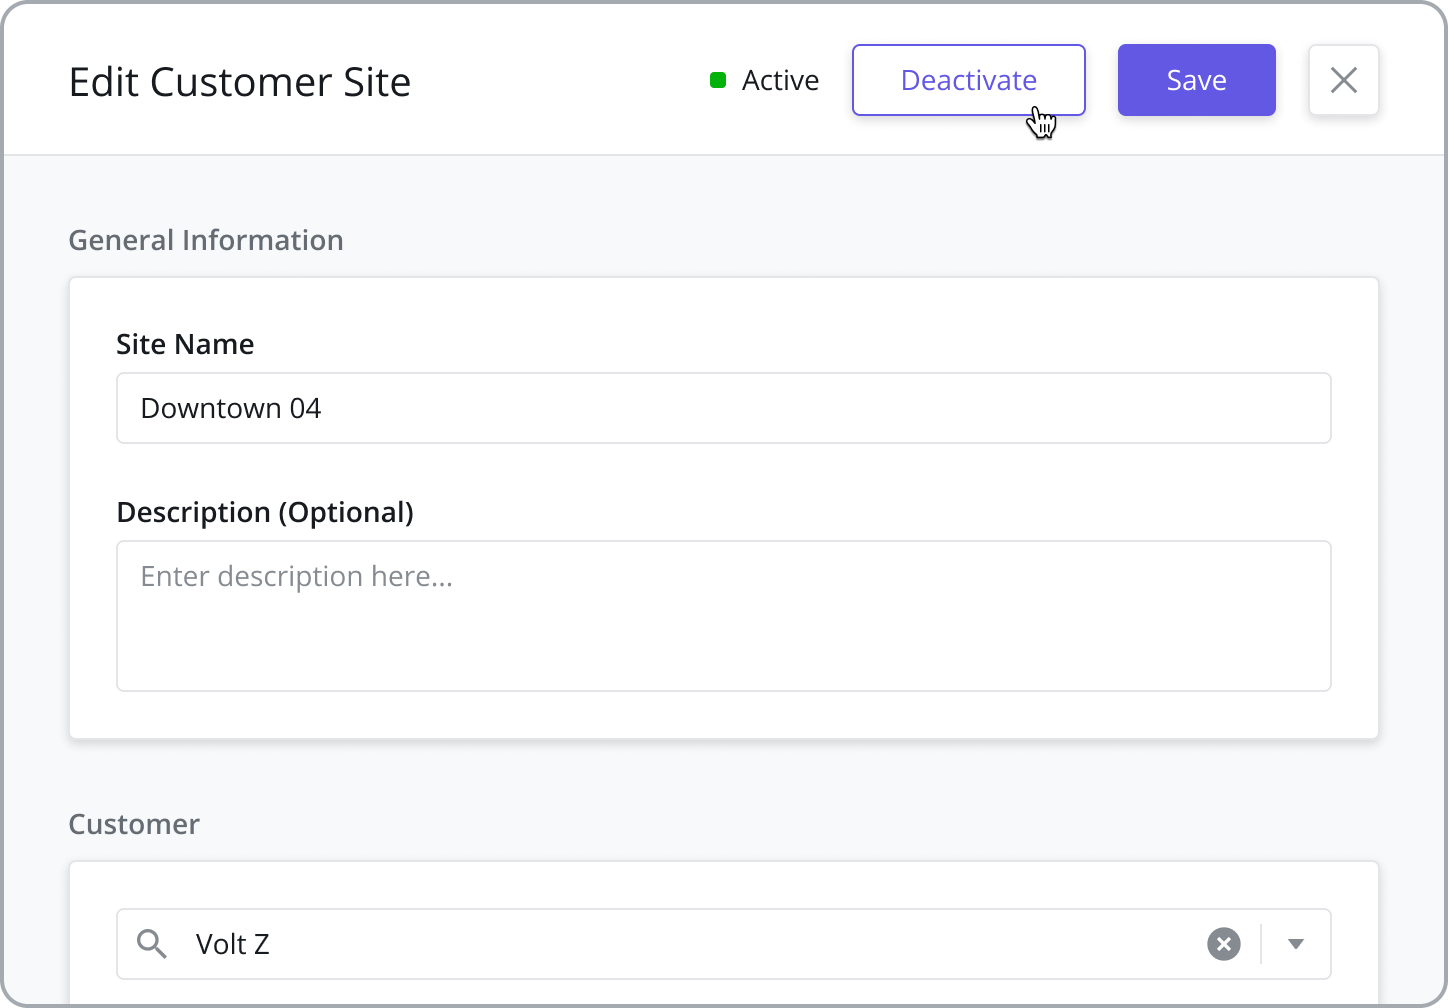
Deactivated: Customers can be “Deactivated”, which will hide the Customer from use. To “Deactivate” a Customer, open the Customer sidepanel and click the “Deactivate” button. Customers can be reactivated at any time by clicking the “Reactivate” button on the same sidepanel.
CAUTION: Deactivating a Customer will also deactivate all Customer Sites tied to that Customer, cancel any Contracts tied to the Customer and cancel any existing Work Orders and Tasks tied to that Customer.
