User Guide: Workflow Builder v2.0
This is a new feature to look out for in our ISAC 3.5 release.
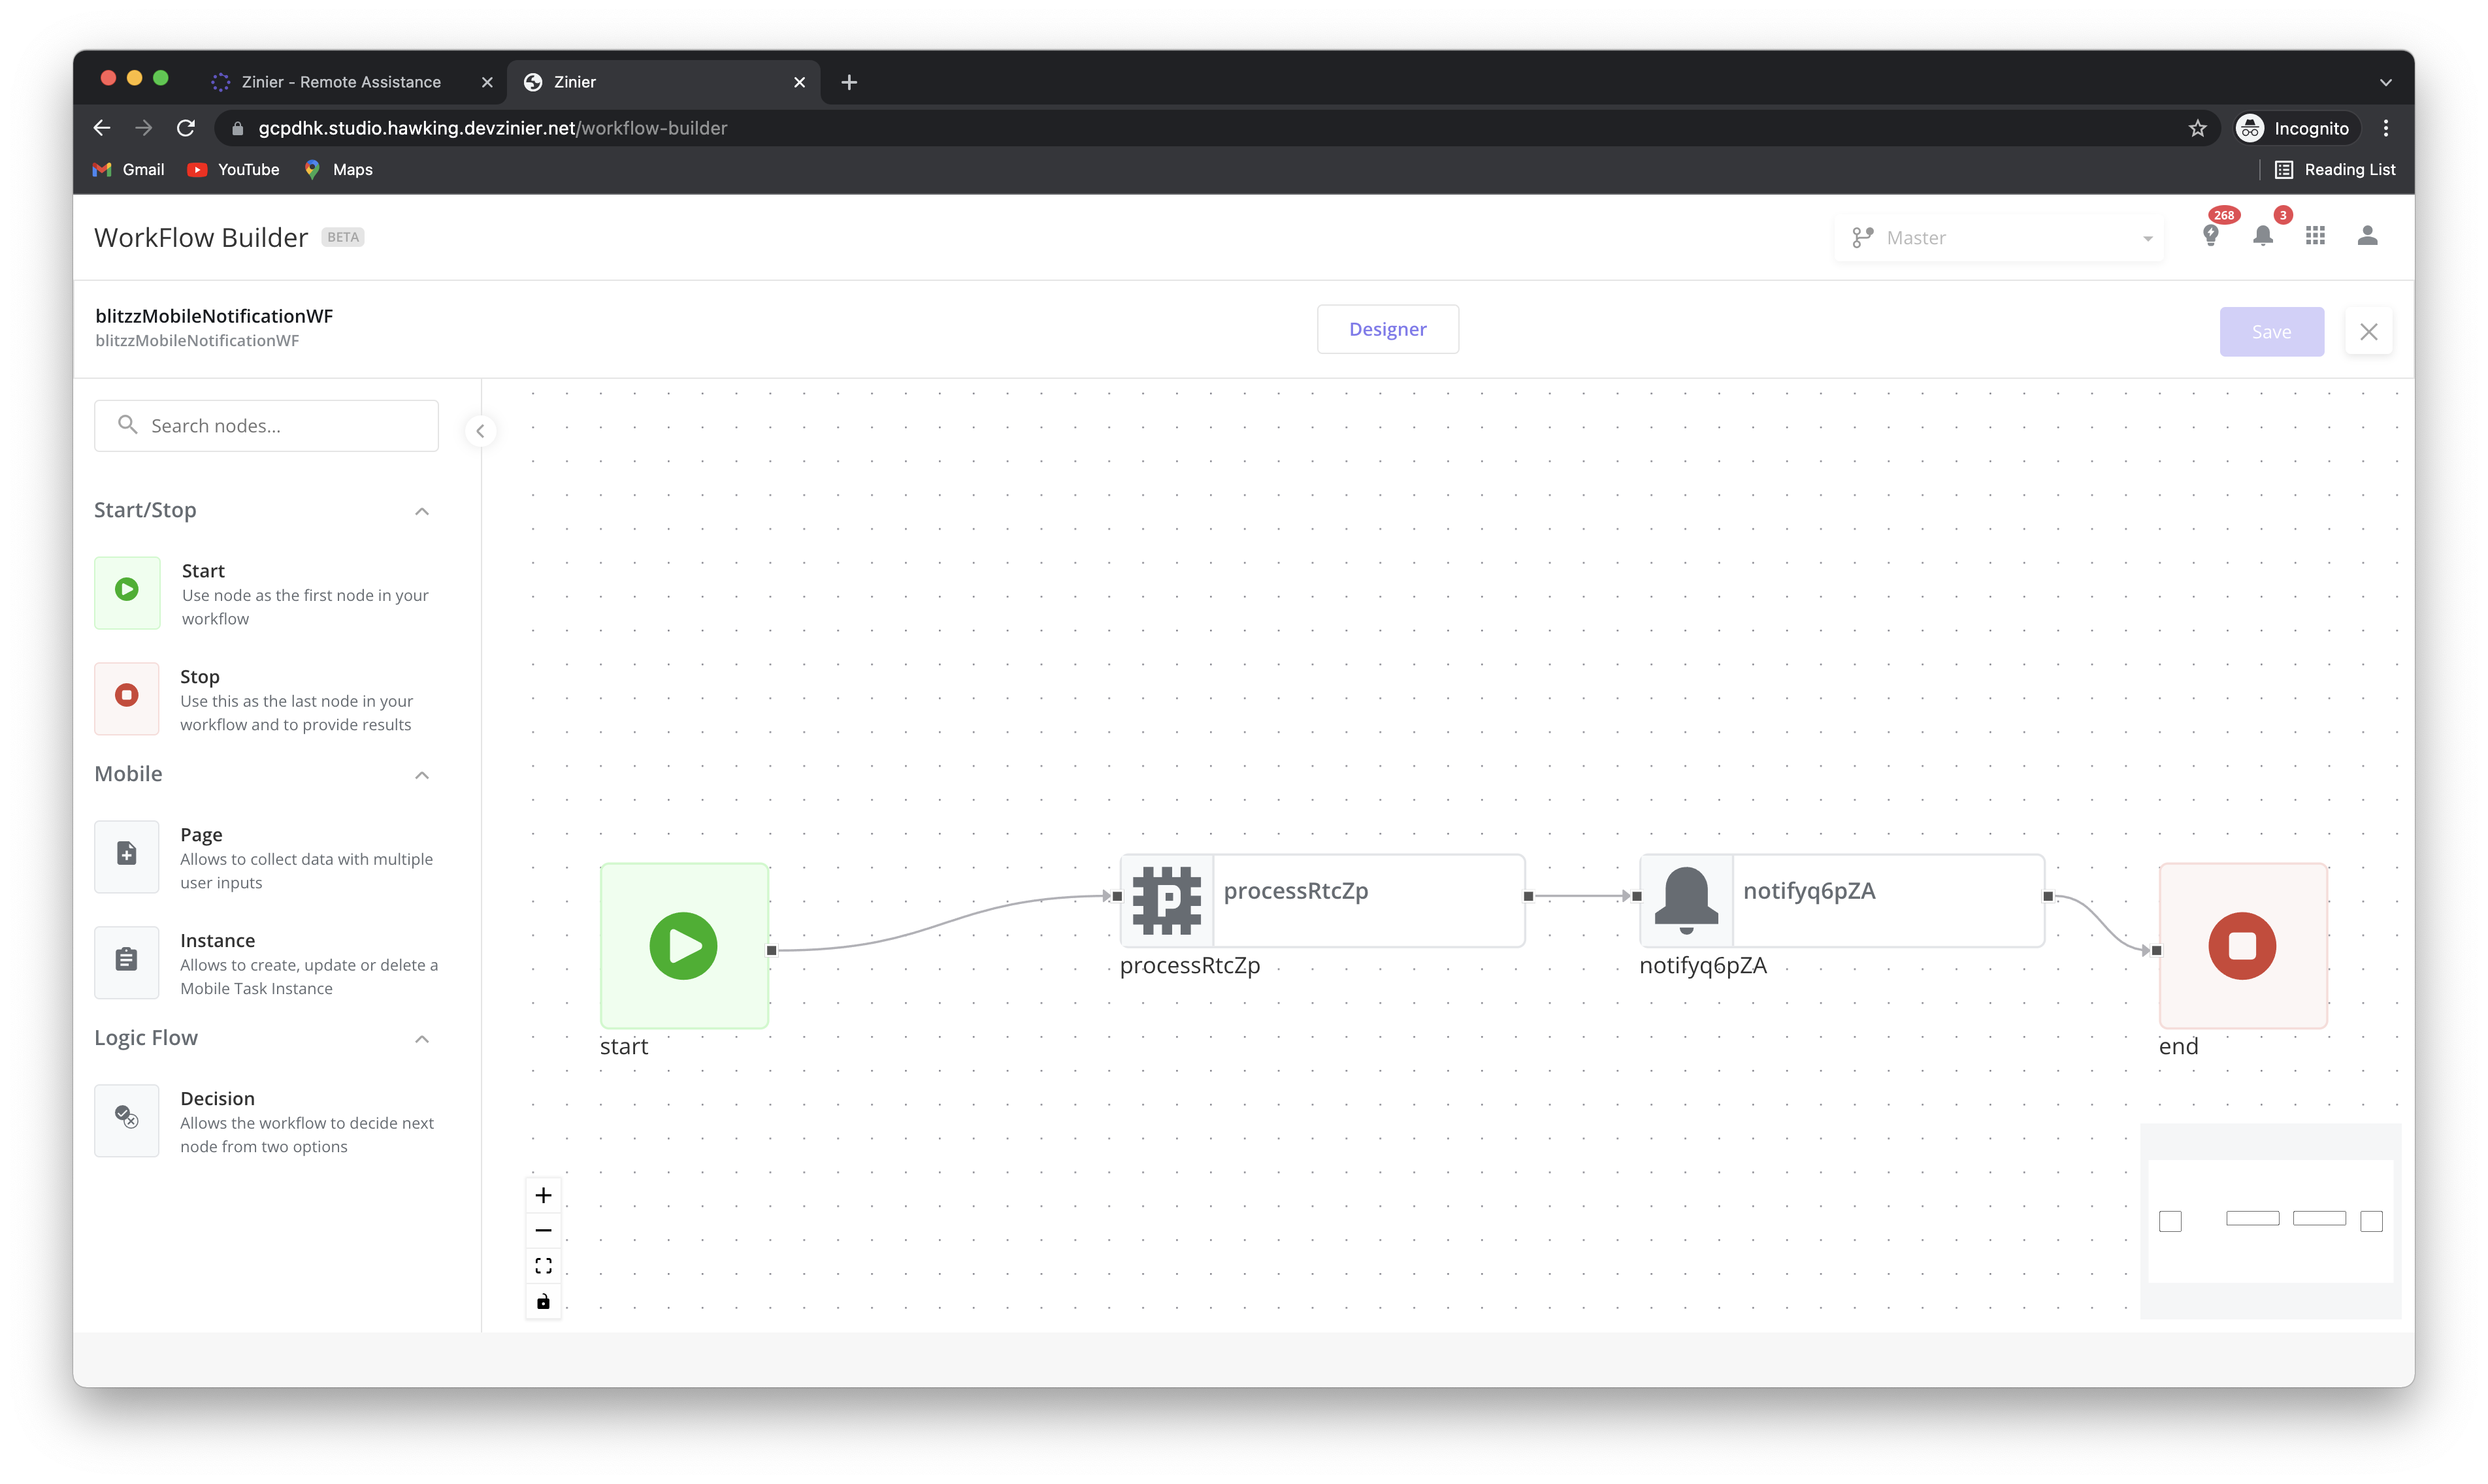
This new version of the Workflow Builder is implemented a new library react-flow and provides a better UI/UX for business analysts and developers by fixing some of the limitations of the previous library. It also improves the details on the nodes both in the canvas and the menu.
What has changed?
New Drag & Drop Menu including details on Nodes
New way of connecting nodes by pulling connectors out of them
Connectors section removed
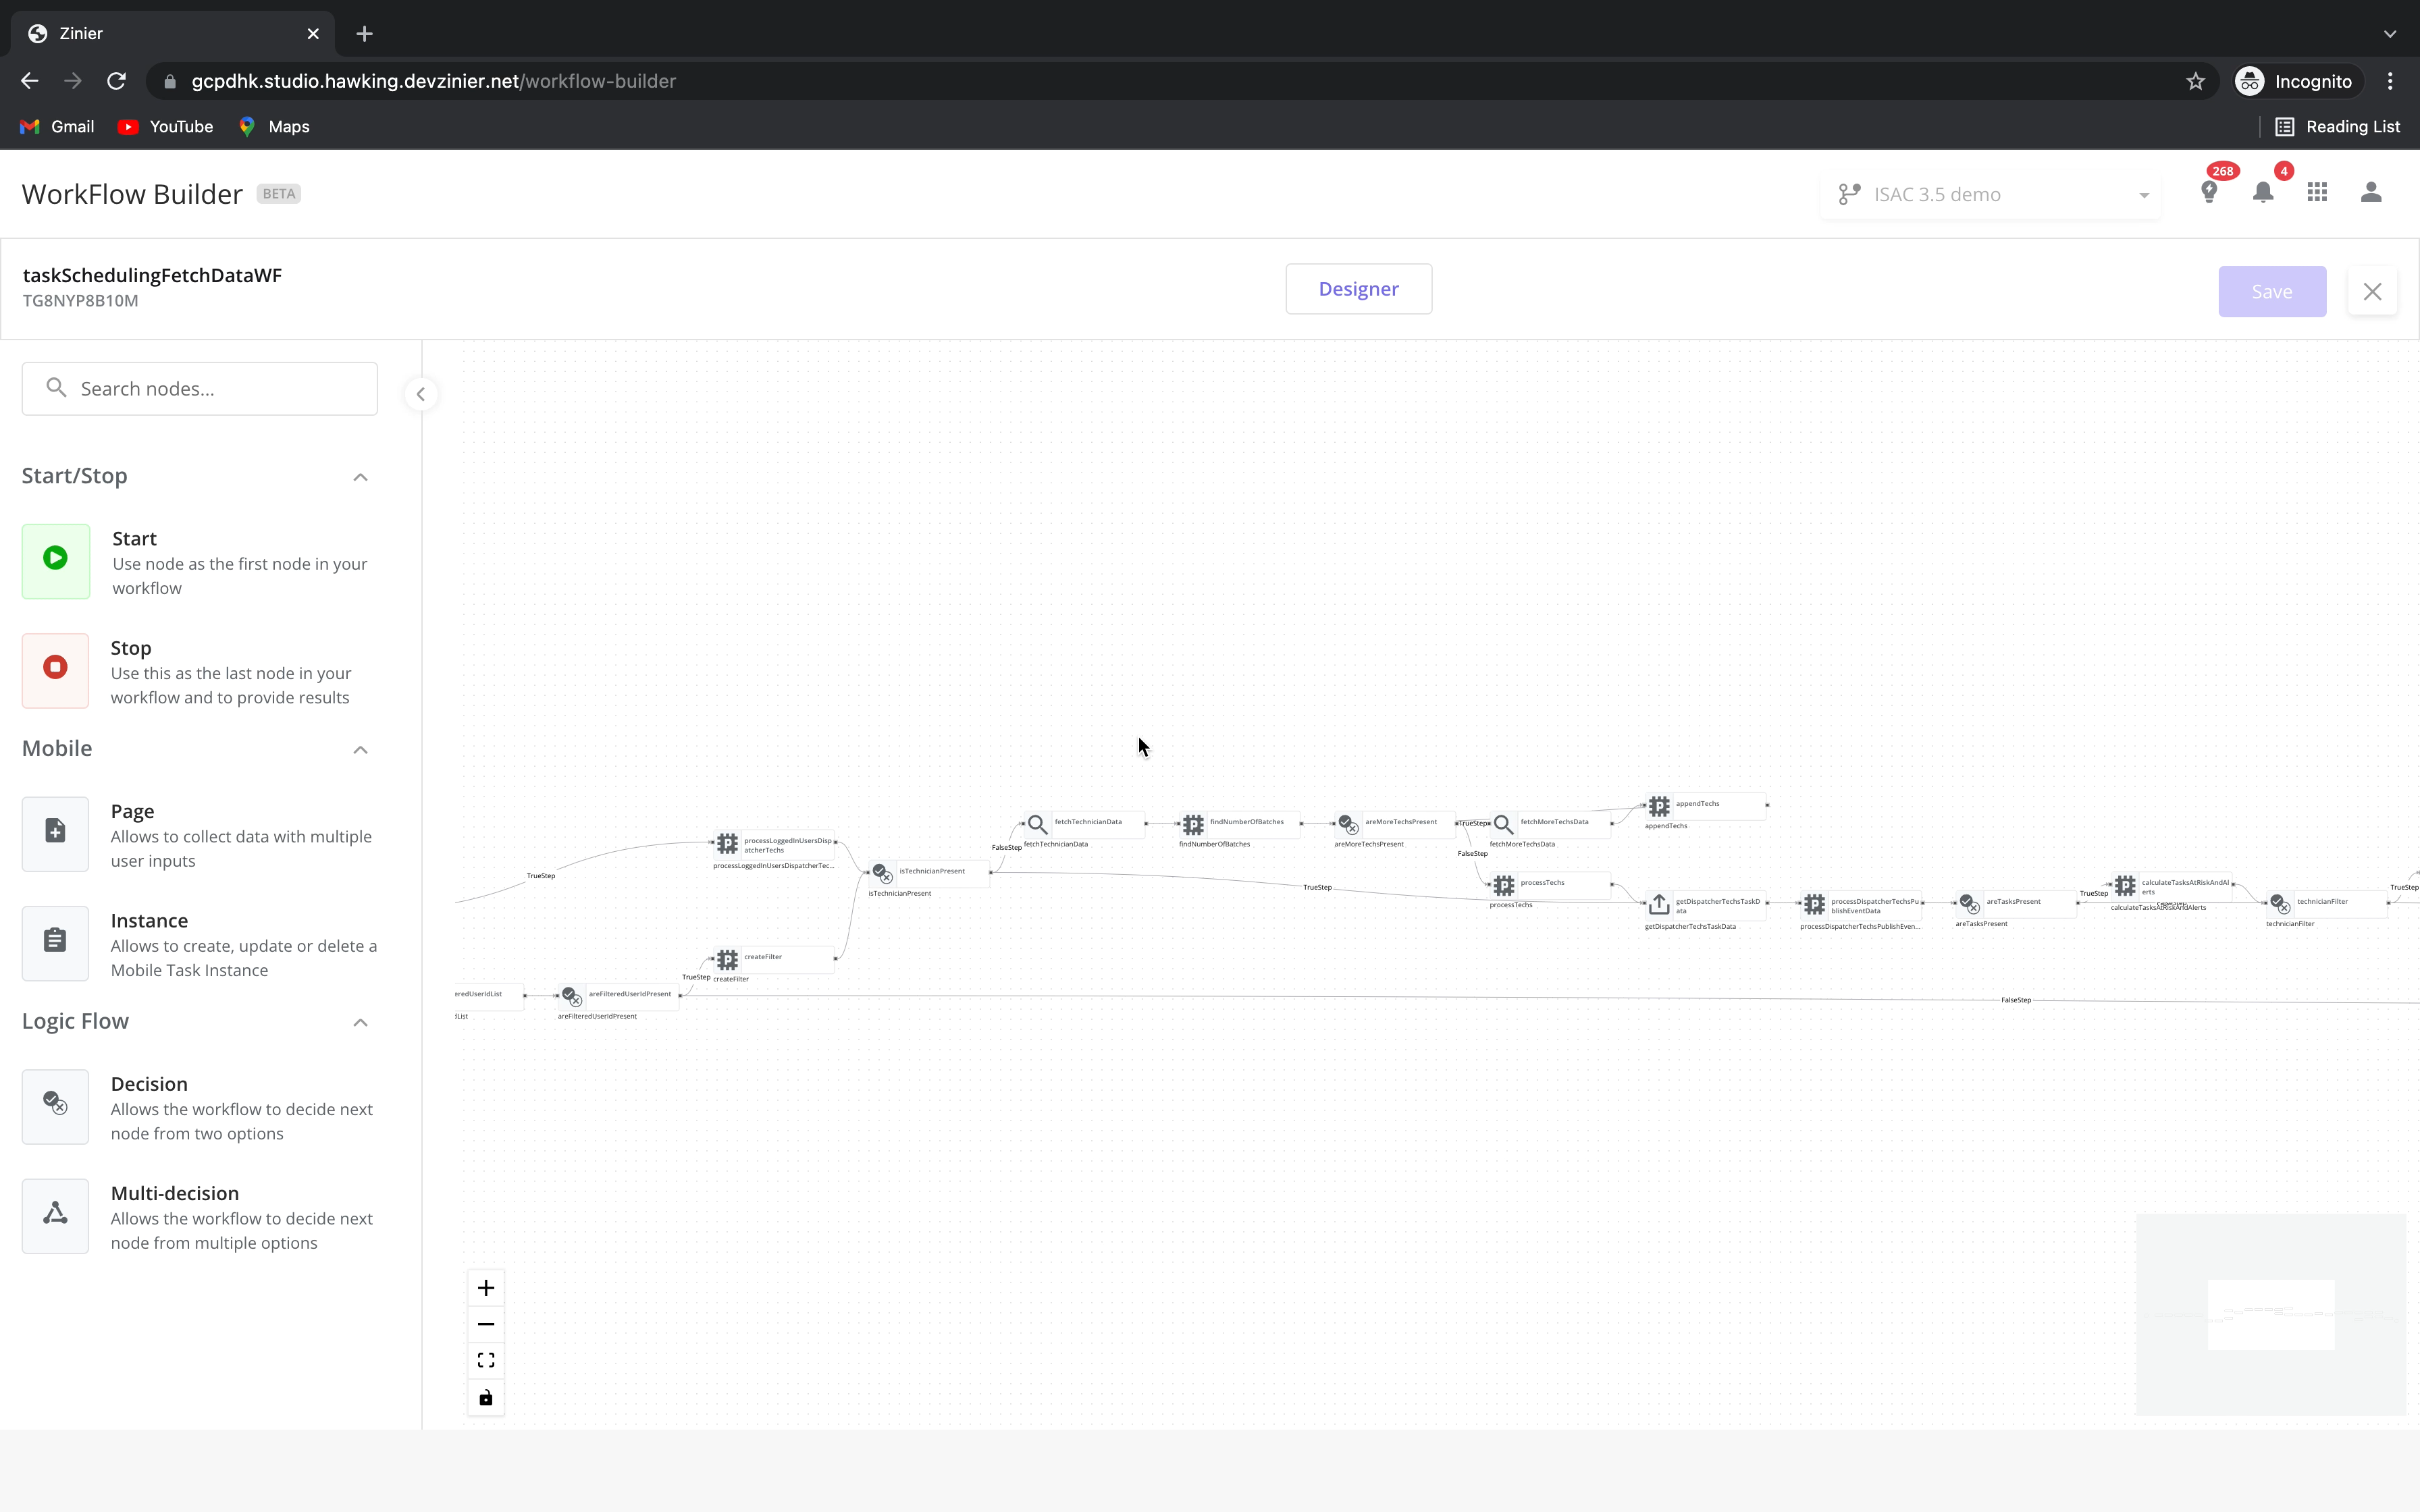
Zoom & Pan capabilities
Mini map of workflow
There are NO changes to the configuring Side Panels (except for query node) or the way the workflow is saved.
How do I create a Workflow
Video Tutorial
Step 1: Add new workflow
Navigate to the type of workflow you would like to create
Studio Z → Workflows → Stateless
Studio Z → Workflows → State
Studio Z → Workflows → Model
Studio Z → Mobile Projects → App Modules
Studio Z → Mobile Projects → Mobile Workflow
Fill in the mandatory fields
Save the Workflow record
Open the Workflow Builder
Step 2: Building a workflow
Drag & Drop the required nodes
Connect the nodes by dragging the edges and dropping in to the following node
Configure the nodes using the side panel
Step 3: Save
Click on save button
Pan & Zoom
Pan: Left Click & Hold
Do a left click
Hold and move your mouse in order to pan the canvas
Zoom
Zoom in and out by using your track pad
Use the Zoom In and Zoom Out buttons in the lower-left corner
How to connect two nodes
Video tutorial
Drag and drop two nodes
Put the cursor at the edge of the node and move it.
You see the connector and drag it connect it to the next node.
Save it.