Configuring the Customer Portal for your Organization
The following section summarizes the key configurations available to admins when setting up a Customer Portal for a client.
Note: The Customer Portal feature is not available out of the box and will need to be enabled for your organization. Please contact your Customer Success manager to learn more!
What’s Configurable in the Customer Portal?
Branding (Logo and Color Scheme)
Admins can brand the customer portal according to the company’s branding guidelines. They will be able to decide on the color scheme and include their logo in the portal.
Labels
Modify labels and descriptions on the portal to match internal terminology and language familiar to your customers.
Notifications
The Customer Portal has a set of 5 out-of-the-box Notifications:
Booking Invite: An invite to the Customer Portal that allows your customers to select an appointment time that works for them
Appointment booking confirmation: Once customers have selected an appointment time, they’ll receive a confirmation message to know that their appointment is scheduled.
24-Hour Reminder: Customers will get a reminder notification 24 hours before their appointment.
Technician En route: Customers will also know when the assigned Technician is en route to the customer site.
Task Completion: The Customer will receive a notification once the appointment/task is complete.
As an Administrator you can:
Customize the notification content
Decide a delivery method for your organization (SMS, Email, or Both) - By default, the AWS SMS service will be used to deliver text notifications.
Turn off specific notification types for the organization
Notification Logs have also been configured in the Admin app to support any technical issue. These Logs allow you to see when specific Notifications were sent to a customer in the context of a specific task.
Set Limits on Rescheduling
Set a cut-off time (in hours) for Rescheduling an appointment. This will block Customers from having a rescheduling option after the cut-off time.
Canceling Appointments
There are two configuration options for Cancel in the Customer Portal:
Cancel in the Portal: Customers can directly cancel their appointment via in their Appointment Details Page.
Call to cancel: When a customer selects cancel in the Portal, a pop-up will display a custom message and include a clickable phone number to call your office, The phone number can be configured in the Admin experience.
What content / fields within the Customer Portal can I change?

Hide/Show Services
Hide the “Service” information from the Appointment Details Page.
Configure Steps
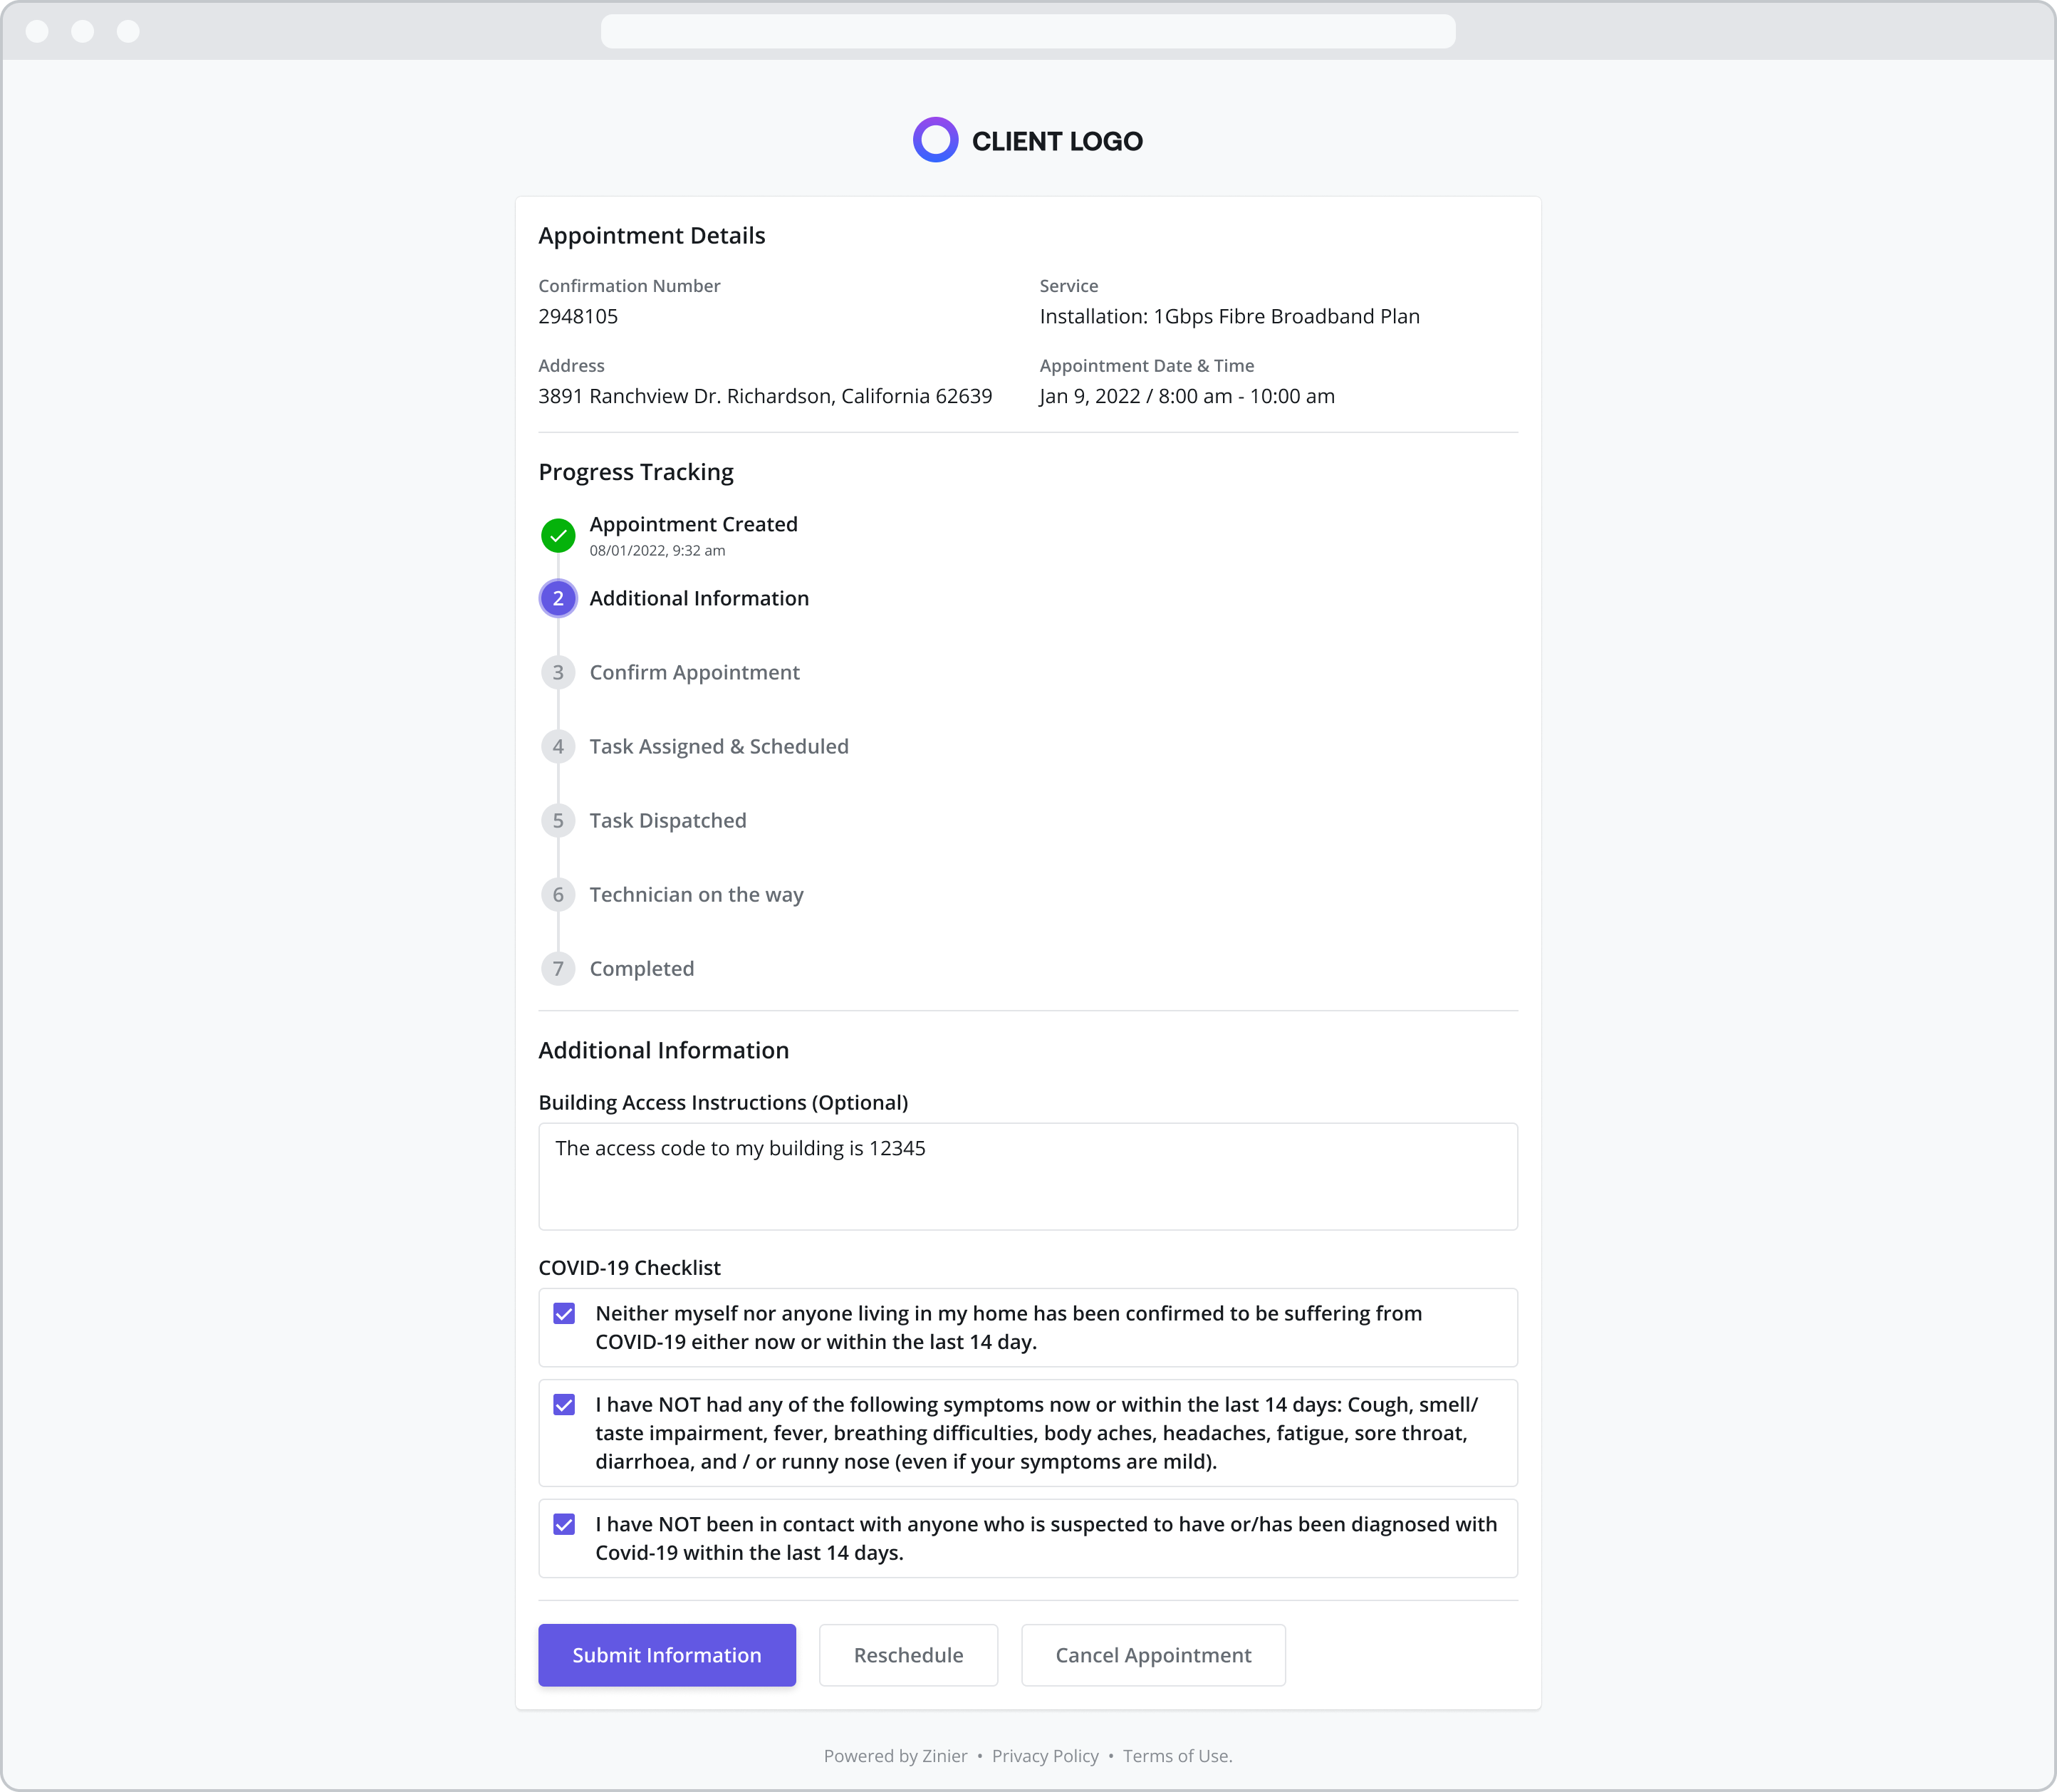
Admins will be able to modify fields in the appointment booking workflow to customize the forms to their unique business use cases and ensure that relevant information is collected for scheduling and the technicians.
Collect Additional Information
Configure the details page of the customer portal to collect additional details a technician may require to complete a task. All customer responses will be captured in Zinier’s Task details on both the Web and Mobile experiences.
We support the following Field Types:
Toggle
Free Text (Customer can enter lines of text)
Static Text (No Customer Input)
Dropdown
The fields will have the following attributes:
Response is Required or Not Required
Field Label name
Description of the field (optional)
Field Type (Static text vs input required - toggle, text field, etc)
Default State: If the field type is Dropdown, Toggle/Switch a Default Value must be provided
Confirmation Flow
Enable an additional “Confirmation” flow in the portal. This will allow customers to confirm the appointment window selected works for them. The confirmation status will show up as an additional field in the Task Details form. Note: if any Additional Information fields are configured and marked as required, the Confirm button will be disabled until all necessary information has been submitted.
How does the Customer Portal interact with Tasks / Work Orders?
Notifications are sent to the Customer Site Contact
The Customer Portal will send all notifications (including the invite to the portal) to the contact listed in the Customer Site contact details for the specific task. A secondary contact may be added via the Customer Site form.
Triggering a Customer Portal invite
During the Task creation process, select “Appointment Window” in the “Scheduling” section of the form. From here there are two ways to trigger a Customer Portal Invitation:
Pre-Book an Appointment: Pre-Select an appointment by selecting a Date and Appointment Window. The customer can then reschedule if needed.
Allow the customer to select an Appointment Window: Leave the Date and Appointment Window fields blank. Allow the customer to select a Date and Appointment Window themselves via the Portal UX
For more information, visit the Work Orders page
Integrates with the existing appointment booking services
While the Customer Portal was designed to work with the existing functionality of the Zinier Productivity Suite, it can also be integrated with a client’s existing an appointment management service. In such cases, the Zinier’s Customer Portal can still be used to manage notifications and let their end users view appointment details.
