Contracts
Contracts are key records used in several places across the product. Work Orders (and Tasks) use the SLA provided in a Contract to pre-populate the Resolution Time and Default Deadline for Work Orders assigned to that Customer in the Work Order.
Contracts also store the Service Windows associated with a Customer Site, which determines when a task can be performed at a Customer Site (the hours of operation).
Adding New Contracts
To add a new Contract, follow the steps below:
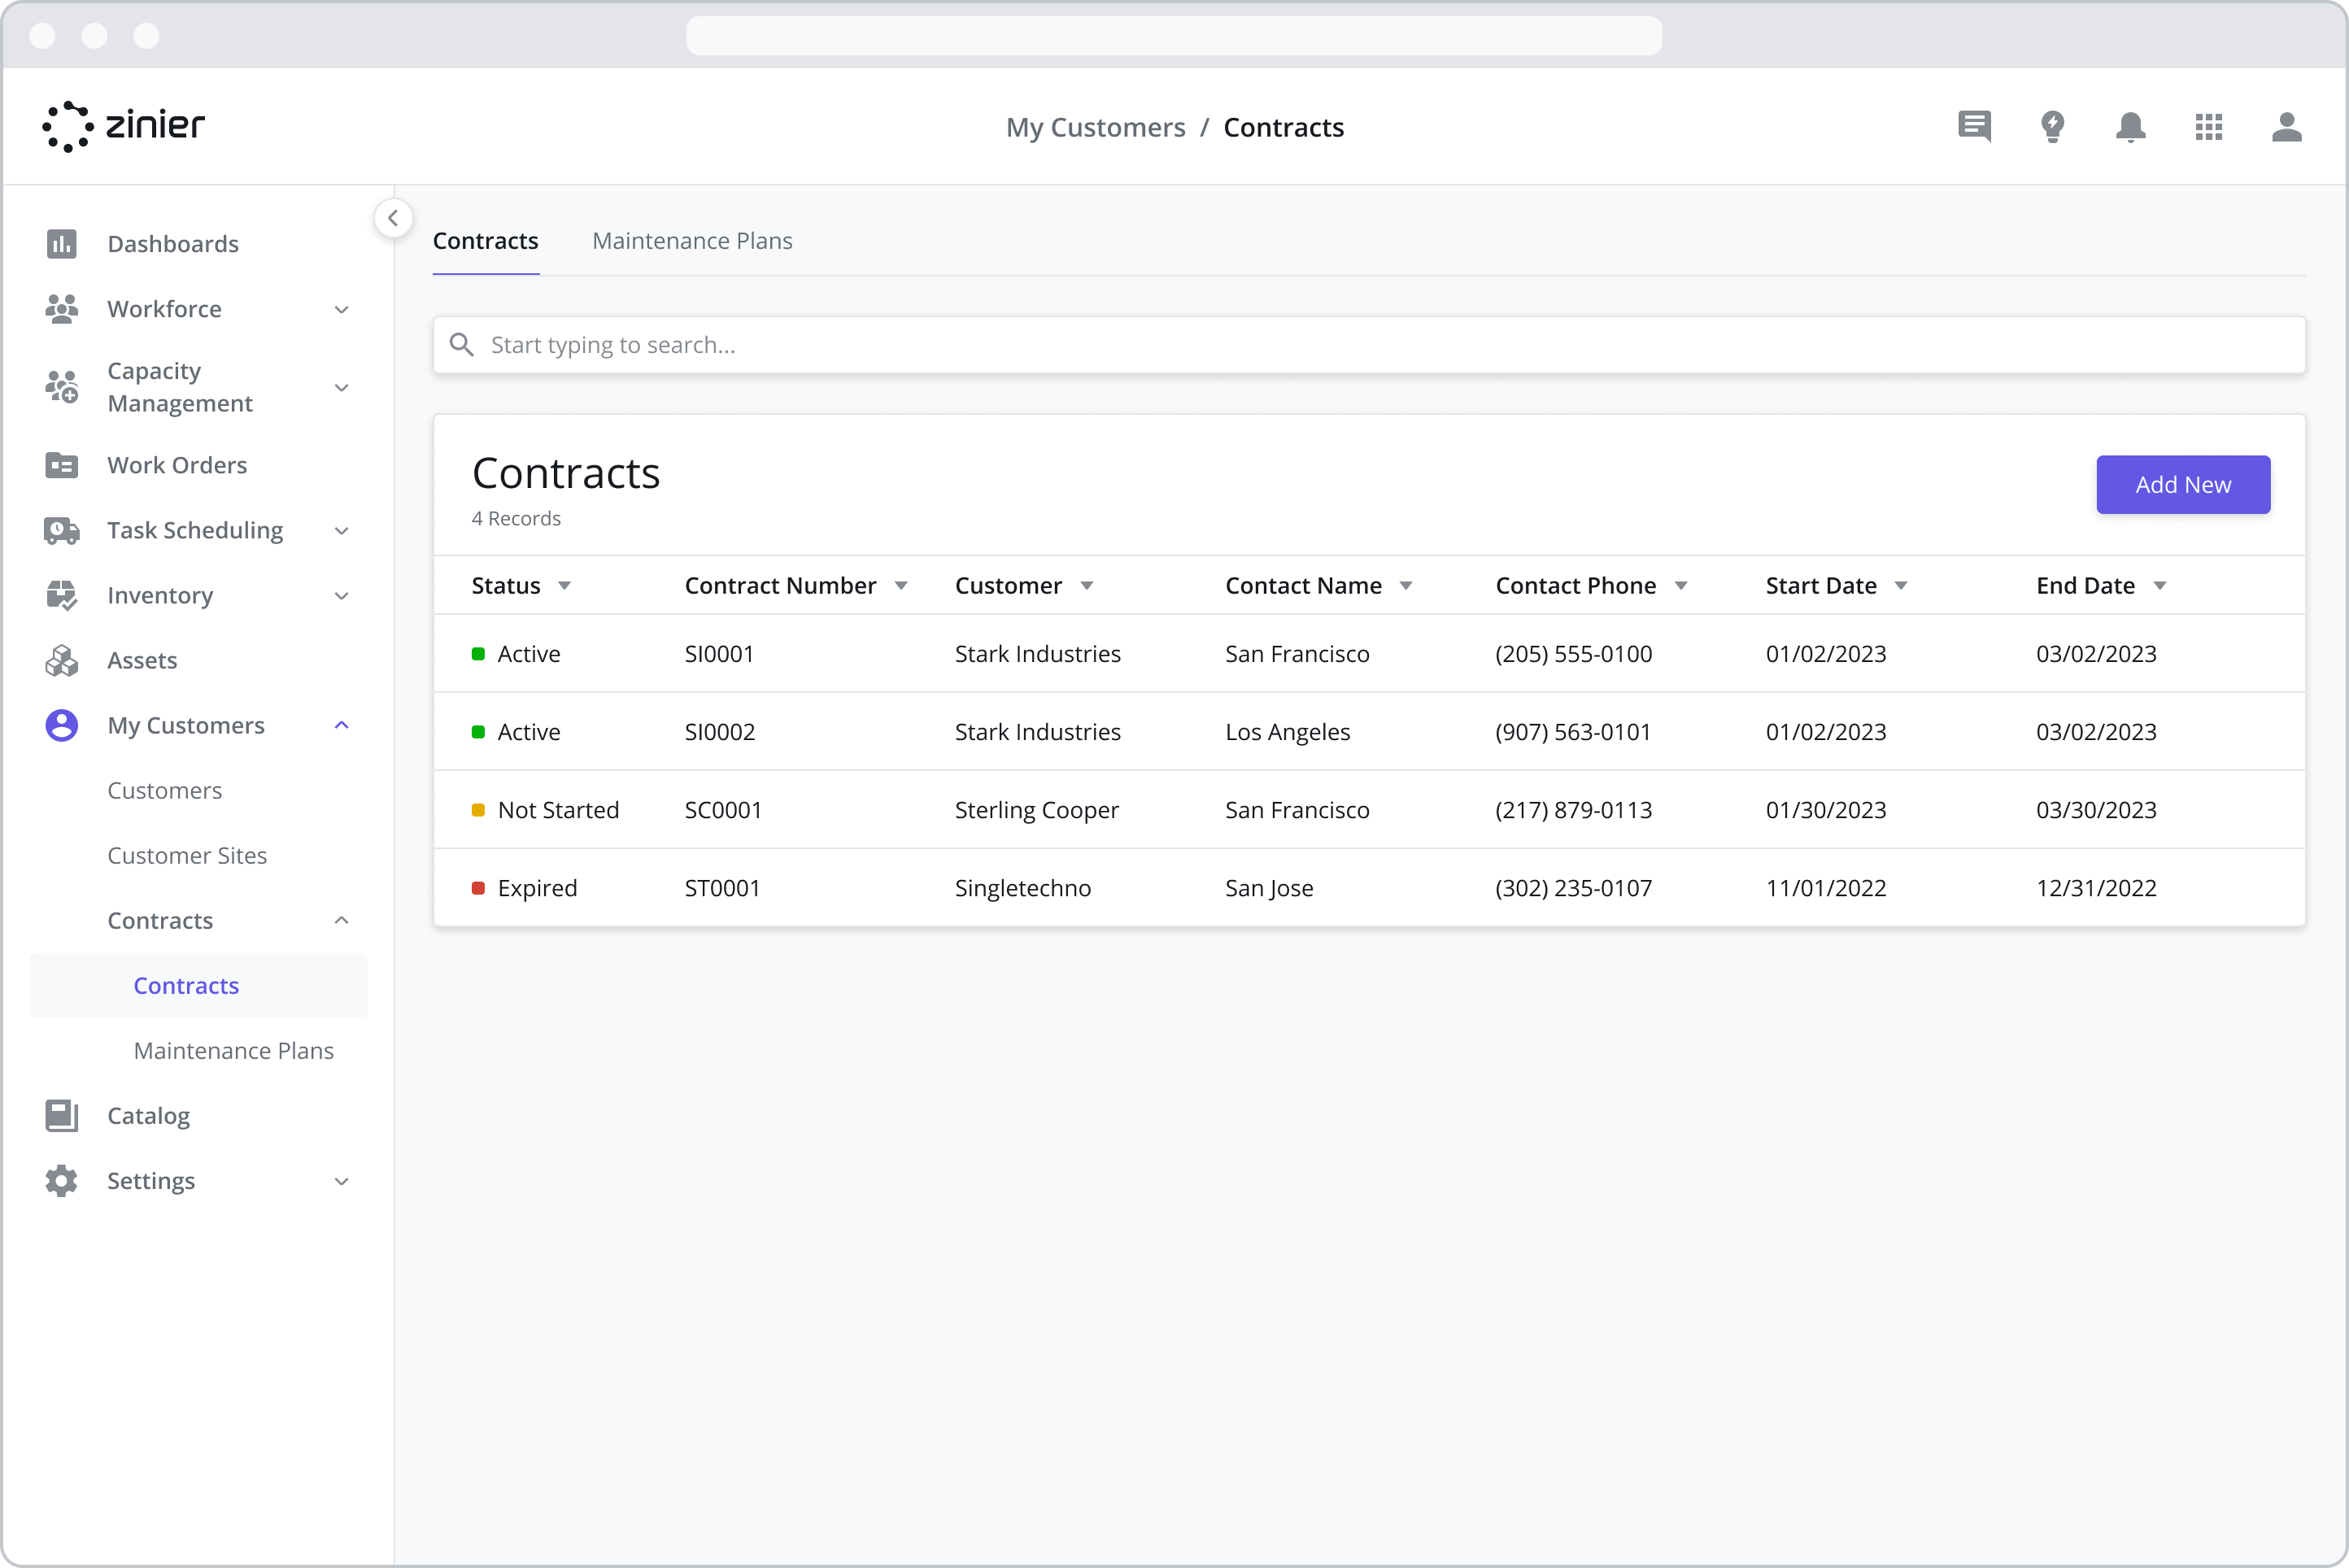
Go to the My Customers > Contracts module
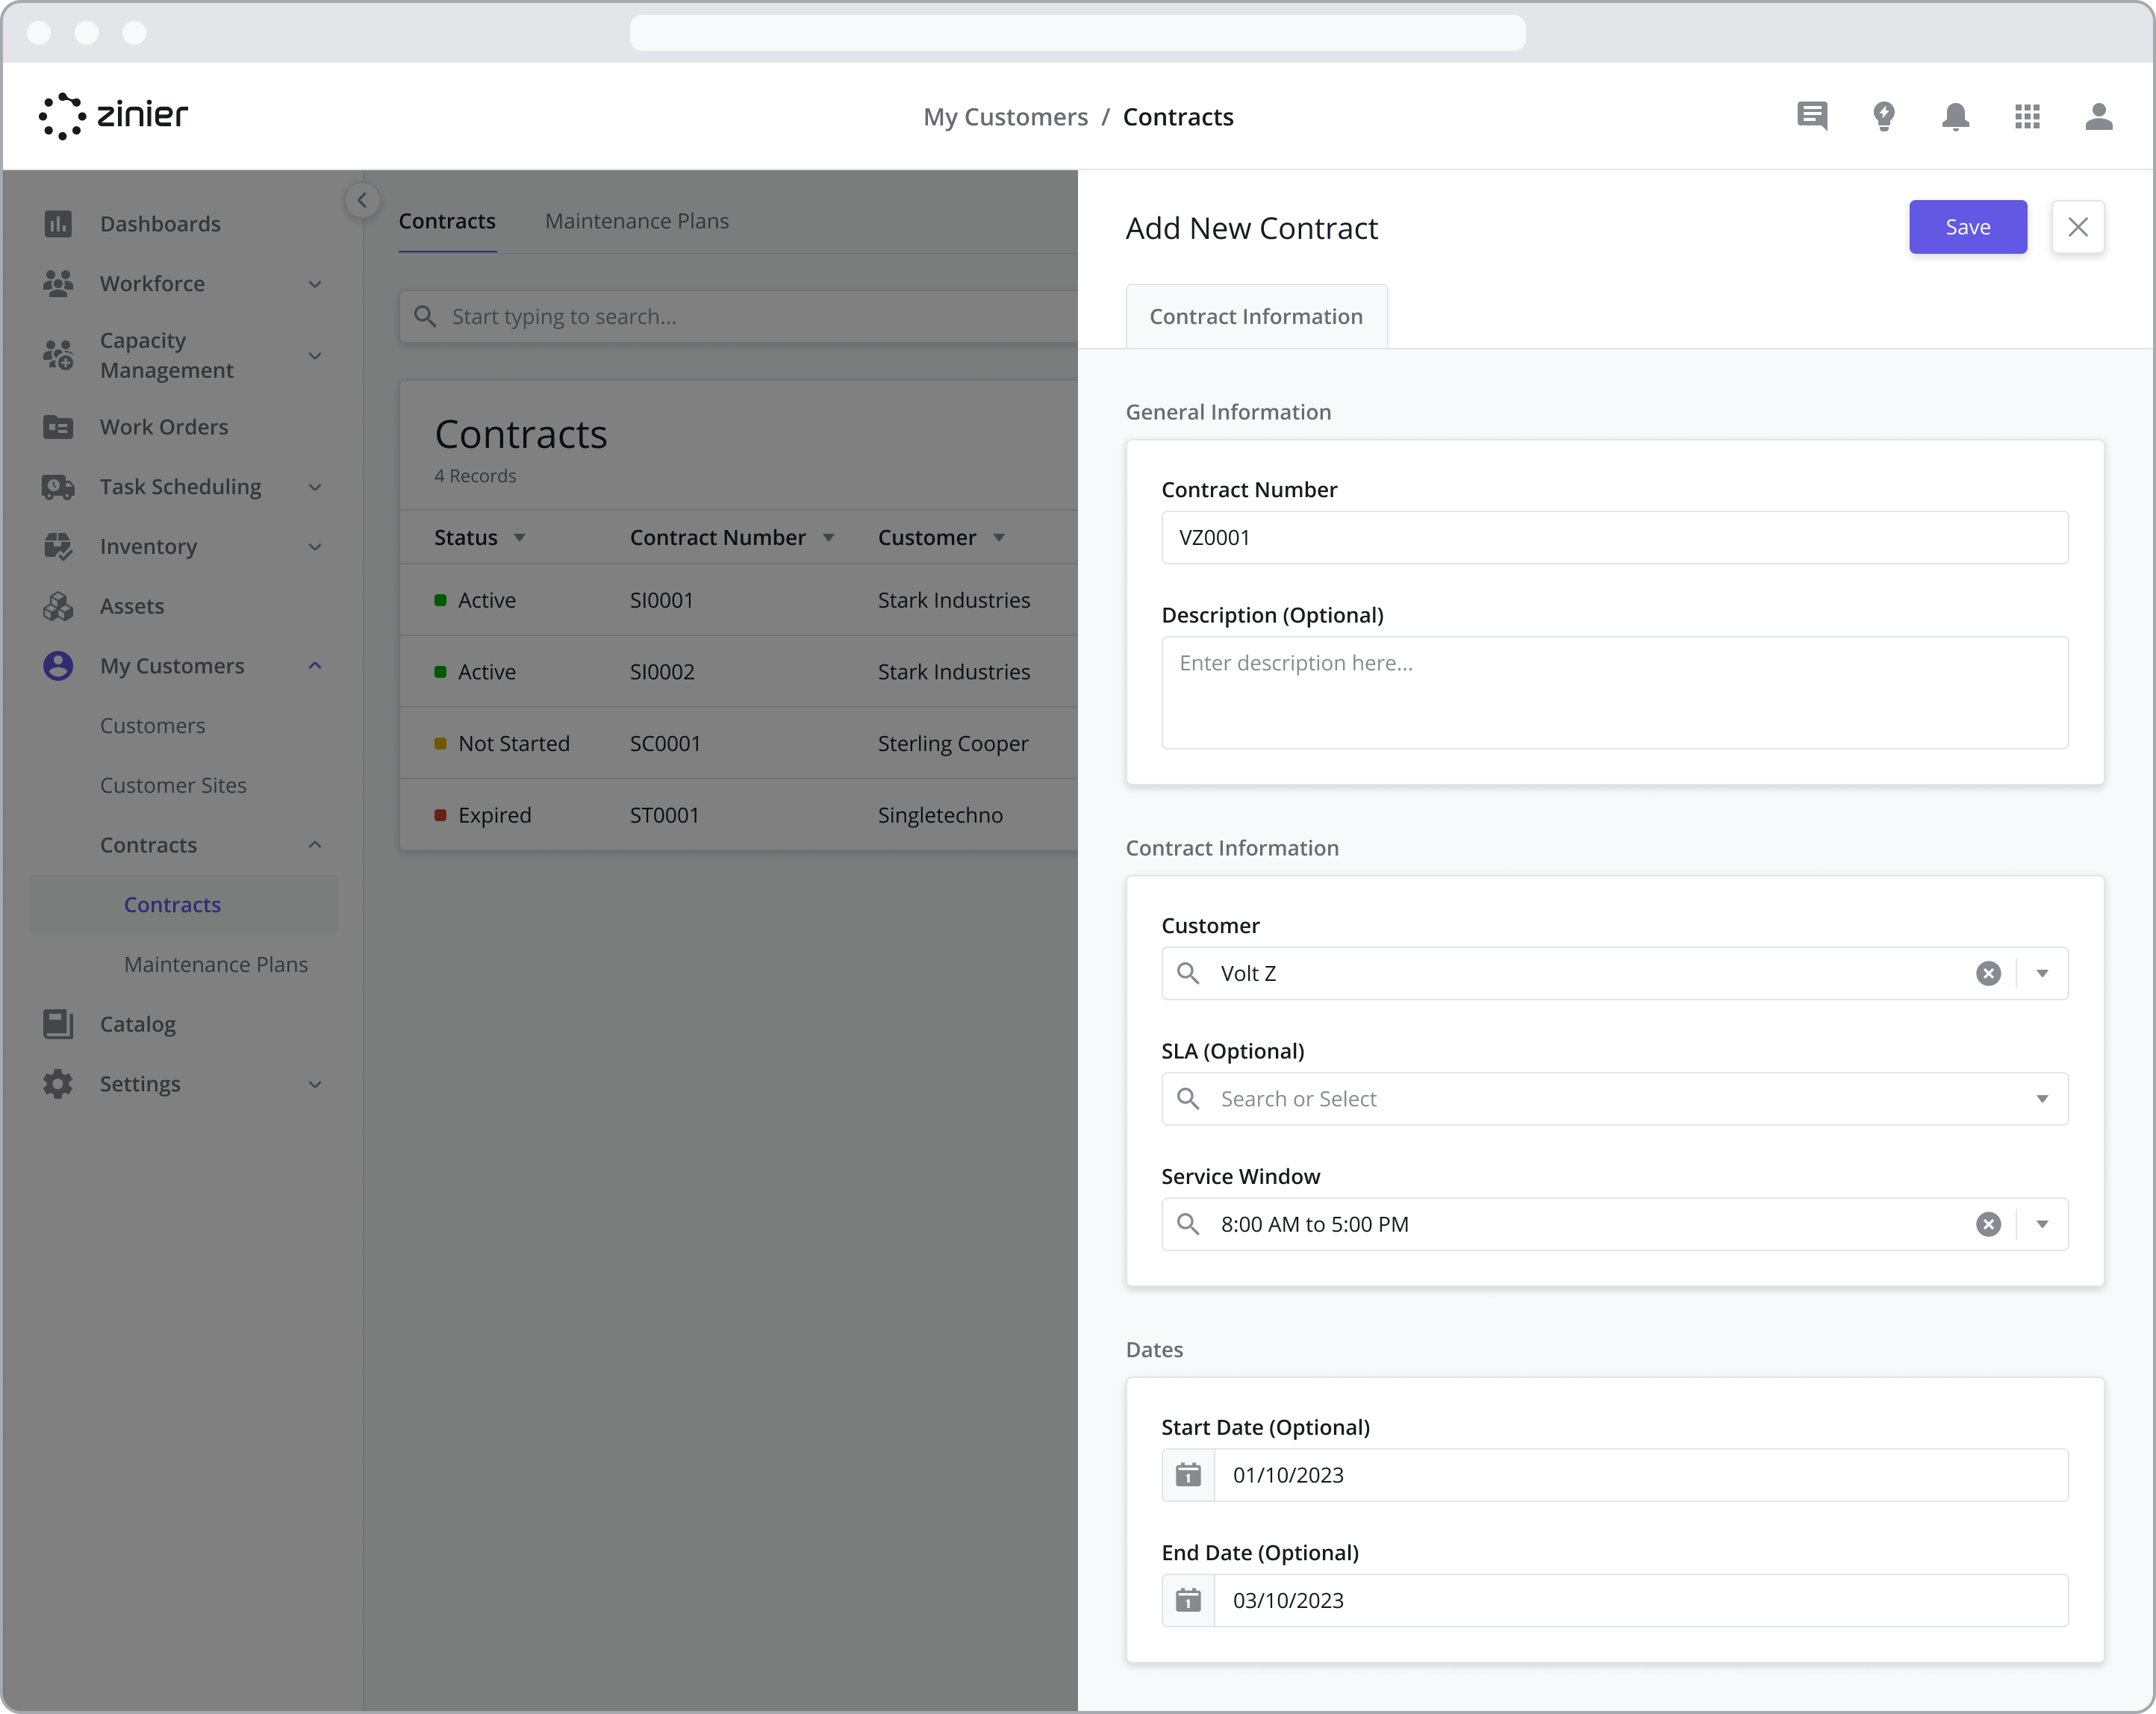
Click the “Add New” button from the data grid
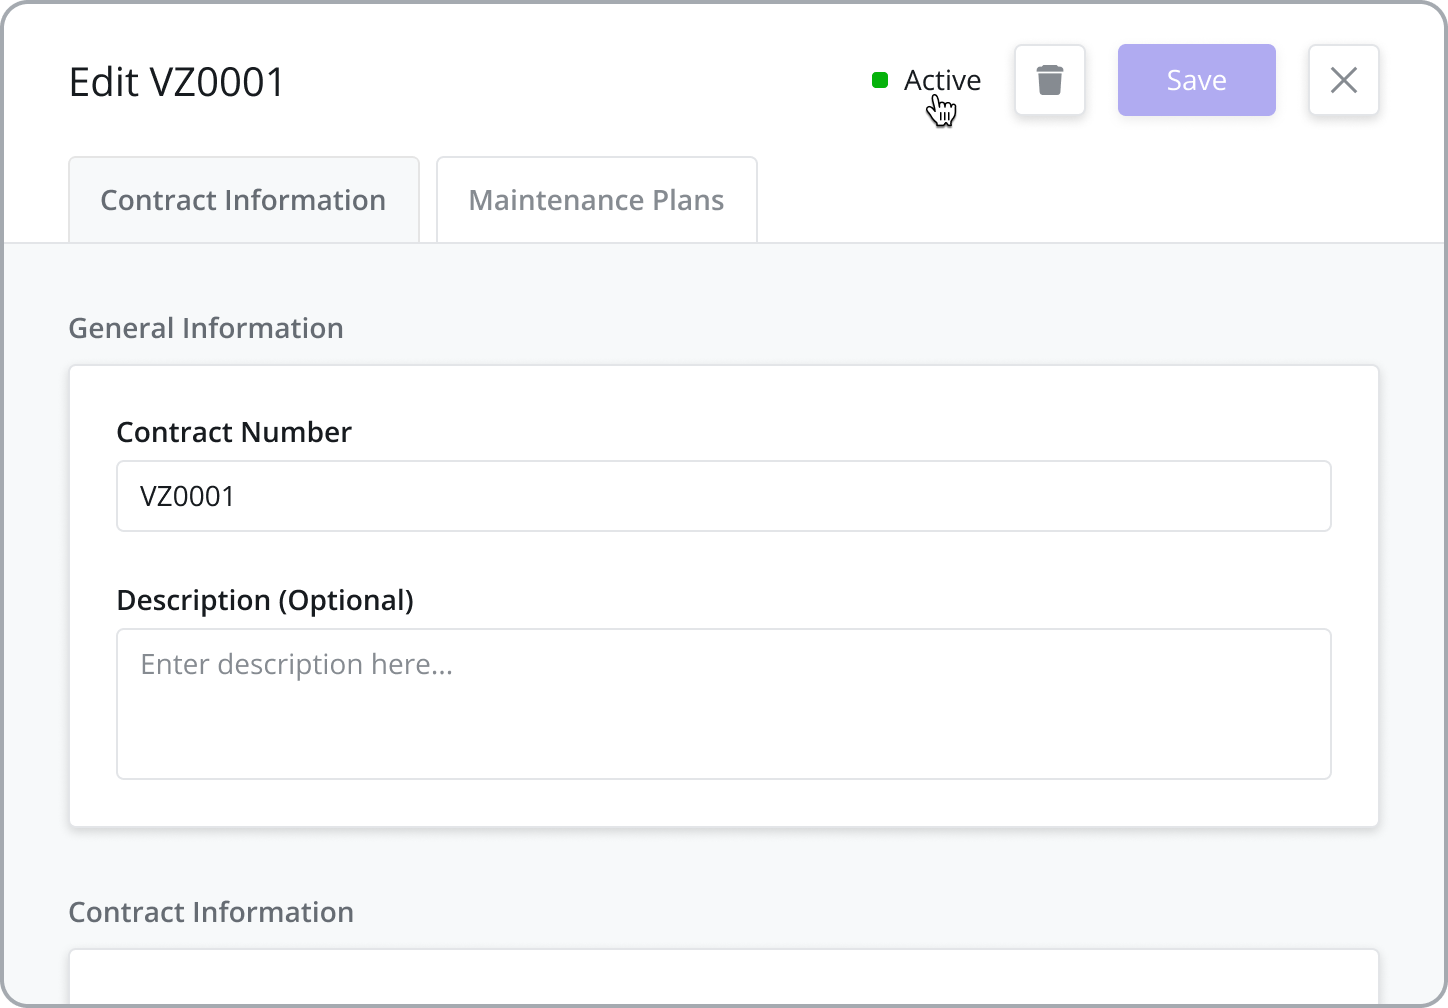
Enter a Name and Description (Optional)
Select a Customer from the Customers dropdown. Customers must first be added from the Customers module. Once added, a Customer can then be assigned to a Contract.
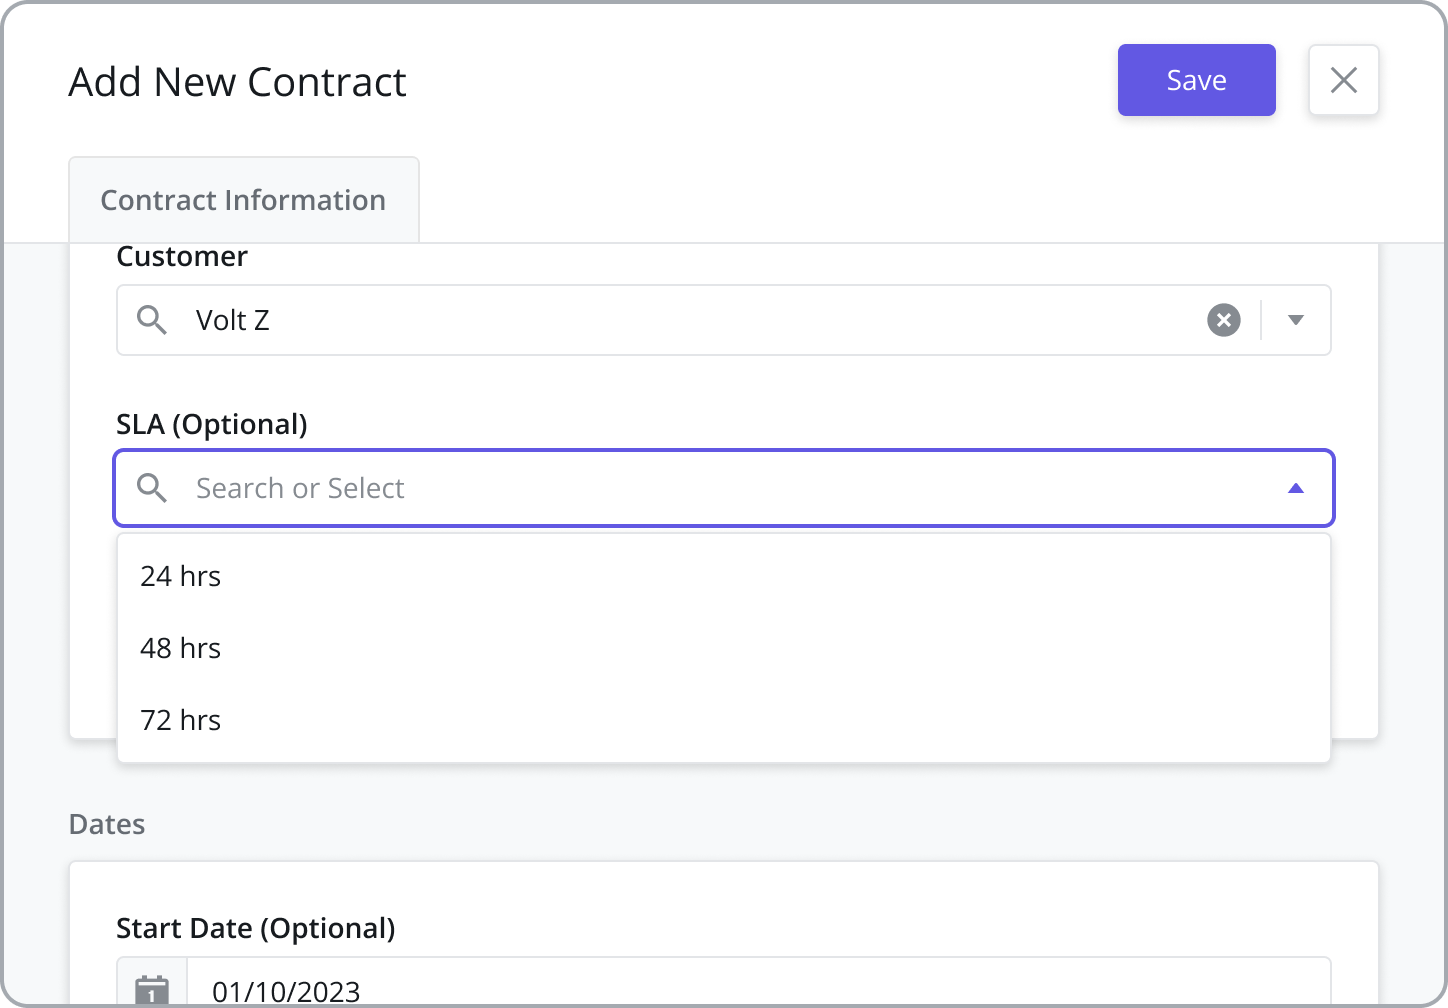
Select the default SLA (Optional) to use when creating Work Orders using this Contract (See below)
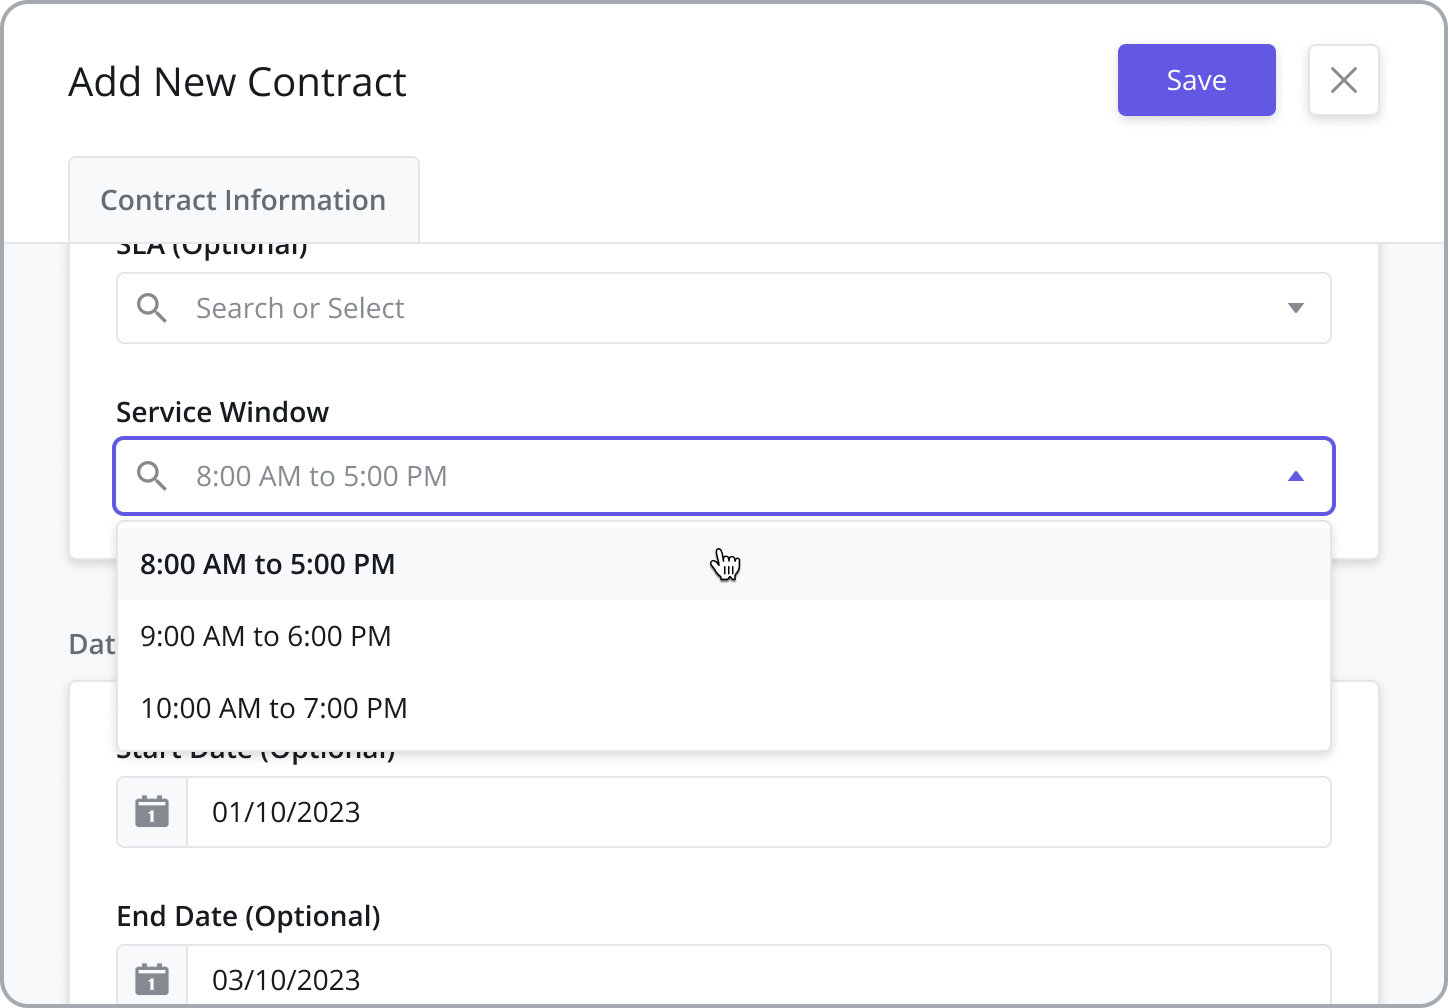
Select the default Service Window to use when creating Work Orders using this Contract (See below)
Provide a Start Date (Optional) and an End Date (Optional) for the Contract (See below).
Fill in the remaining information in the sidepanel and Click Save
Assign a Customer
Customers must first be added from the Customers > Customers module. Once added, a Customer can then be assigned to a Contract.
For more information on adding and managing Customers, navigate to the Customers page

Assign SLAs
The SLA is used to pre-populate the Resolution Time and Default Deadline for Work Orders assigned to the Customer in the Work Order.
SLAs must first be added from the Settings > Business Settings > SLAs module. Once added, an SLA can be assigned to a Contract.
For more information on adding and managing SLAs, navigate to the SLAs page
Assign Service Windows
Define hours of operation and public holidays associated with a Contract to support accurate task scheduling. Service Windows determine when a task can be performed at a Customer Site (the hours of operation).
Service Windows must first be added in Settings > General Settings > Service Windows module. Once added, a Service Window can be assigned to a Contract which can then be tied to a Work Order.
For more information on adding and managing Service Windows, navigate to the Service Windows page
View Contract Status
The status of a contract is determined by comparing the current date to the Start and End Date of the Contract:
Active: If the End Date of the Contract is in the future
Expired: If the End Date of the Contract is in the past
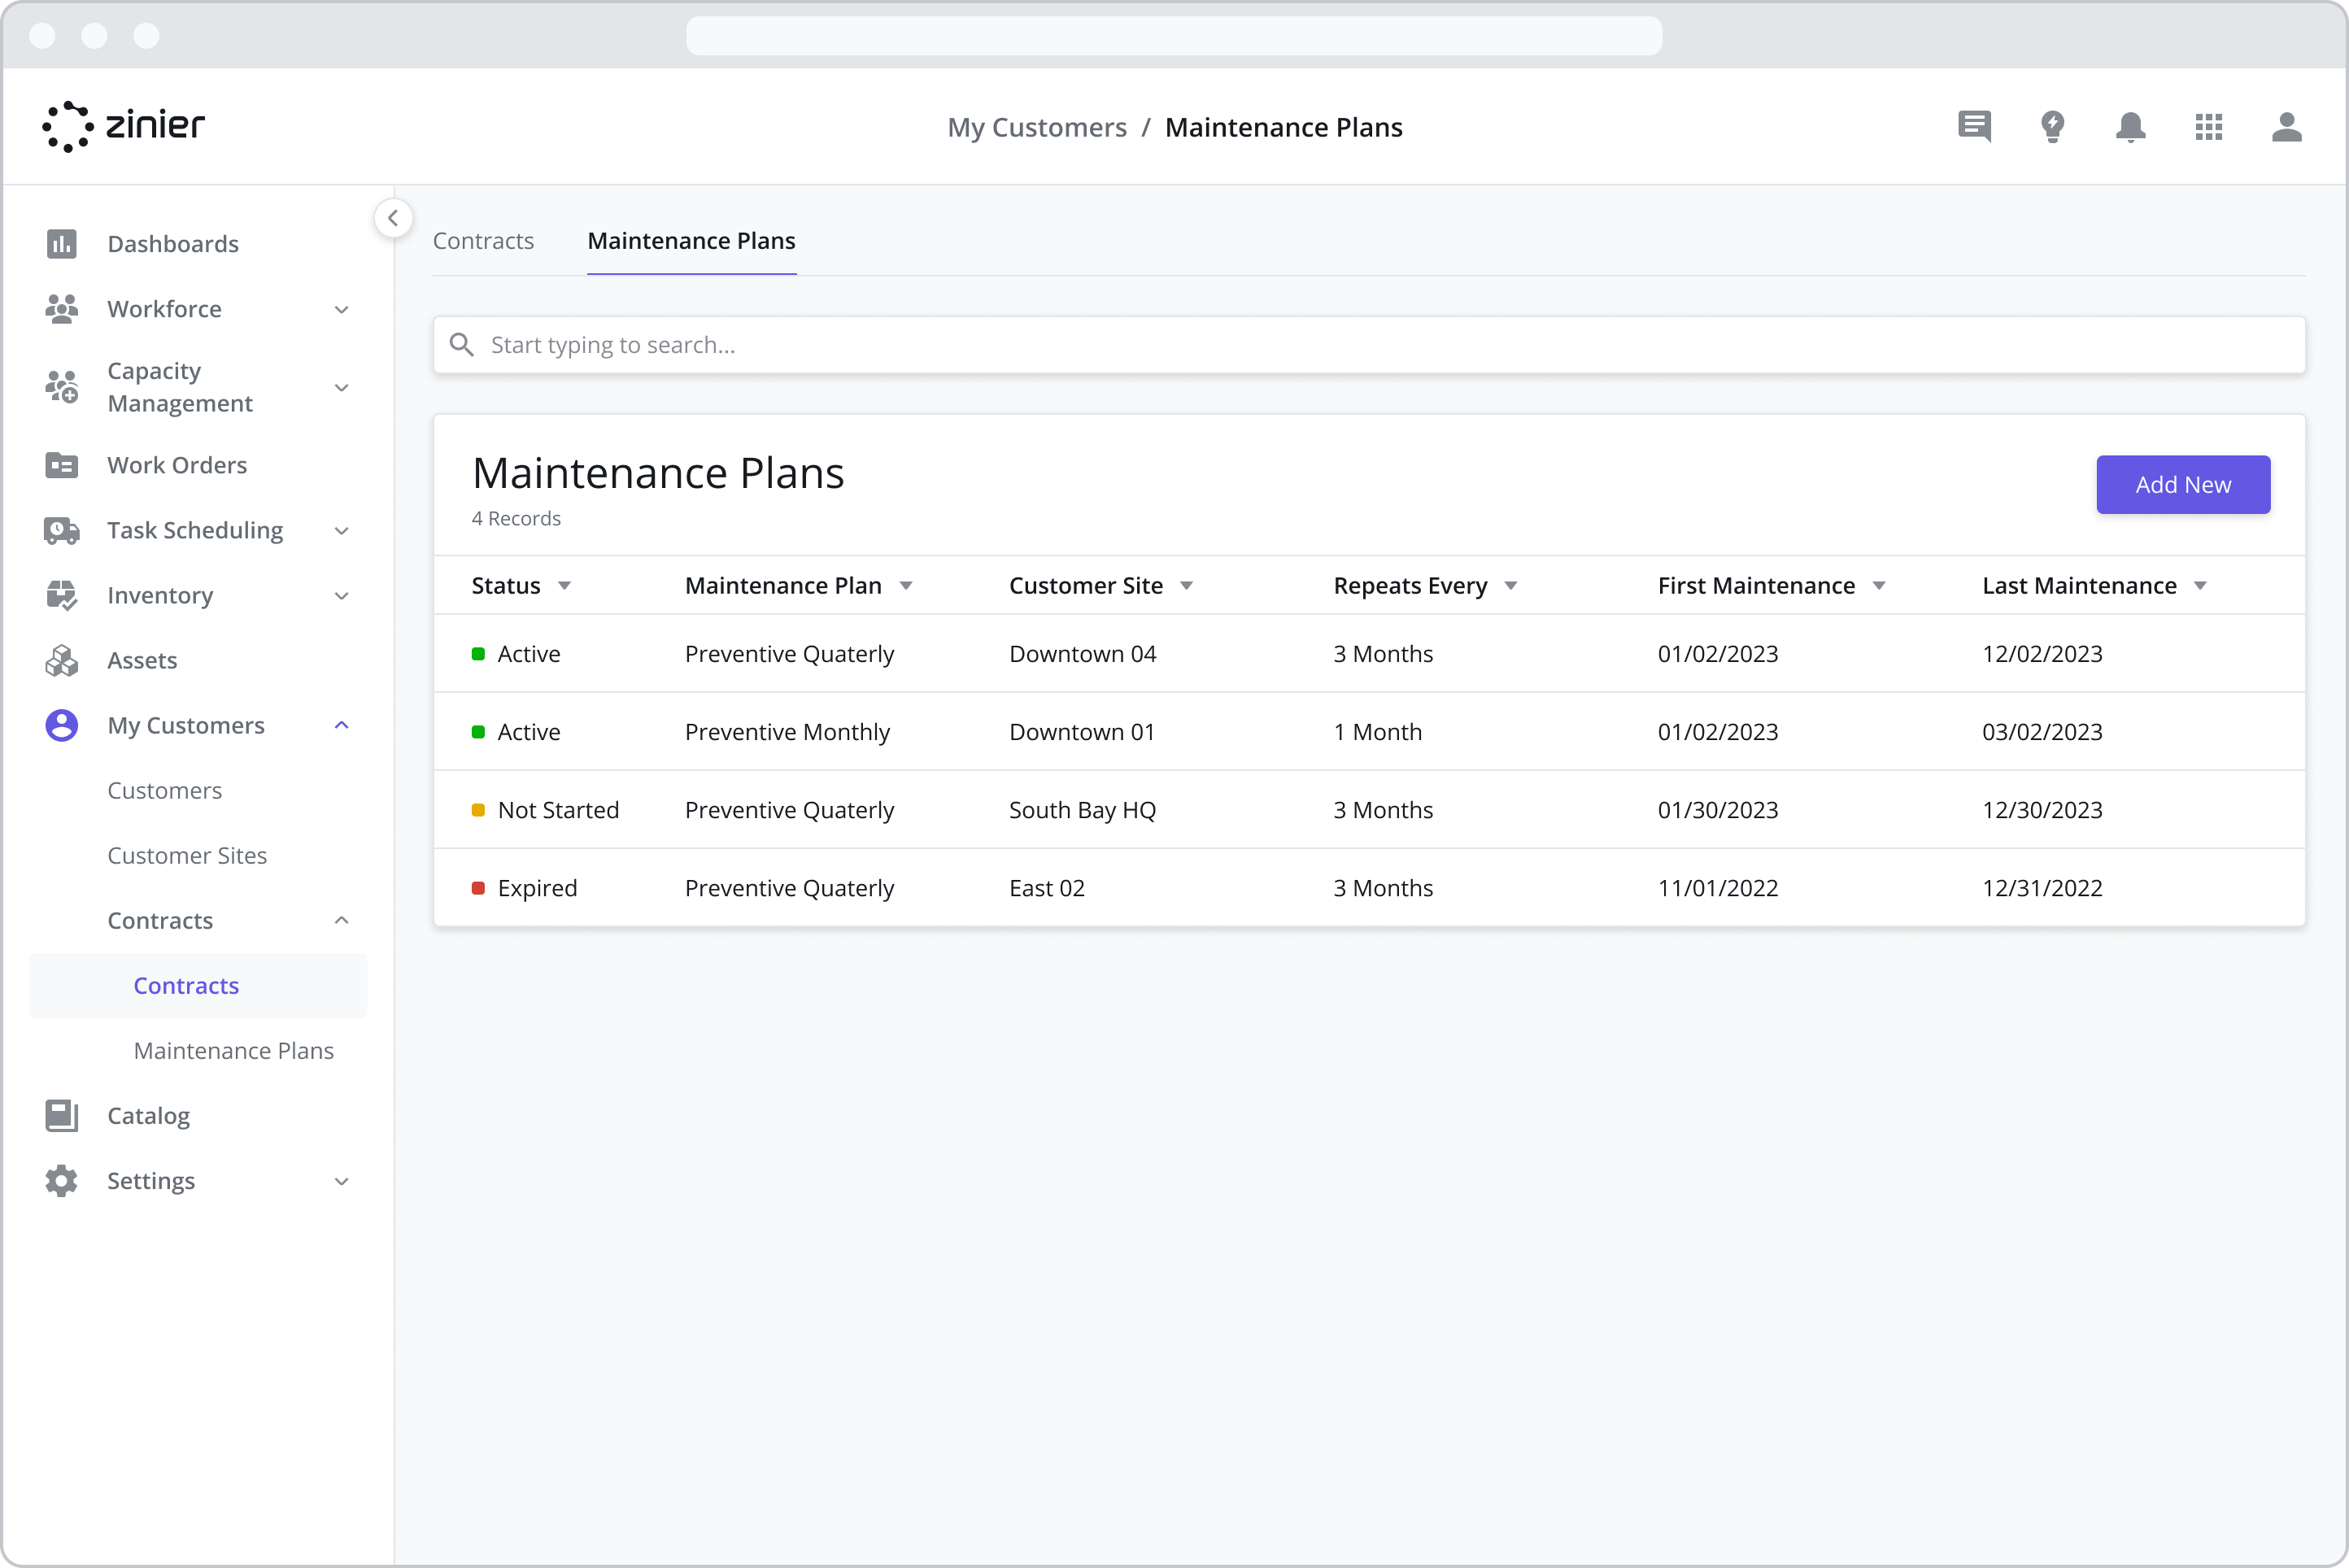
Adding Maintenance Plans to a Contract
For many asset-based field service organizations, scheduling maintenance at regular time intervals is a common practice. These planned maintenance activities happen at a specific frequency to improve asset life and proactively address any potential issues.
With Zinier’s Maintenance Plans feature, users can create maintenance plans tied to a specific customer asset (and contract) to automate the process of generating work orders at timed intervals.
Maintenance Plans can be added to a customer Asset from the Assets module and from two different places within the Contracts module:
To add a Maintenance Plan to a Contract:
Go to the My Customers > Contracts > Contracts module
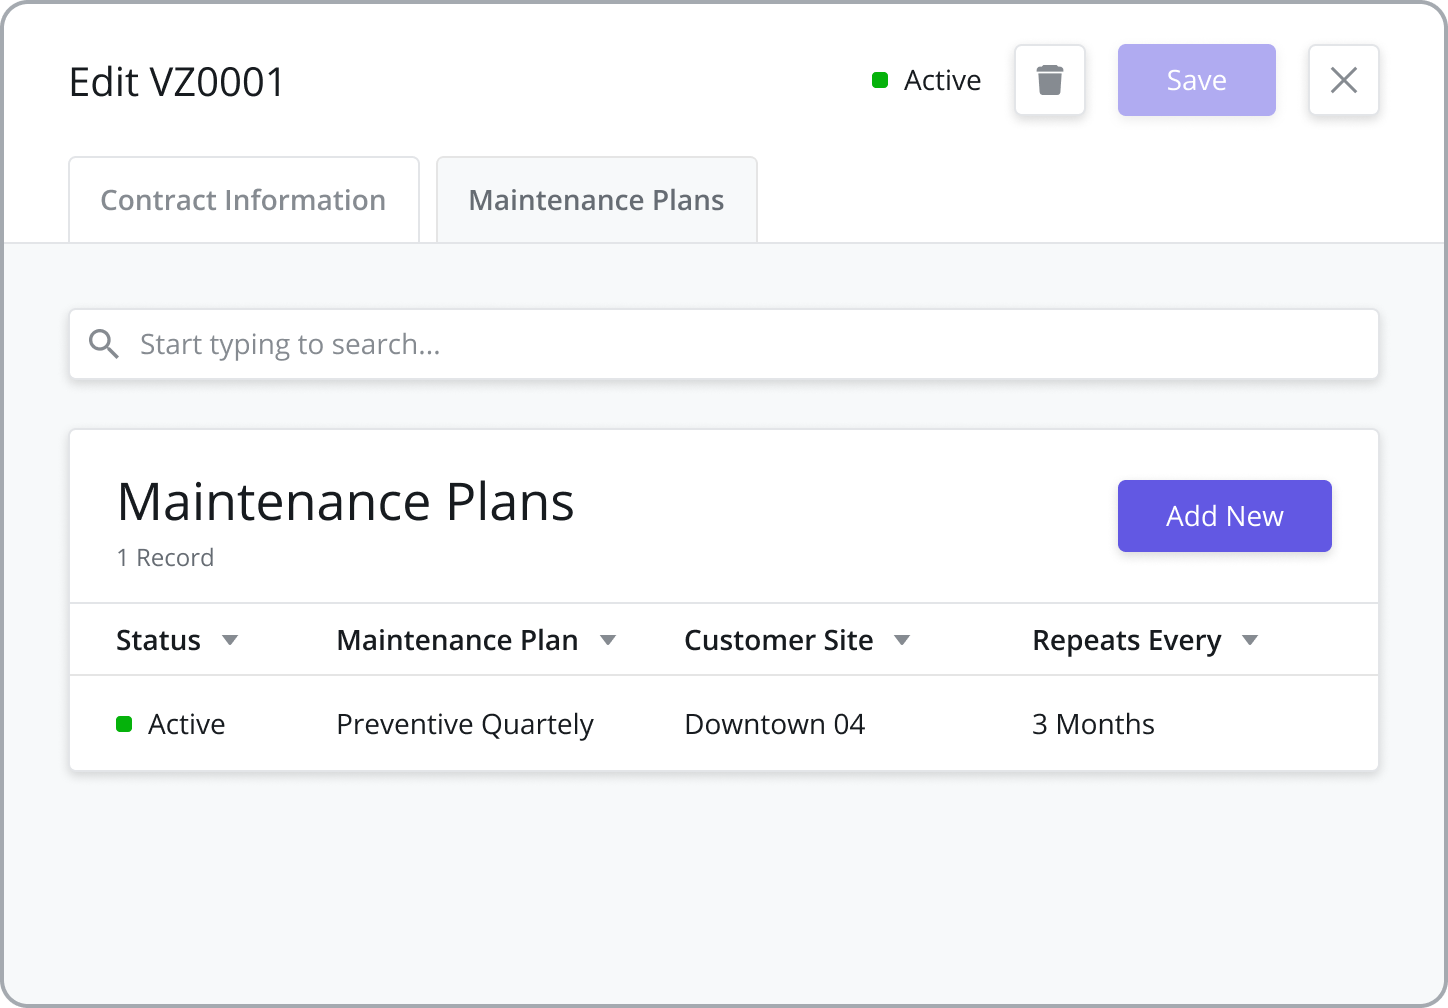
Hover over the Contract you wish to add the plan to and click on the “Edit” icon to bring up the Contracts side panel
Click on the “Maintenance Plan” tab
Click the “Add New” button from the data grid
Fill in the details in the sidepanel and click “Save”
To add a Maintenance Plan from the Maintenance Plan module:
Go to the My Customers > Contracts > Maintenance Plans module
Click the “Add New” button from the data grid
Fill in the details in the sidepanel and click “Save”
For more information on configuring Maintenance Plans, navigate to the Maintenance Plans page.