Step 4: Translations
NEW (23.10)
After you’ve finished building your task, click the Next button on the top navigation bar of the wizard. Doing so takes you to the next step of the process: adding any translations that may be required if you need the pages translated into other languages.
Adding Translations Manually
To add translation to your task manually, follow the steps below:
Select the Language to translate to from the dropdown menu.
Select the page you wish to translate from the Page Panel on the left. Doing so will show all available translation strings in the panel on the right. If you need help understanding where the strings are coming from, click on a component from the canvas. Doing so will highlight the strings coming from that component in light purple as shown in the image.
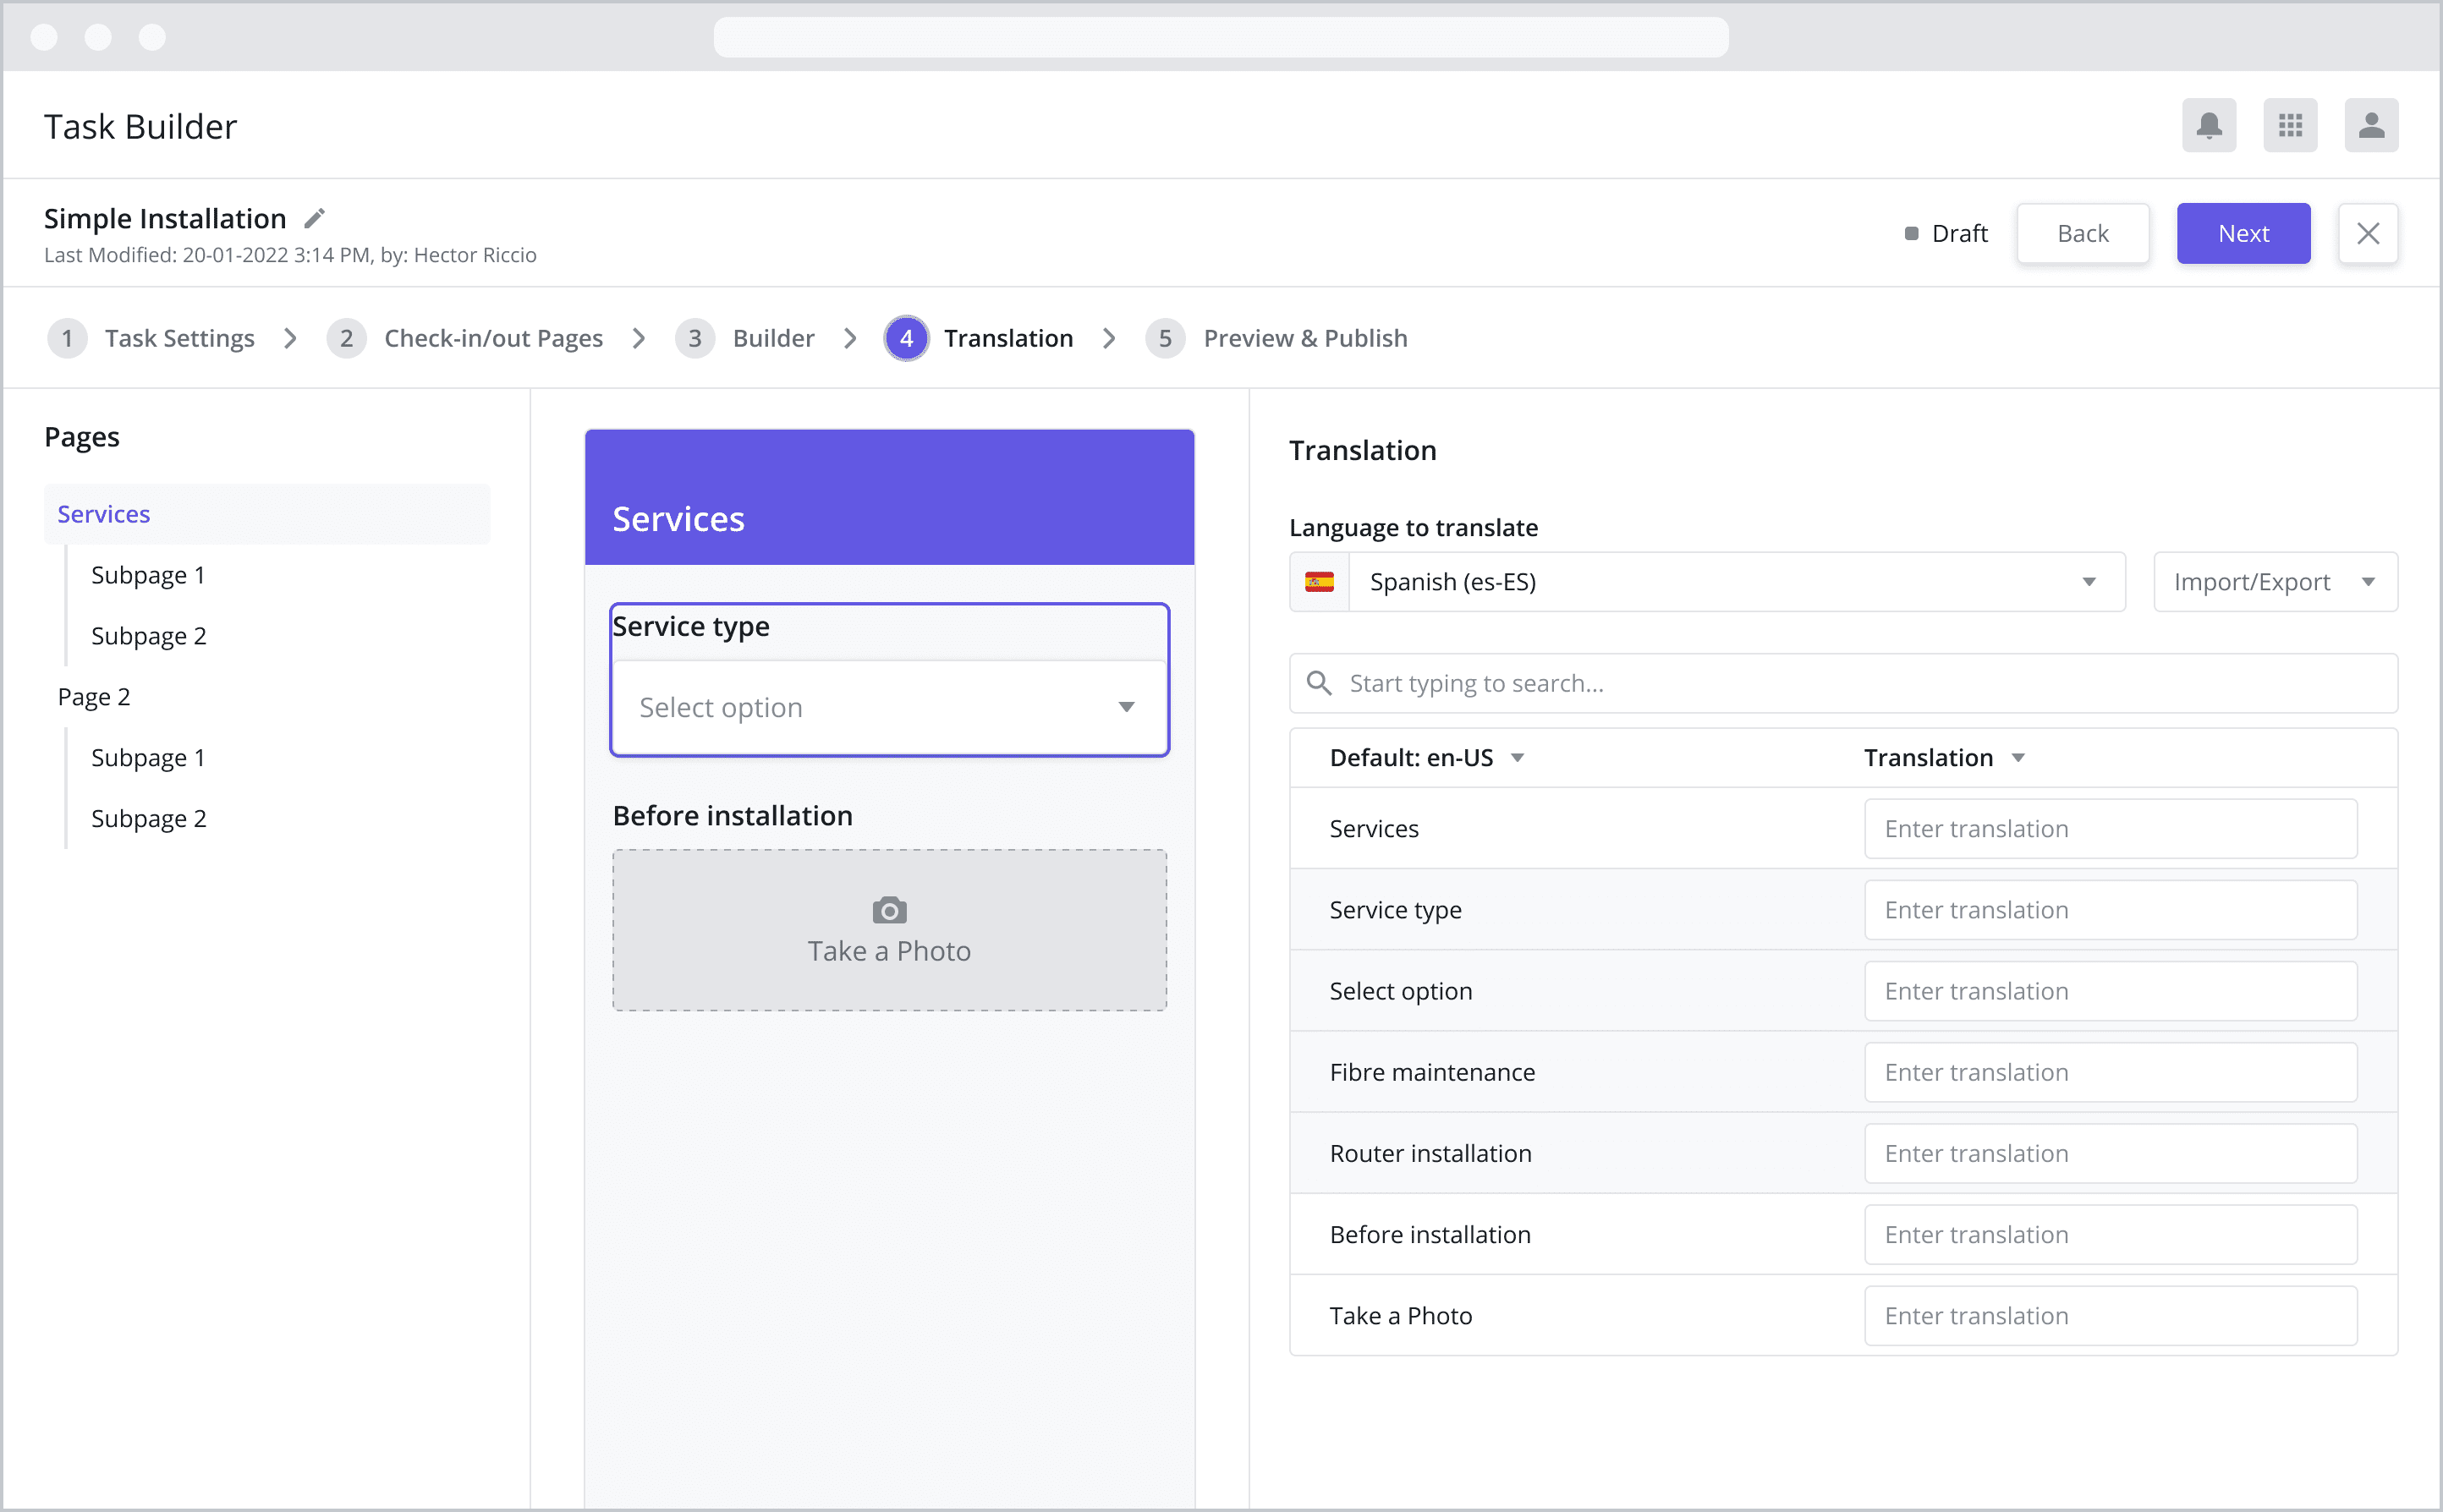
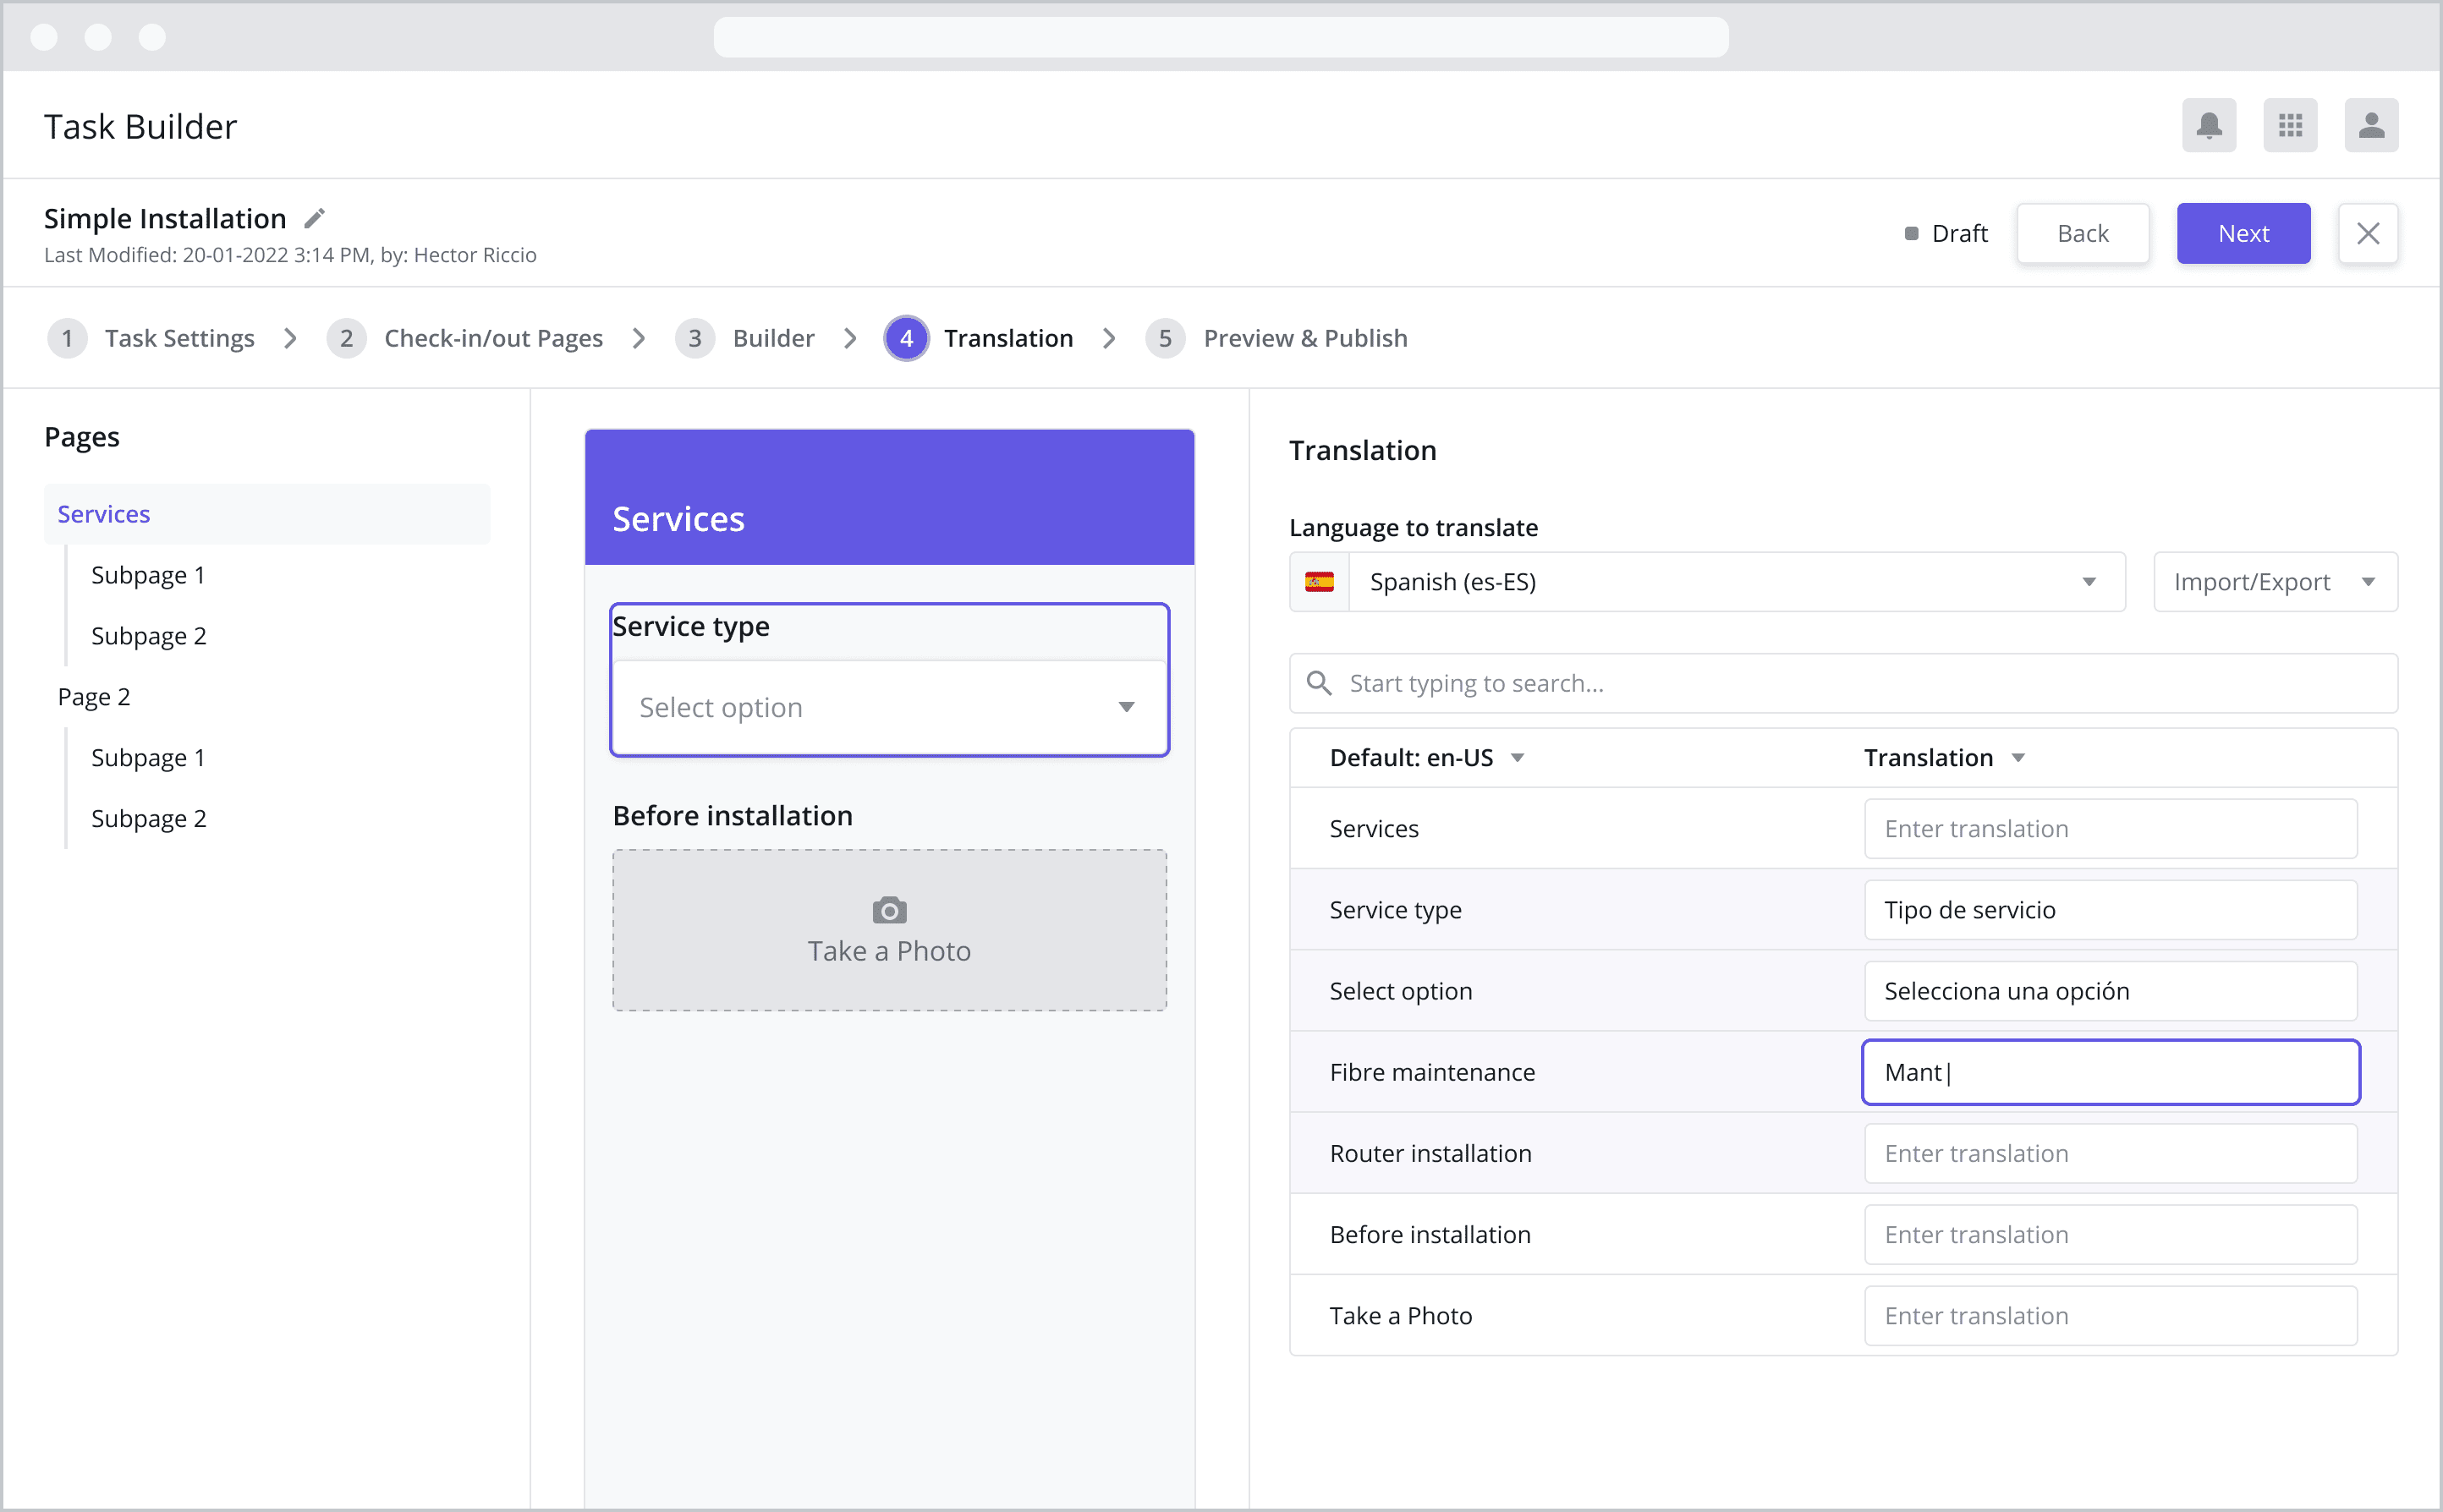
Enter your translations into the Translations column.
Once you are happy with the translations, repeat as needed for additional languages by selecting another language in the Language to translate dropdown.
Once you are done, click “Next” in the top header to move on to the final step.
Importing Translation Strings
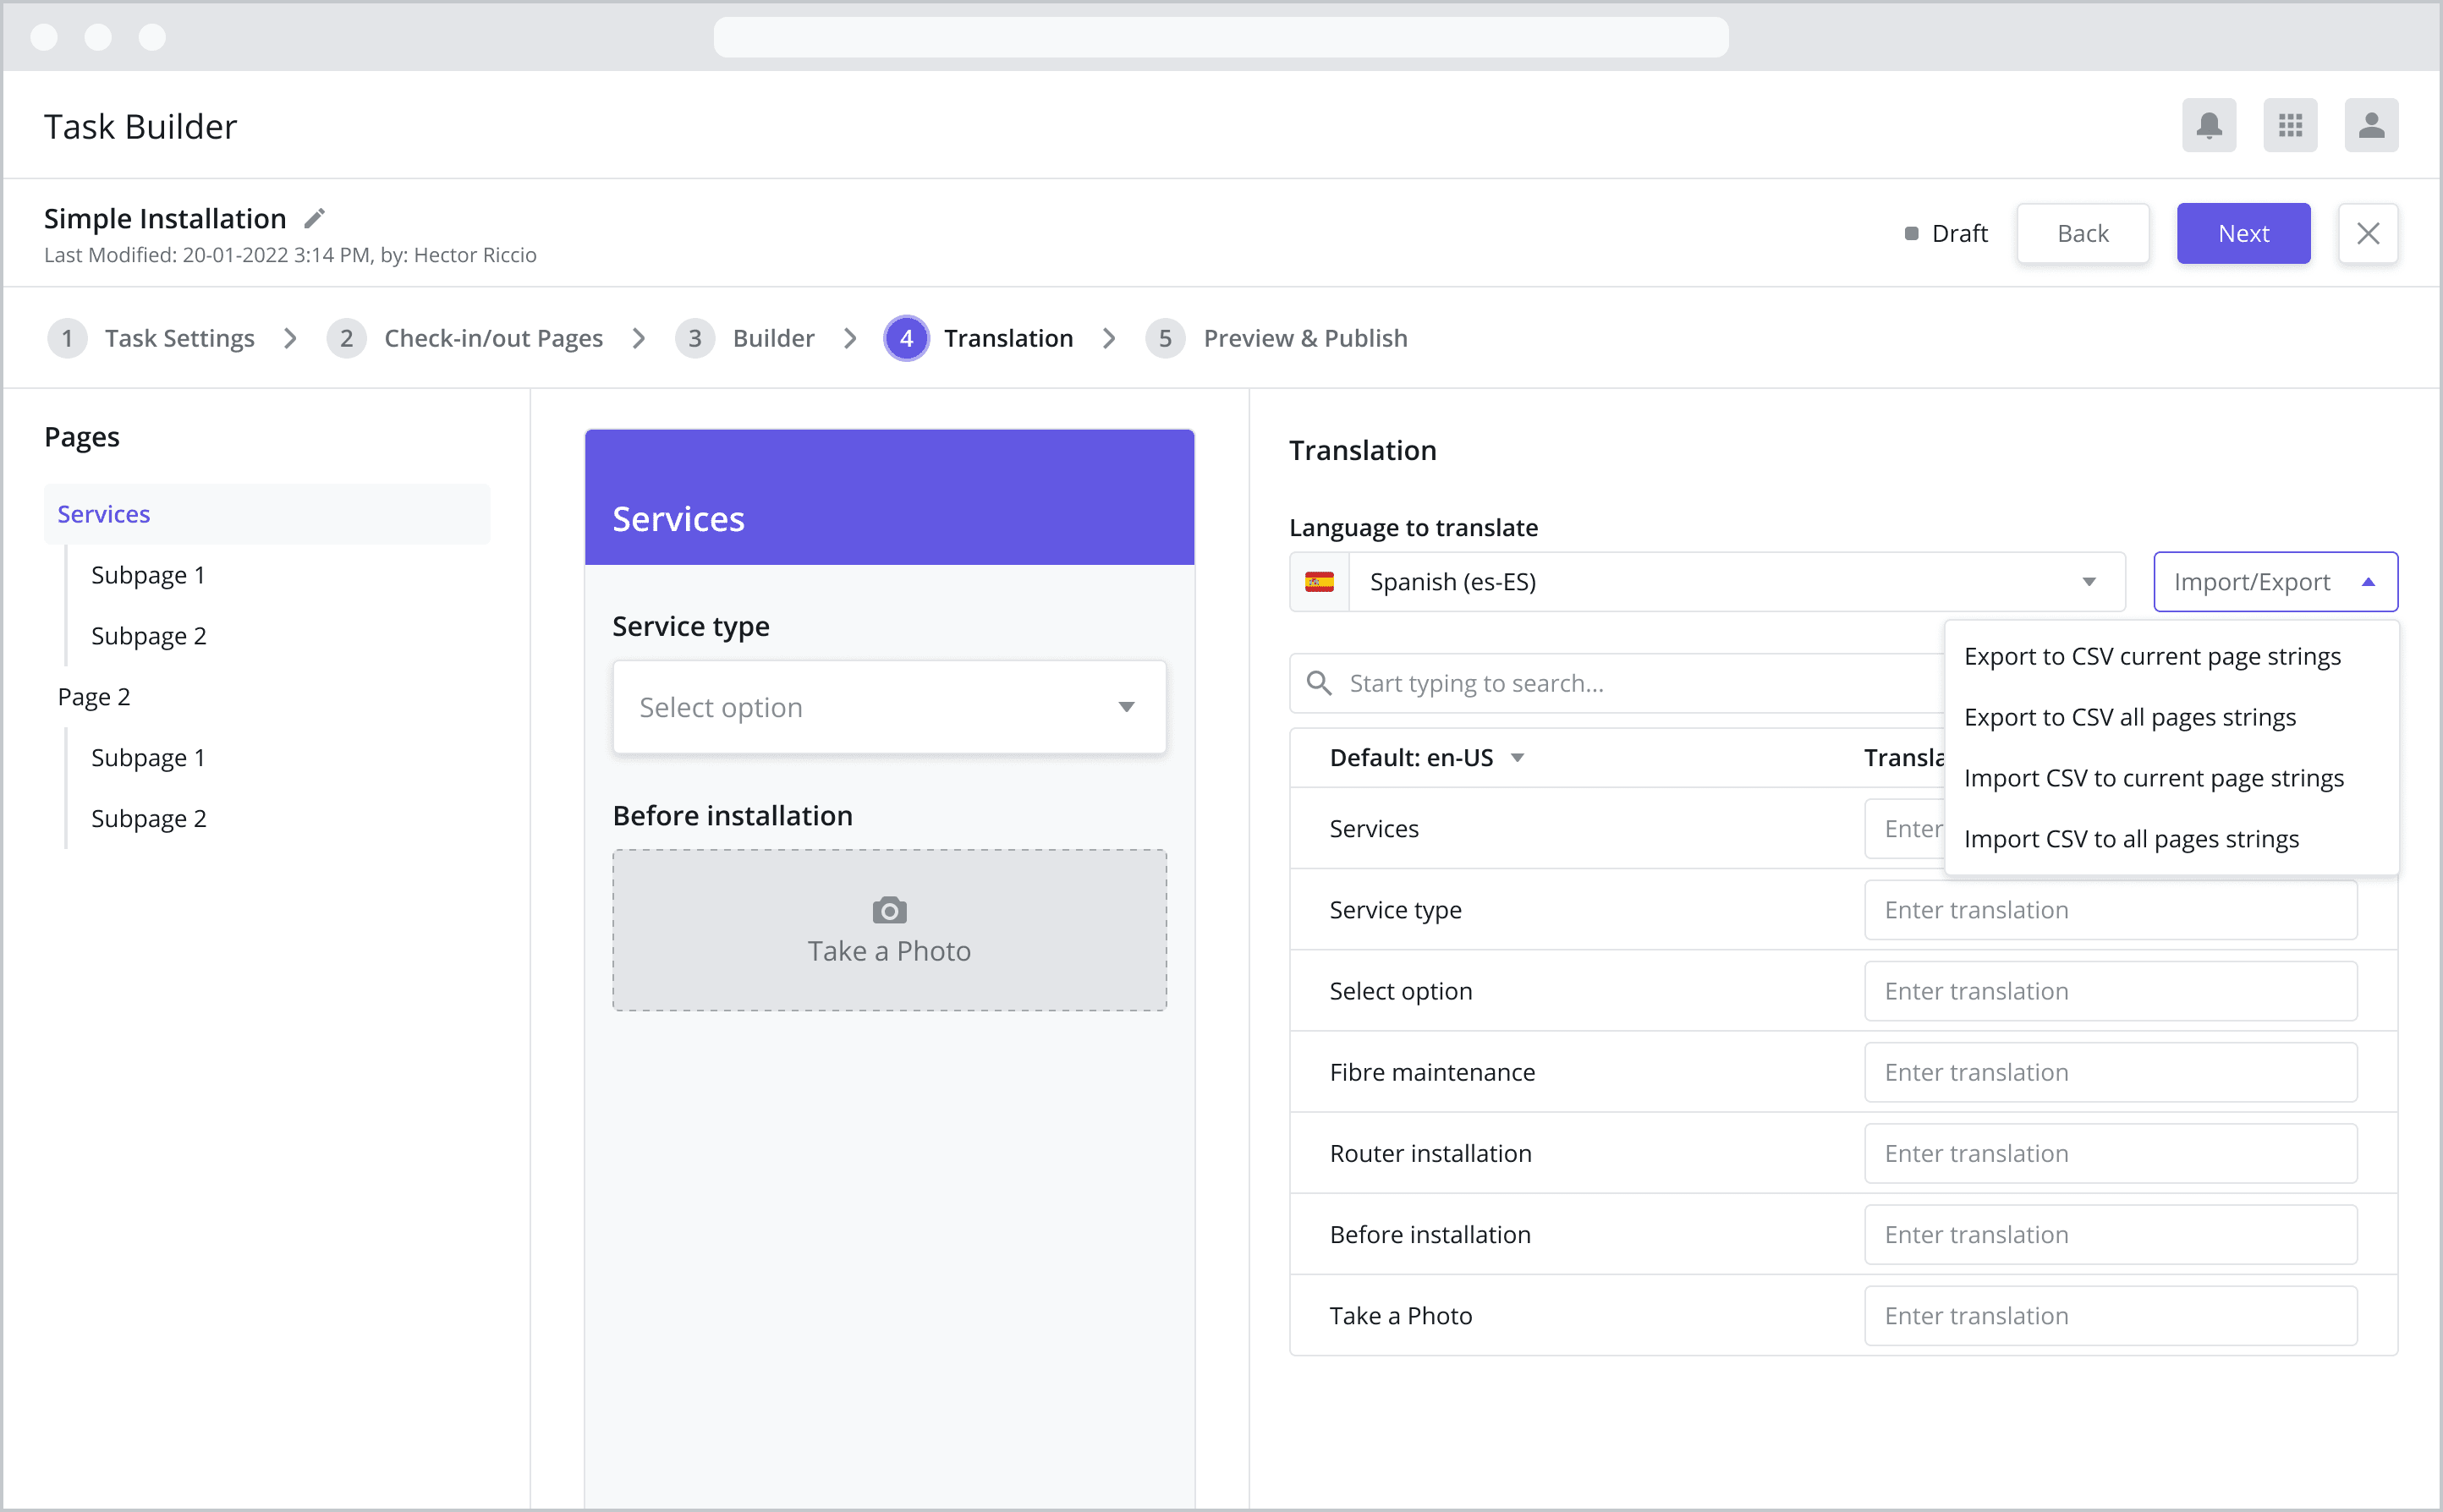
To save you time, you also have the option to import a CSV file with your translations. This can save you time, especially if your task has a large number of pages and/or components. To import translation using a CSV, follow the steps below:
Step 1: Export the all Page Strings into a CSV
The first step is to export a CSV file containing the strings available for translations:
Select Export all Pages Strings to CSV option for the Import/Export dropdown menu. Doing so will export the strings available for translation in the default language (usually “en-US” which stands for US English).
Open the CSV file in Microsoft Excel, Google Sheets, Apple Numbers, or any other CSV editor. See sample export below:
id | locale | resource | page |
|---|---|---|---|
tbSety2tbz9u | en-us | Service type | page1 |
tbSeopd0k3wf | en-us | Select option | page1 |
tbAn2d2nn4g | en-us | Answer 2 | page1 |
tbAn3xwxz6q | en-us | Answer 3 | page1 |
tbAn17amqxo | en-us | Answer 1 | page1 |
tbCom6aiib | en-us | Comments | page1 |
tbAdcoheam2fyd | en-us | Add comments here | page1 |
tbSeihhcl7 | en-us | Services | page1 |
Step 2: Edit and Export the new CSV
Change the language by changing the fields in the Locale column from “en-US” to your desired language. If you are unsure what to put in the locale field in place of “en-US”, select the Language to translate to from the dropdown menu in the Builder. The correct locale is shown in parentheses from the dropdown menu. For example, to translate into Spanish from Mexico, select “Mexican Spanish (es-mx)” in the dropdown menu. You will notice that “es-mx” appears in parentheses from the dropdown menu. That should be the input used to replace “en-US” in the locale column.
In your duplicated rows which now show “es-mx” in the locale column, replace the English word in the “resources” column with the Spanish equivalent. For example, “Services” would be replaced by the Spanish equivalent “Servicios”.
Repeat these steps for each row. In the end, you should have records for both the default English entries (Locale = “en-us”) and Spanish entries (Locale = “es-mx”). So if your originally exported file had 5 rows (excluding the header/1st row), your new CSV file should have 10 rows (excluding the header/1st row). See the sample below:
id | locale | resource | page |
|---|---|---|---|
tbSety2tbz9u | es-mx | Tipo de servicio | page1 |
tbSeopd0k3wf | es-mx | Elige una opcion | page1 |
tbAn2d2nn4g | es-mx | Respuesta 2 | page1 |
tbAn3xwxz6q | es-mx | Respuesta 3 | page1 |
tbAn17amqxo | es-mx | Respuesta 1 | page1 |
tbCom6aiib | es-mx | Comentarios | page1 |
tbAdcoheam2fyd | es-mx | Añadir comentarios aquí | page1 |
tbSeihhcl7 | es-mx | Servicios | page1 |
Save and export your file as a CSV.
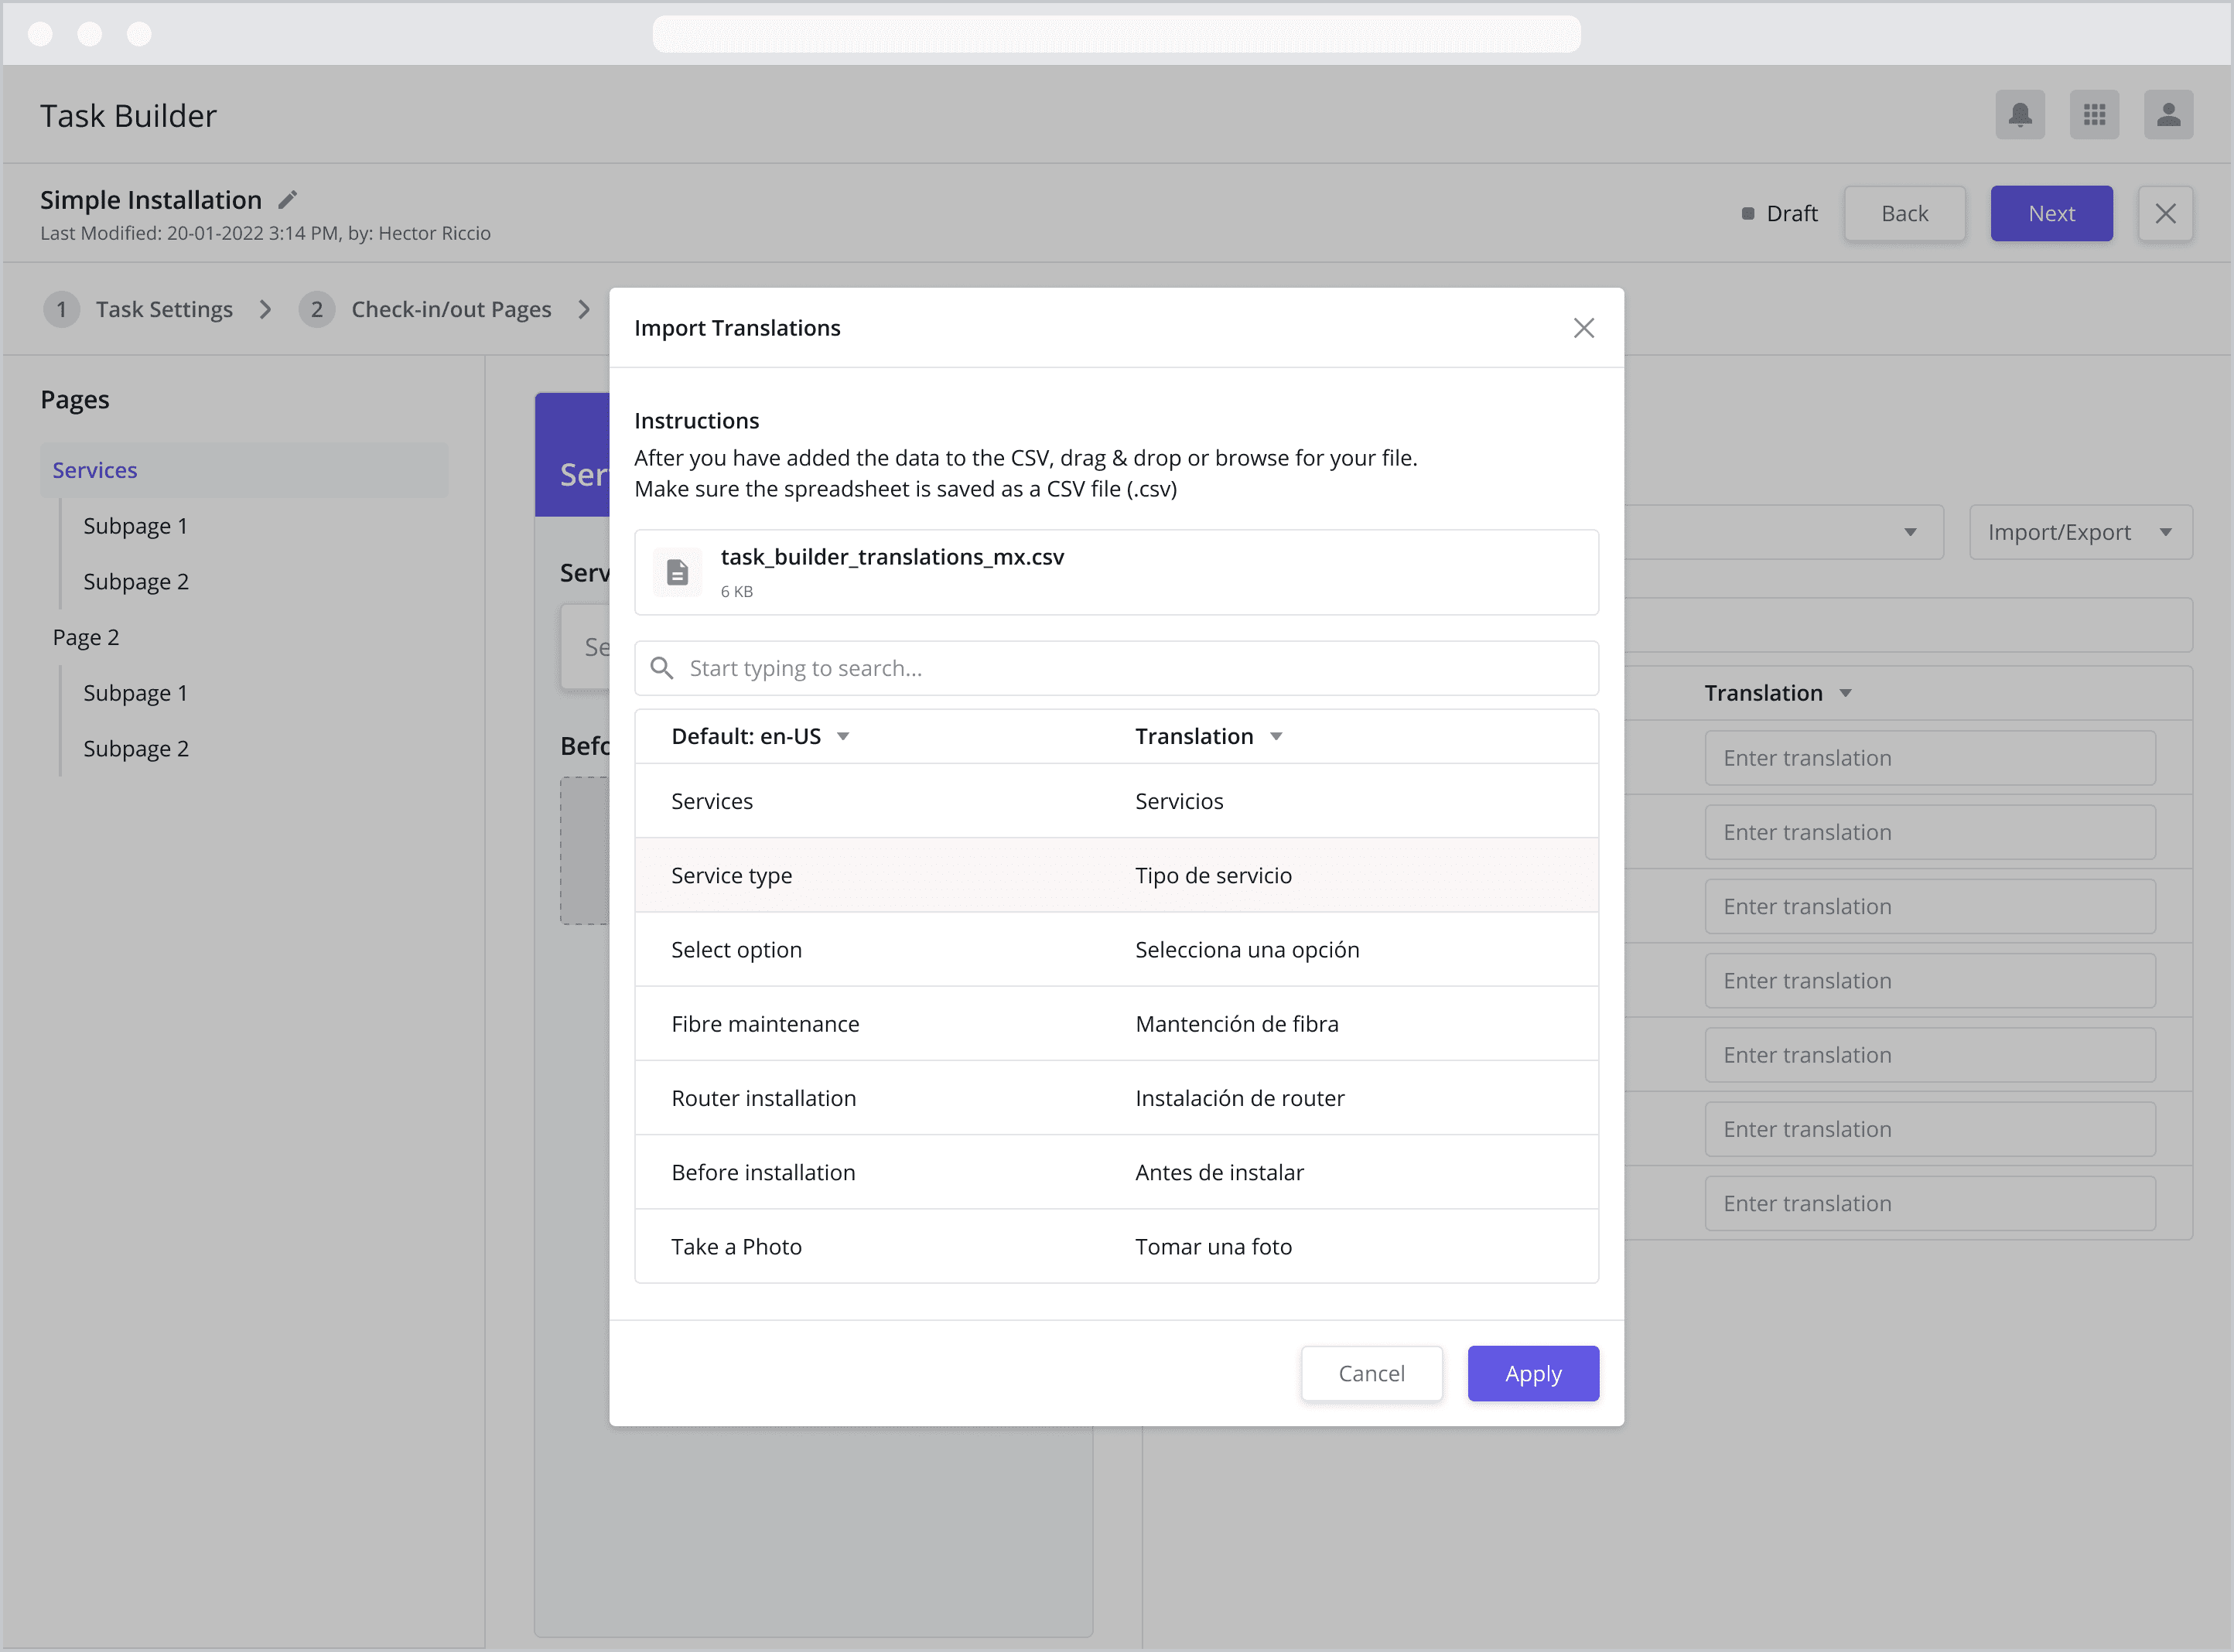
Step 3: Import the new CSV
Select the Import CSV option for the Import/Export dropdown menu back in the Task Builder.
Select the CSV file you have just exported in Step 2.
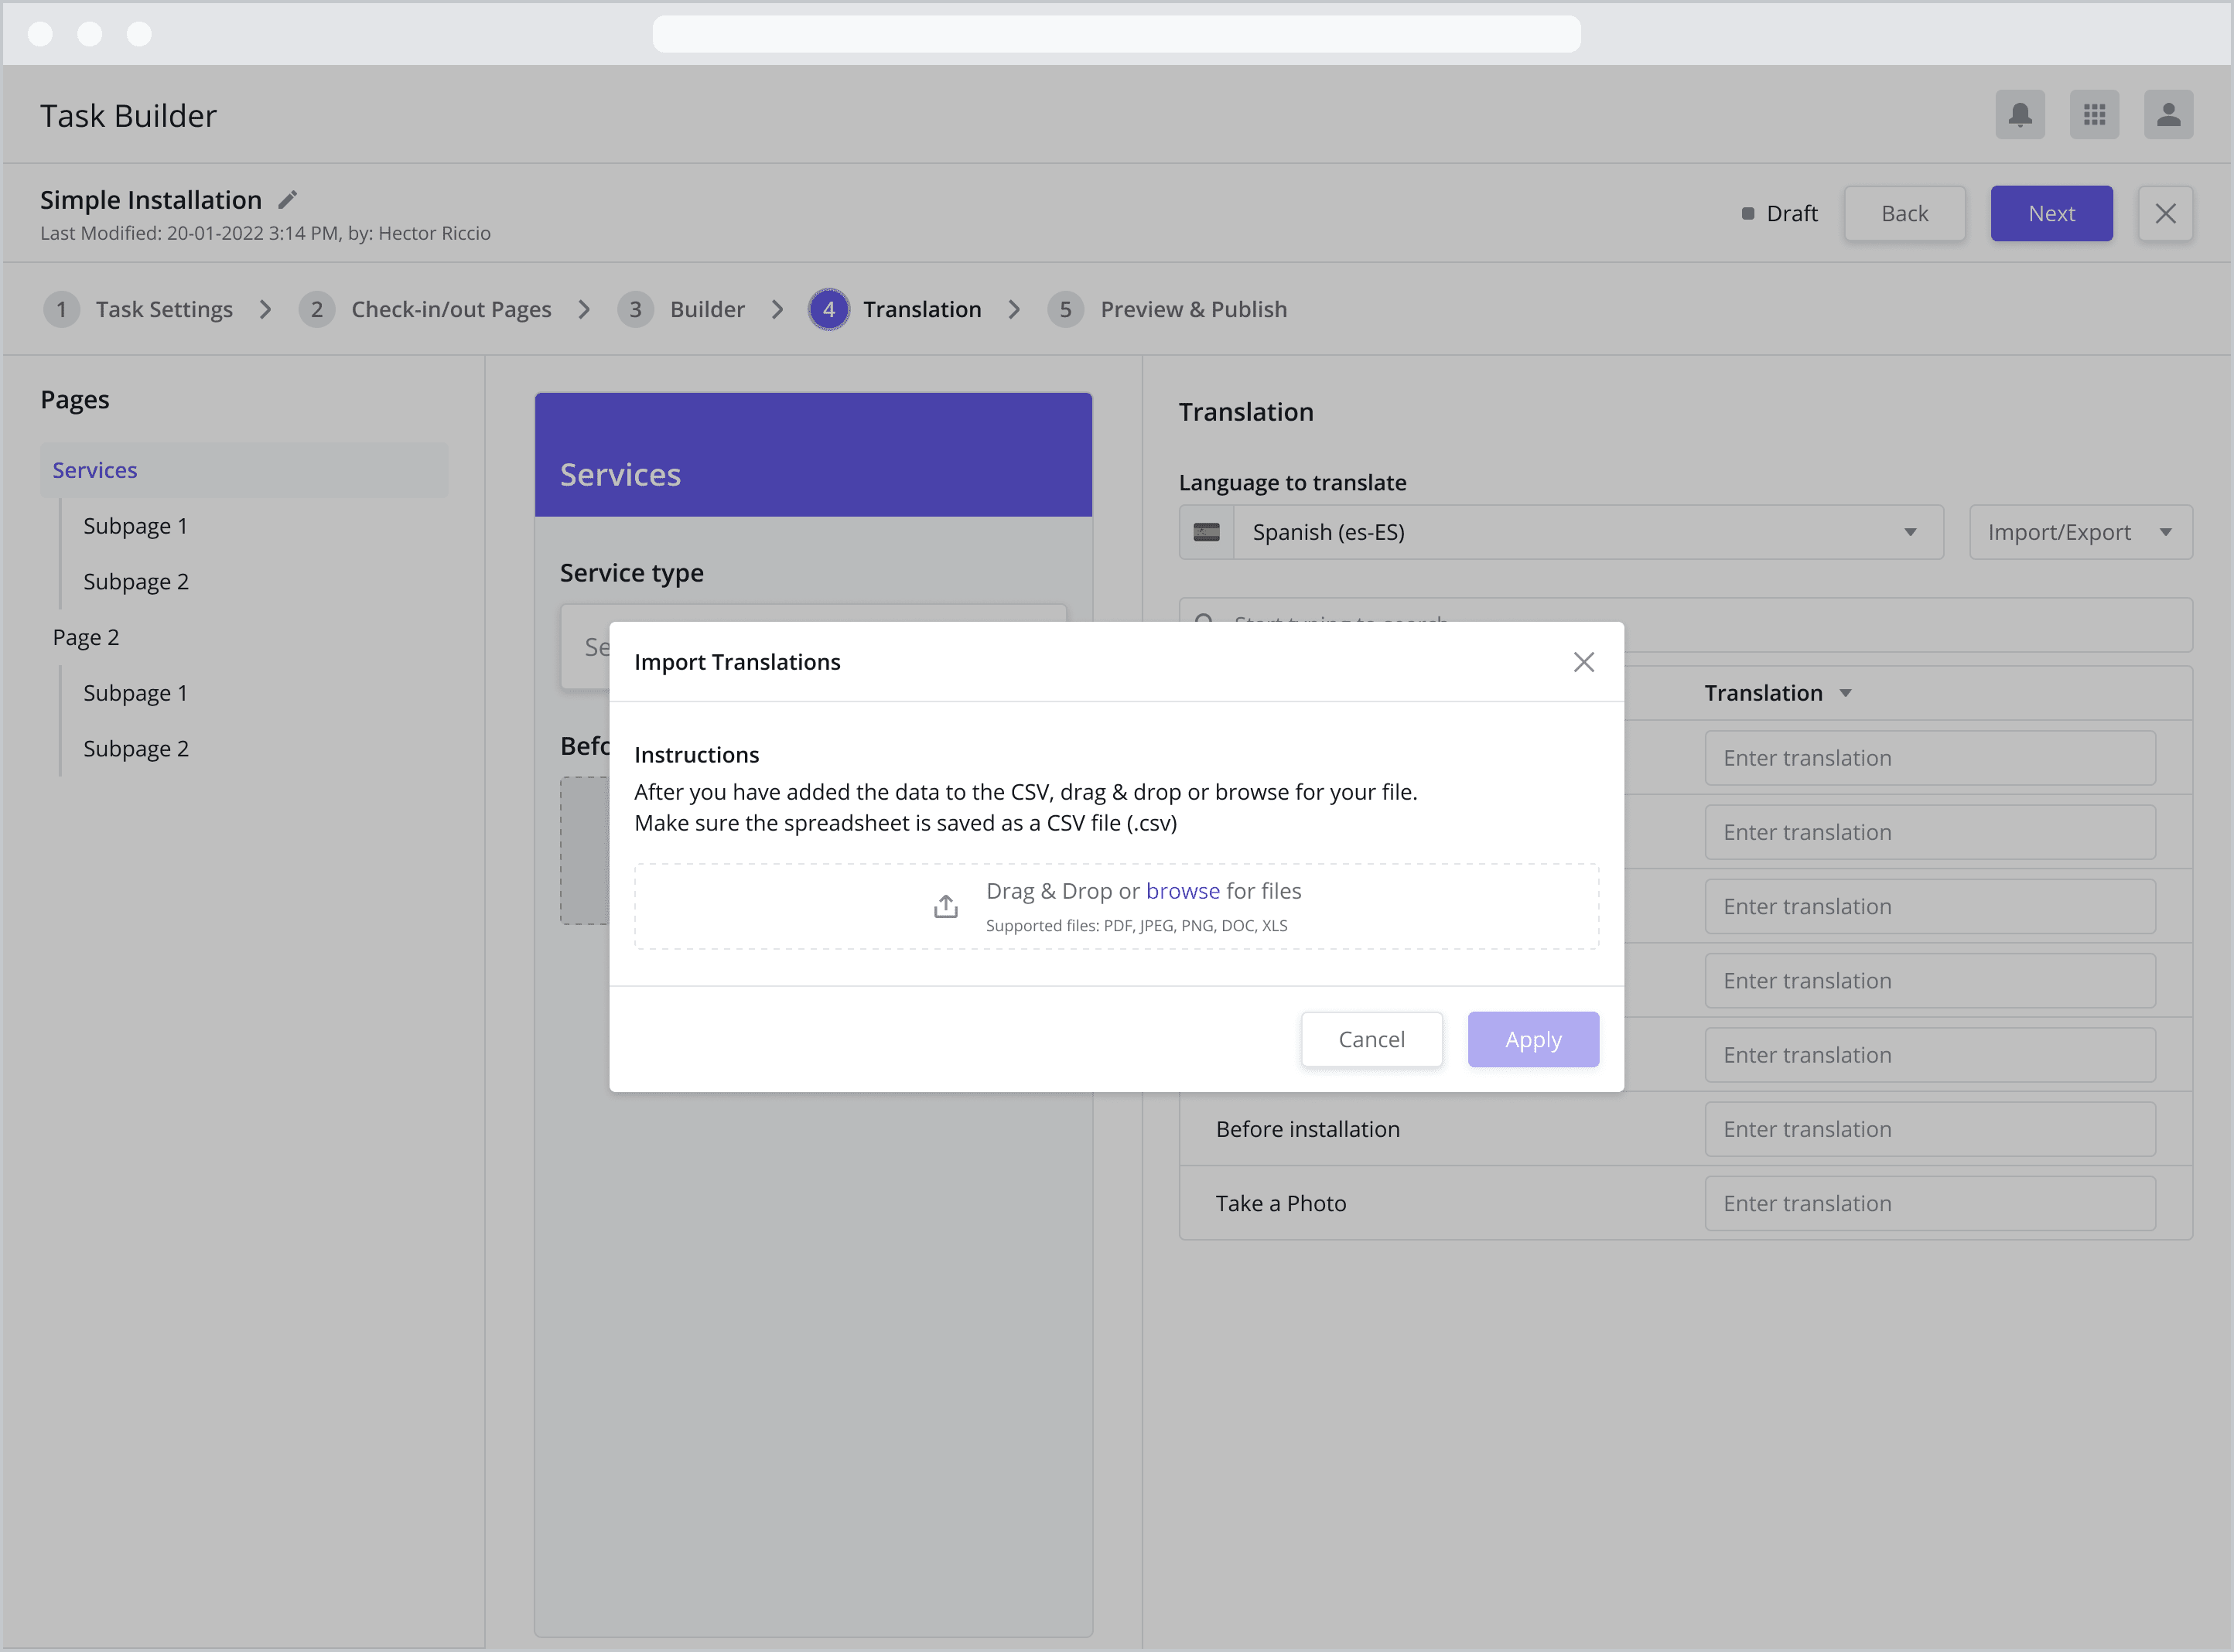
Review the translations in the preview popup. If you are satisfied with the results, click “Apply” and you are all done!
Once you are done, click “Next” in the top header to move on to the final step.
After completing Step 4, continue to Step 5: Preview & Publish