Step 5: Preview & Publish
After you’ve finished building your task and adding translations, click the Next button on the top navigation bar of the wizard. Doing so takes you to the final step of the process: previewing and publishing the task.
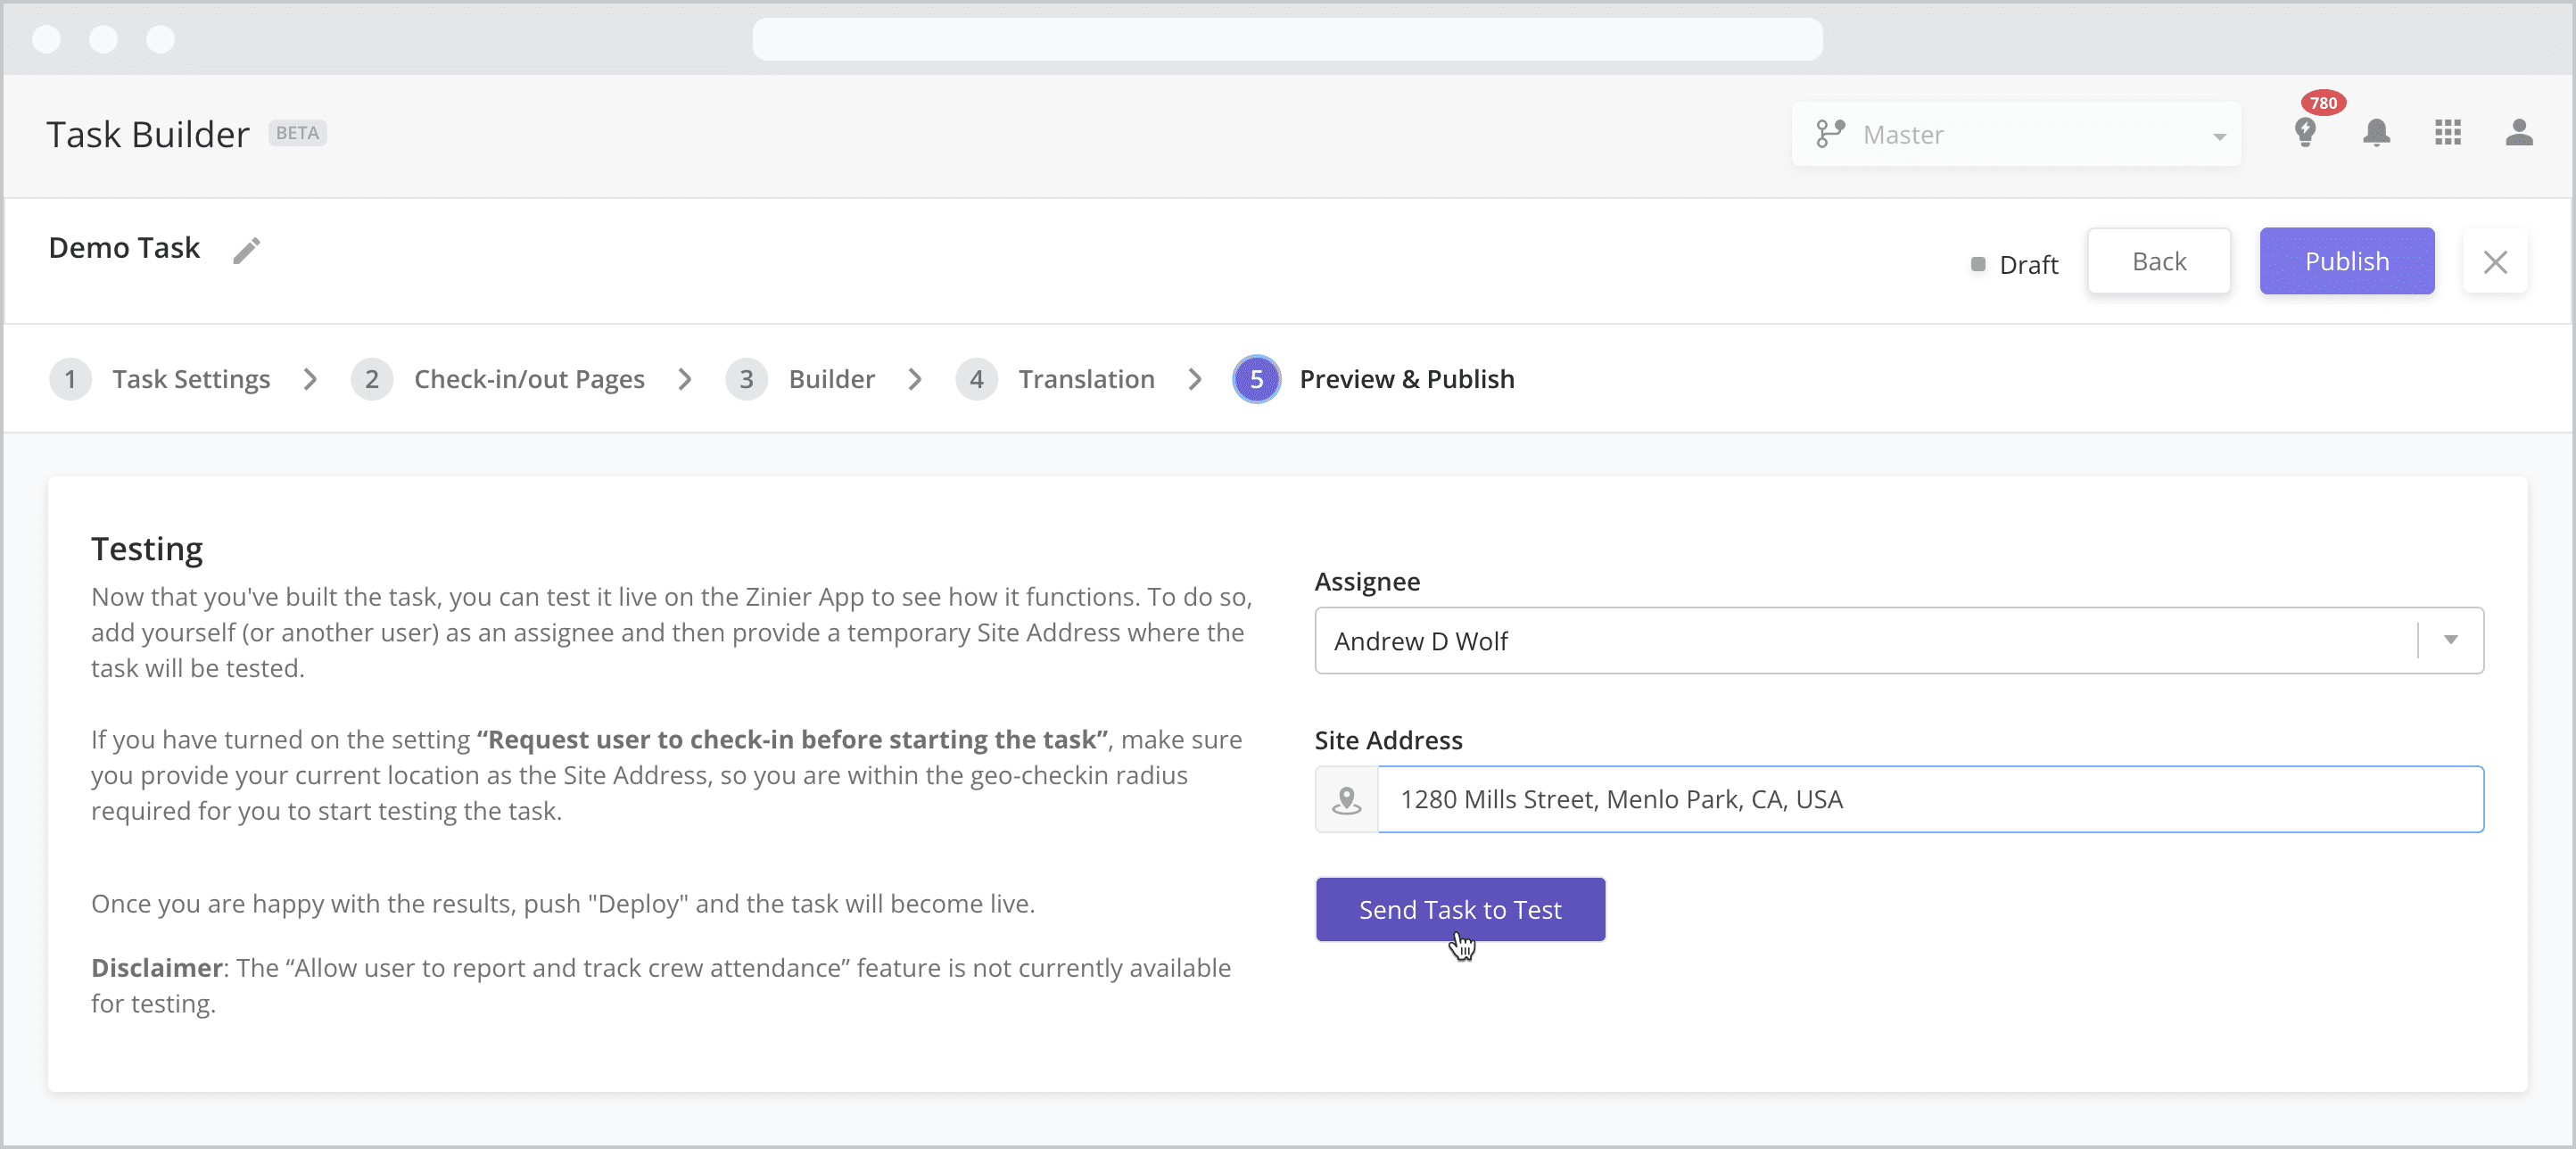
Previewing and publishing a task
Now that you’ve built the task, you can test it live on the Zinier App to see how it functions. To do so, follow the steps below:
Add yourself (or another user) as the Assignee. If adding yourself, make sure you have been added as a Technician so you have access to the mobile app.
Provide a temporary Site Address where the task will be tested. If you have turned on the setting “Request user to check-in before starting the task”, make sure you provide your current location as the Site Address, so you are within the geo-check-in radius required for you to start testing the task.
Open the Zinier mobile app and navigate to the Task List. You should see the test task in the list. Click on it and review the task.
Once you are happy with the results, return to the Task Builder and click the “Deploy” button. Congratulations! Your task is now live and ready for use.
You will know the task is live if the status changes from “Draft” to “Active”. Only “Active” tasks can be added to work orders and assigned to technicians.
Adding a Task to a Work Order
Once your task has been published, it becomes available for use across your solution. To add a task to a work order, follow the steps below:
Step 1: Add the Task to a Work Order Type
When adding tasks to a work order, the list of available tasks comes from the Work Order Type associated with the work order. So the first step is adding the newly created task to a Work Order Type so that it is available for use.
Open the Solutions app by clicking on the Zinier Apps icon on the top right of the screen.
Go to Settings > Work Order Settings > Work Order Types and click on the Work Order Type you wish to add the task to.
Add the task to the Associated Task Types datagrid of the applicable Work Order Type.
Click Save to update the Work Order Type.
Step 2: Add the Task to a Work Order
To add a new Work Order, go to the Work Orders > Active Work Orders module, and click the “Add New” button in the top right of the data grid.
In the General Information section, select the Work Order Type from Step 1.
Fill in the remaining details in the sidepanel and click Save & Continue.
Finally, add the task to the work order and click Publish to deploy the task for scheduling.