Technicians
In the Technicians module, you can manage (add, edit, and deactivate) the technicians in your workforce. After an Admin has invited a user into the organization (from the Users module), the user can be added to the Workforce.
Technicians vs. Web Users
Technicians and Web Users play different roles and have access to different functionality in mobile and web tools:
Technicians are mobile-only users (with mobile app access) who can be scheduled and assigned tasks in Scheduling & Dispatch. They do not have access to web applications.
Web Users, on the other hand, have access to web applications. Which specific web modules they can access is based on their role.
Adding New Technicians
https://vimeo.com/826769144/f2680c138c?share=copy
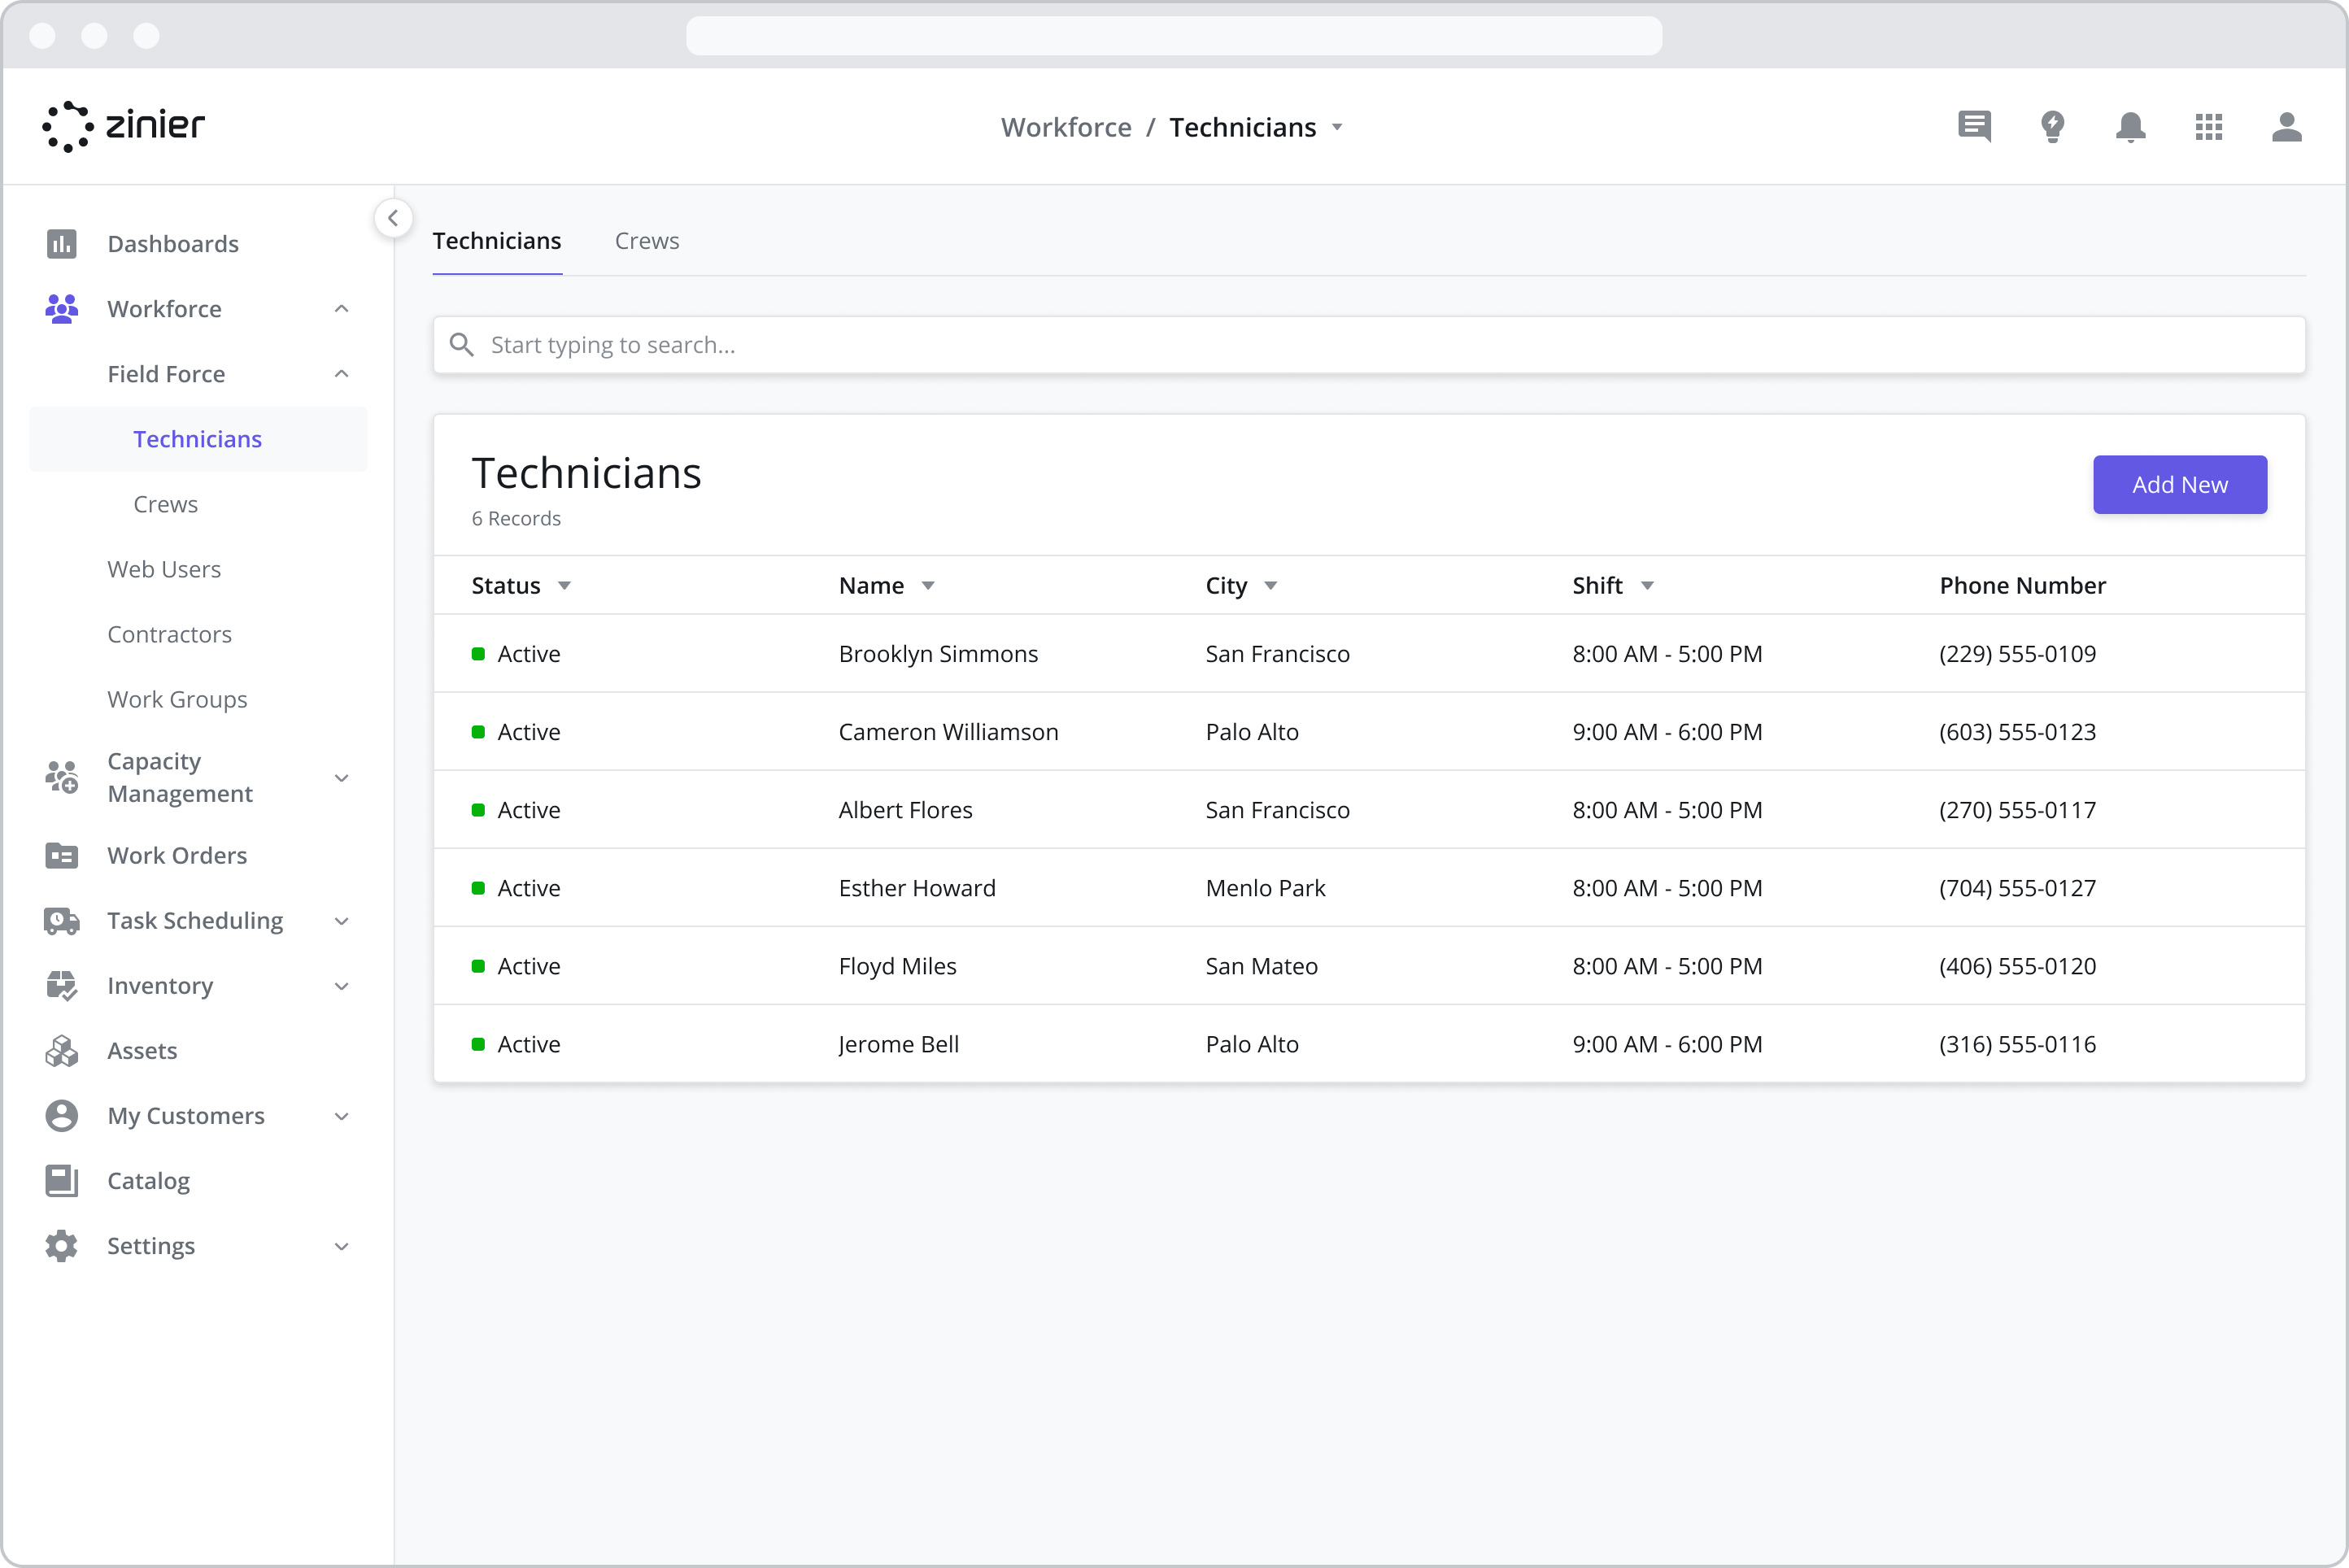
To add a new Technician, go to the Workforce > Field Force > Technicians module, click the Add New button in the top right of the data grid, select the User, and fill in the details in the sidepanel.
A Technician must first be invited as a User from the Admin application. Only then will they be visible in the list of users.
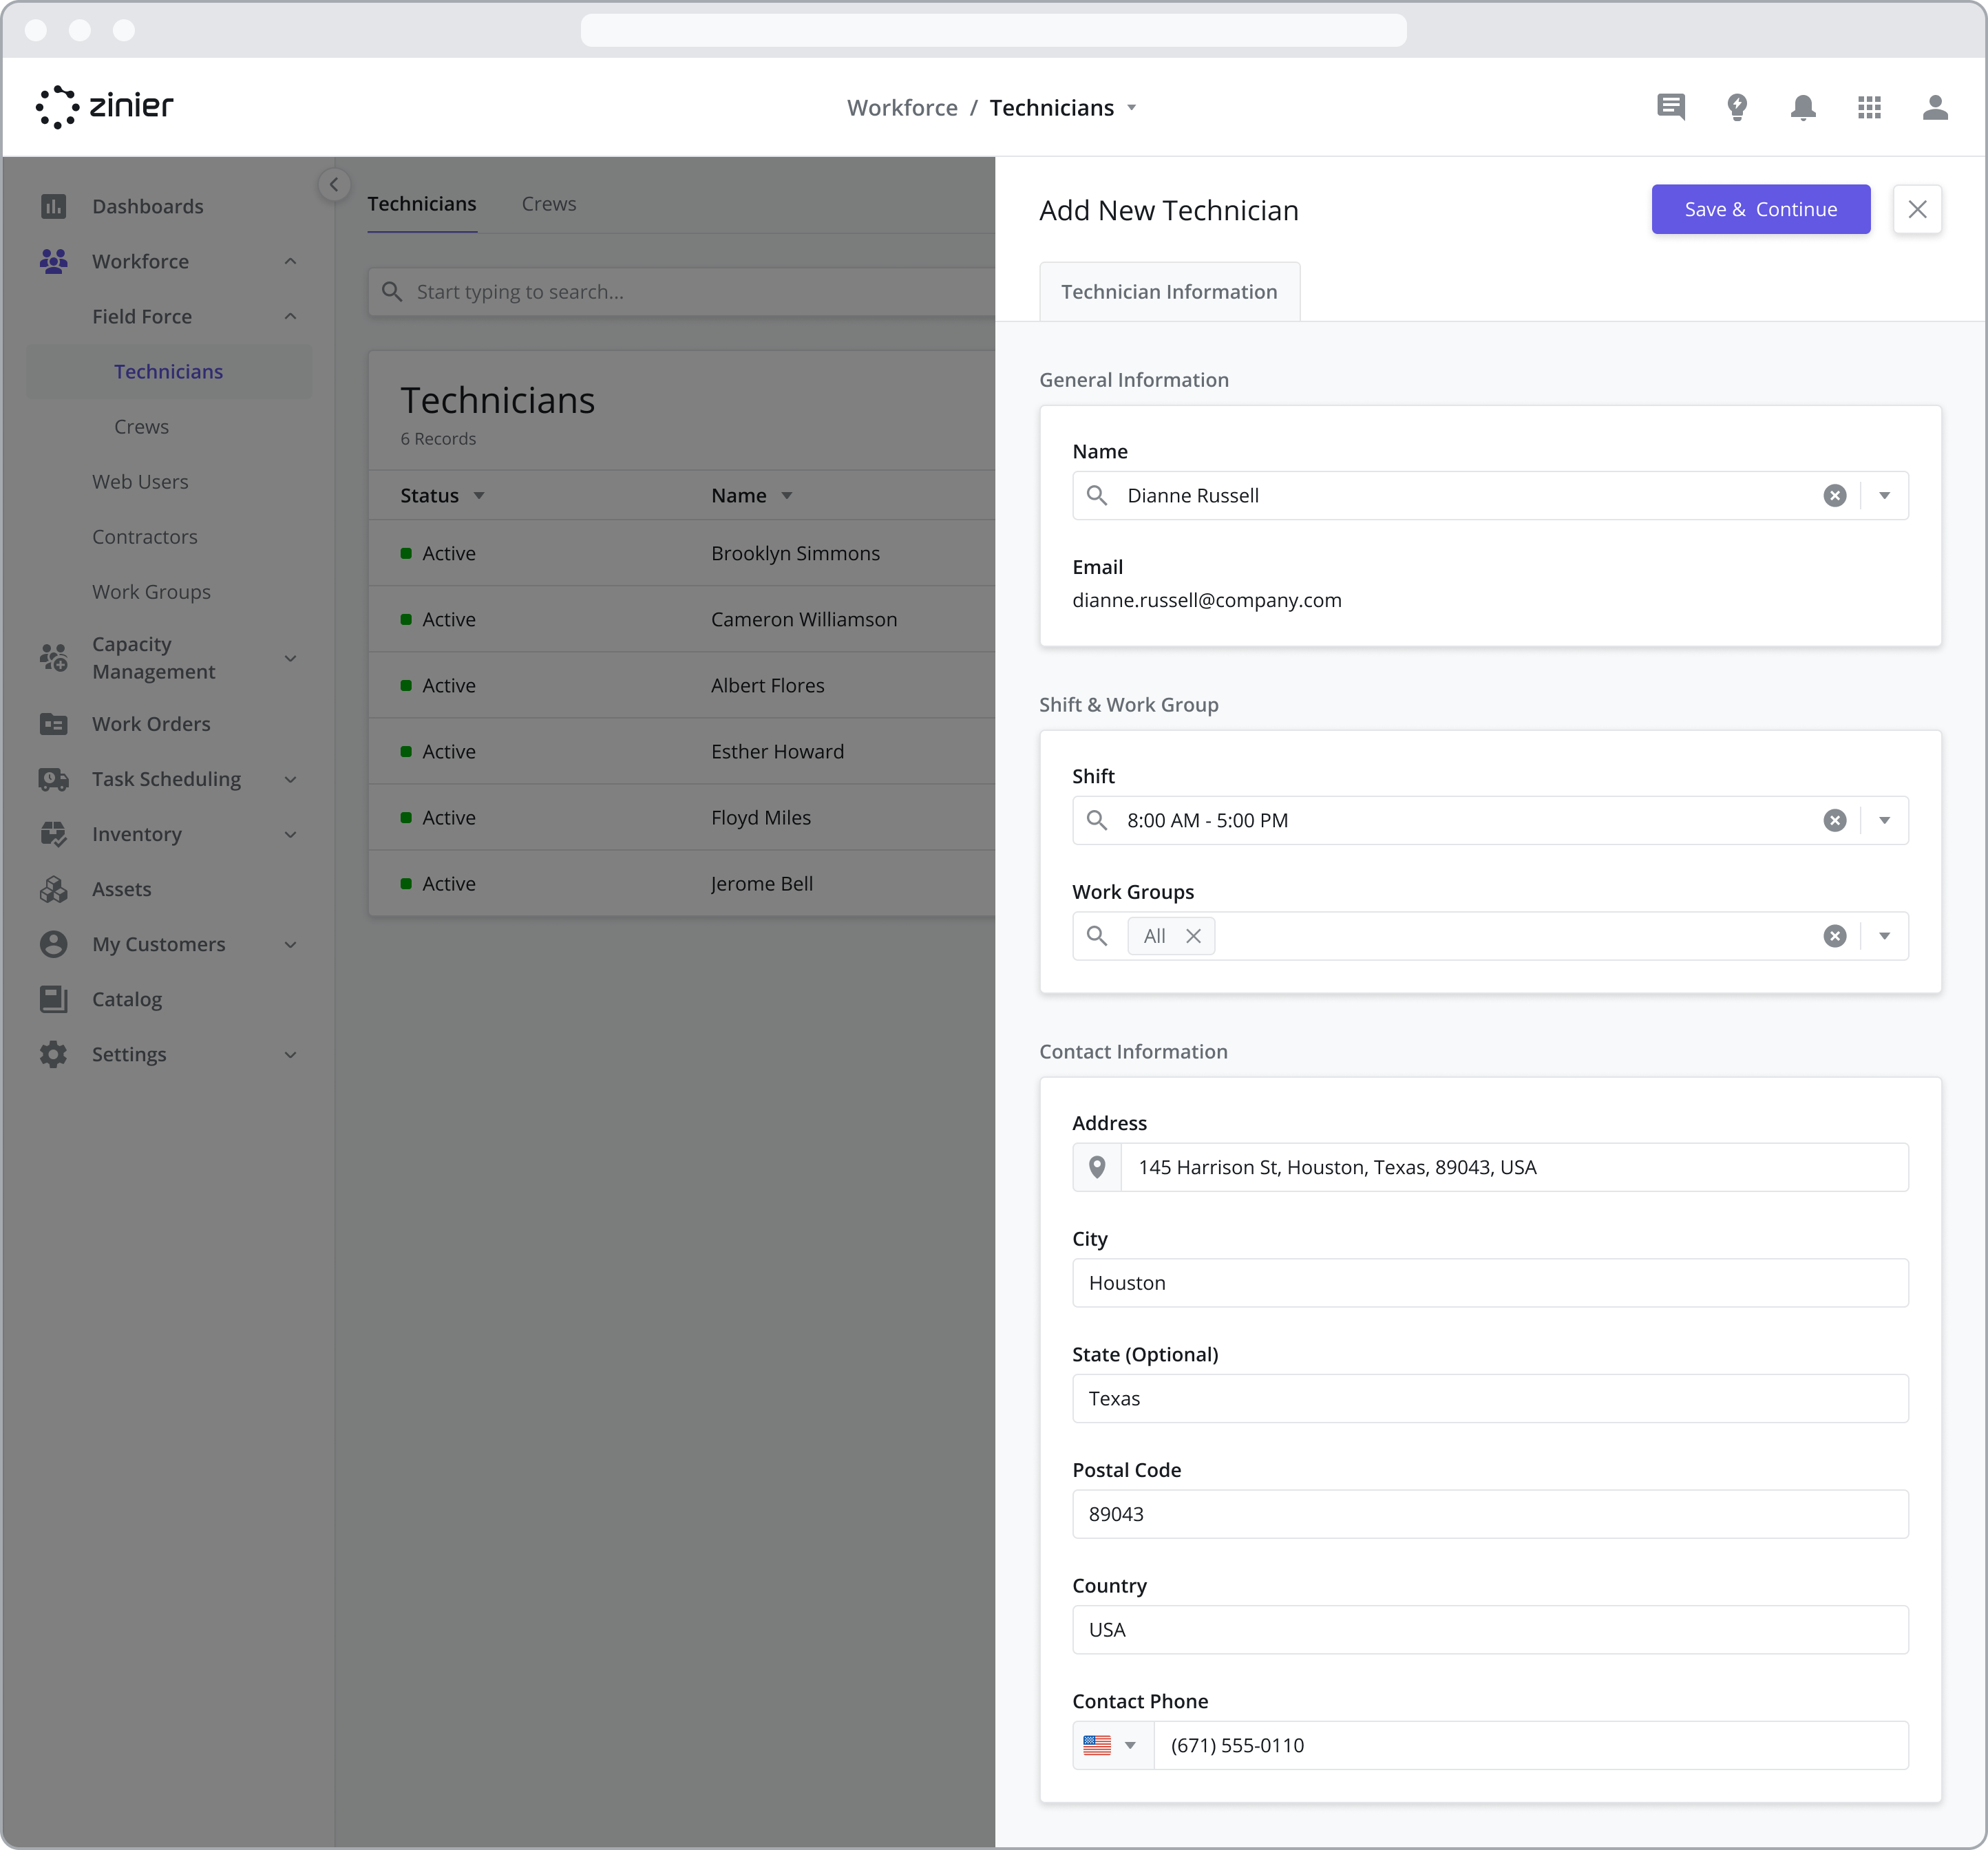
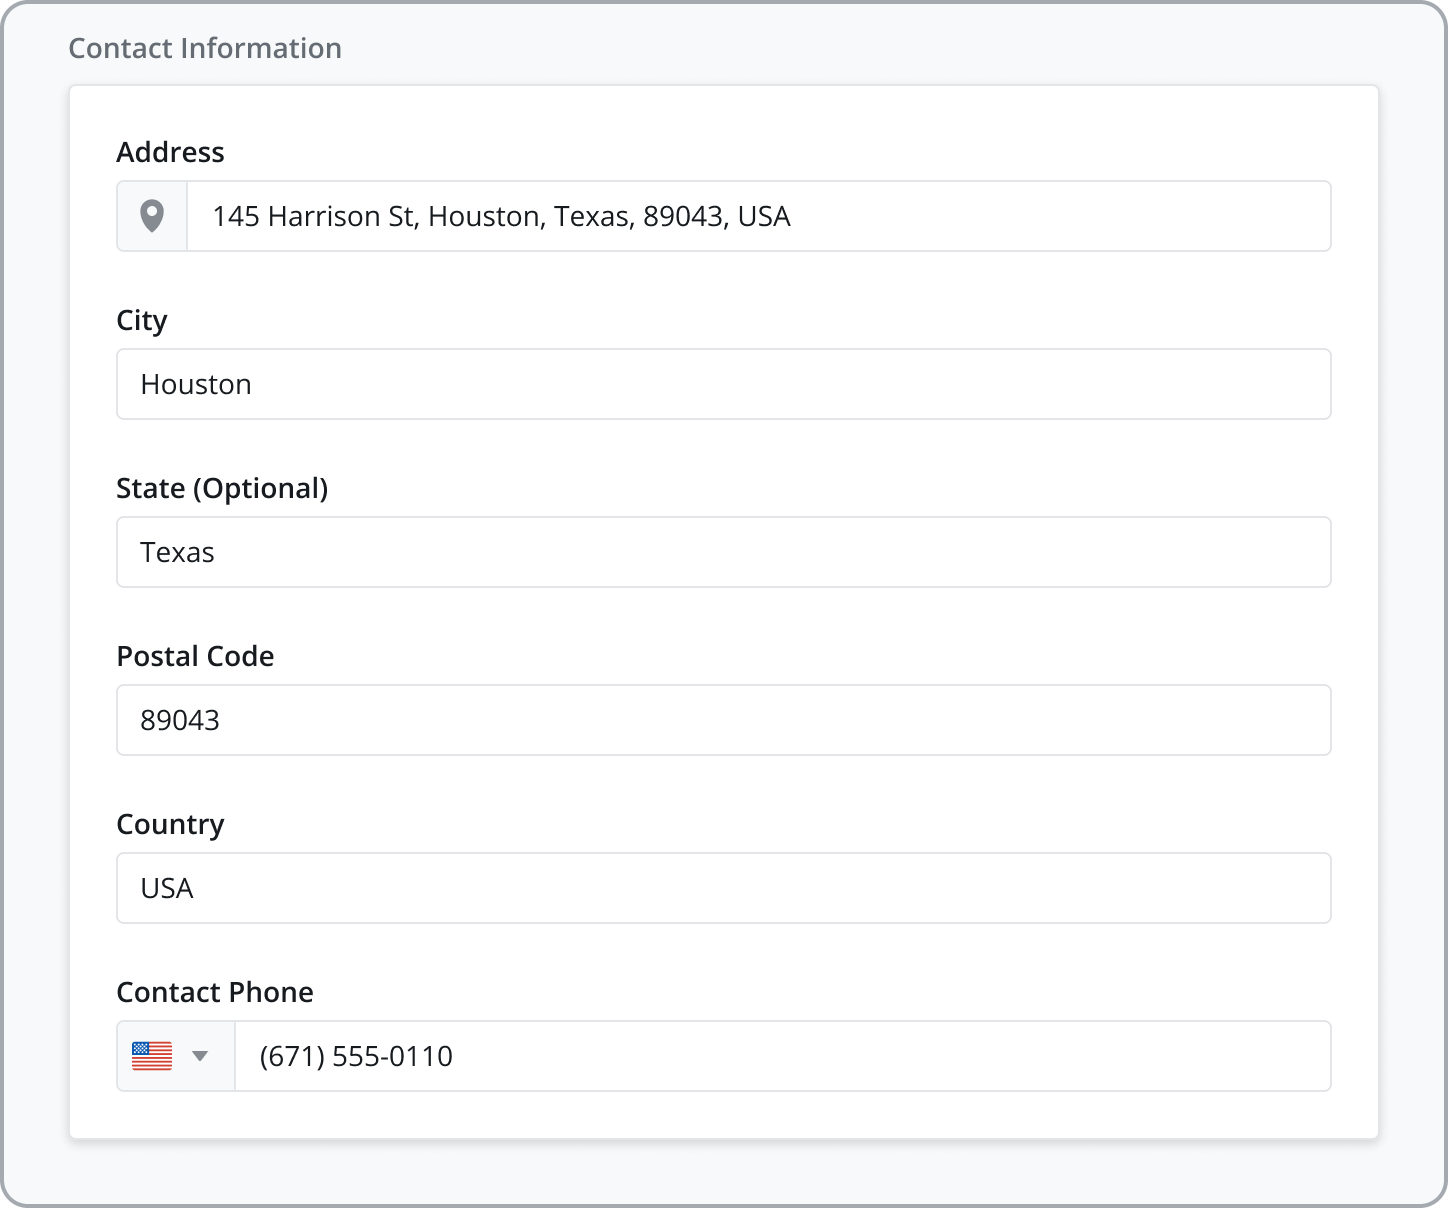
Provide Contact Details & Address/Home Base
Edit contact information and address which is used as the tech’s Home Base. The Home Base / Address is an important field used in several different places:
Auto Scheduler: The Home Base is used as an input when running the Auto Scheduler, which will try and optimize the travel time when generating task assignments. A technician’s Home Base address is used as the starting point for the day and thus can have a big impact on which tasks are assigned and in which order.
Map View: When viewing technicians on the Map View, the Home Base for each technician is shown on the map as a “house” icon, and again, indicates their starting point for their optimized route for the day.
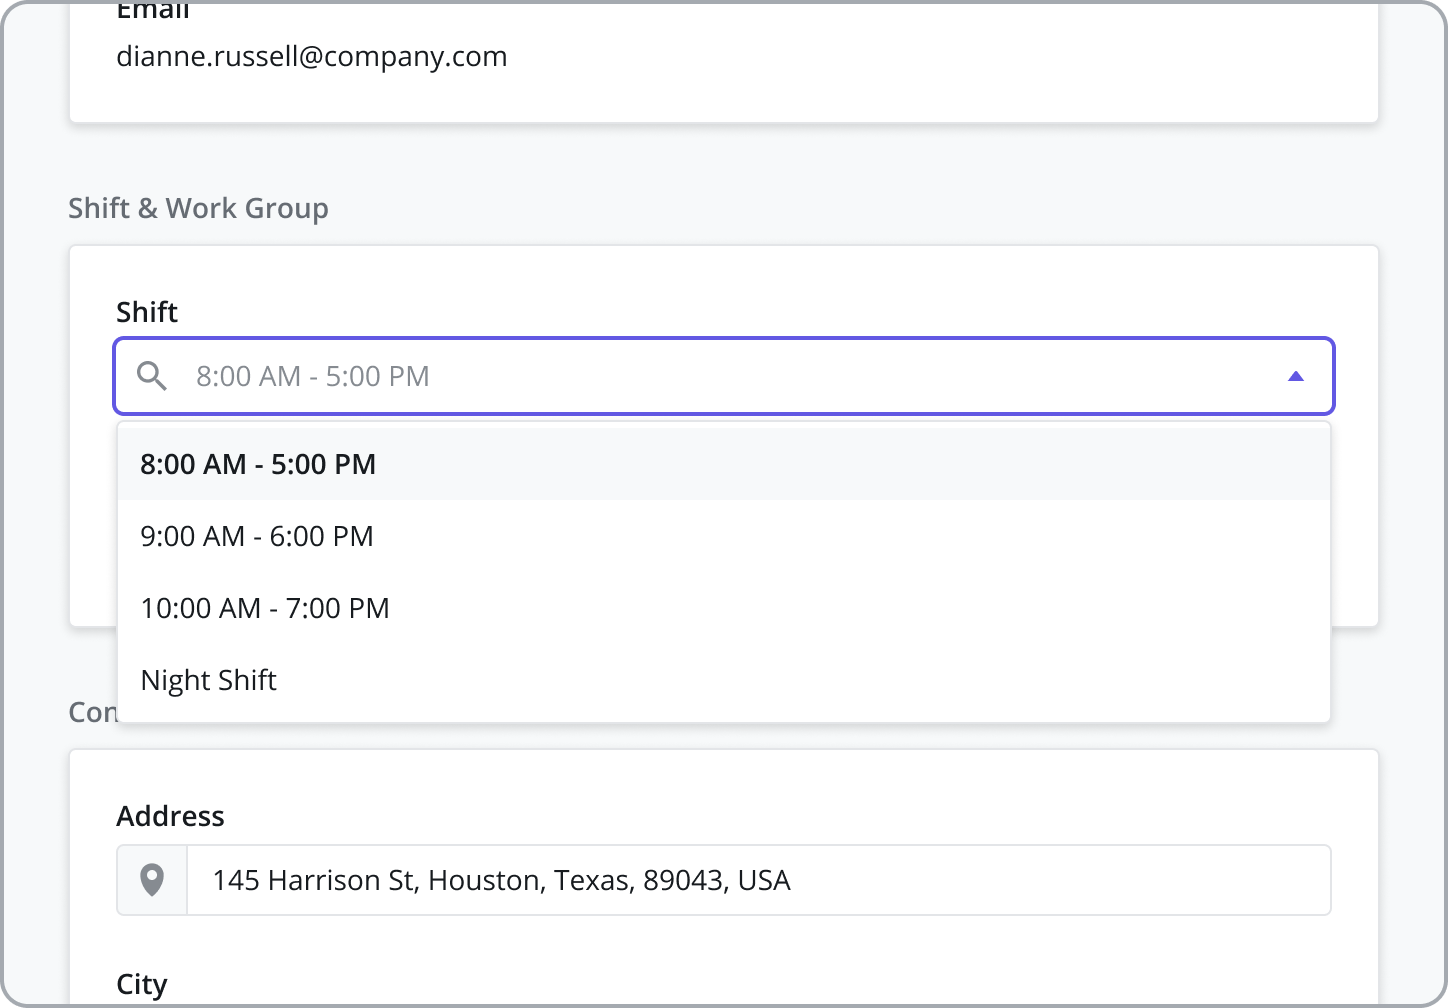
Assign Work Schedule/Shift
Define the technician’s Work Schedule, which is used to determine the availability of each tech when scheduling and dispatching. This includes Leave, Overtime, and Shifts. When creating a new Technician, the selected Shift will populate the Work Schedule tab in the side panel after the record is saved.
Shifts must first be added from the Settings > Workforce Settings > Shifts module before they can be assigned to a Technician. For more information, refer to the Workforce Management Settings page.
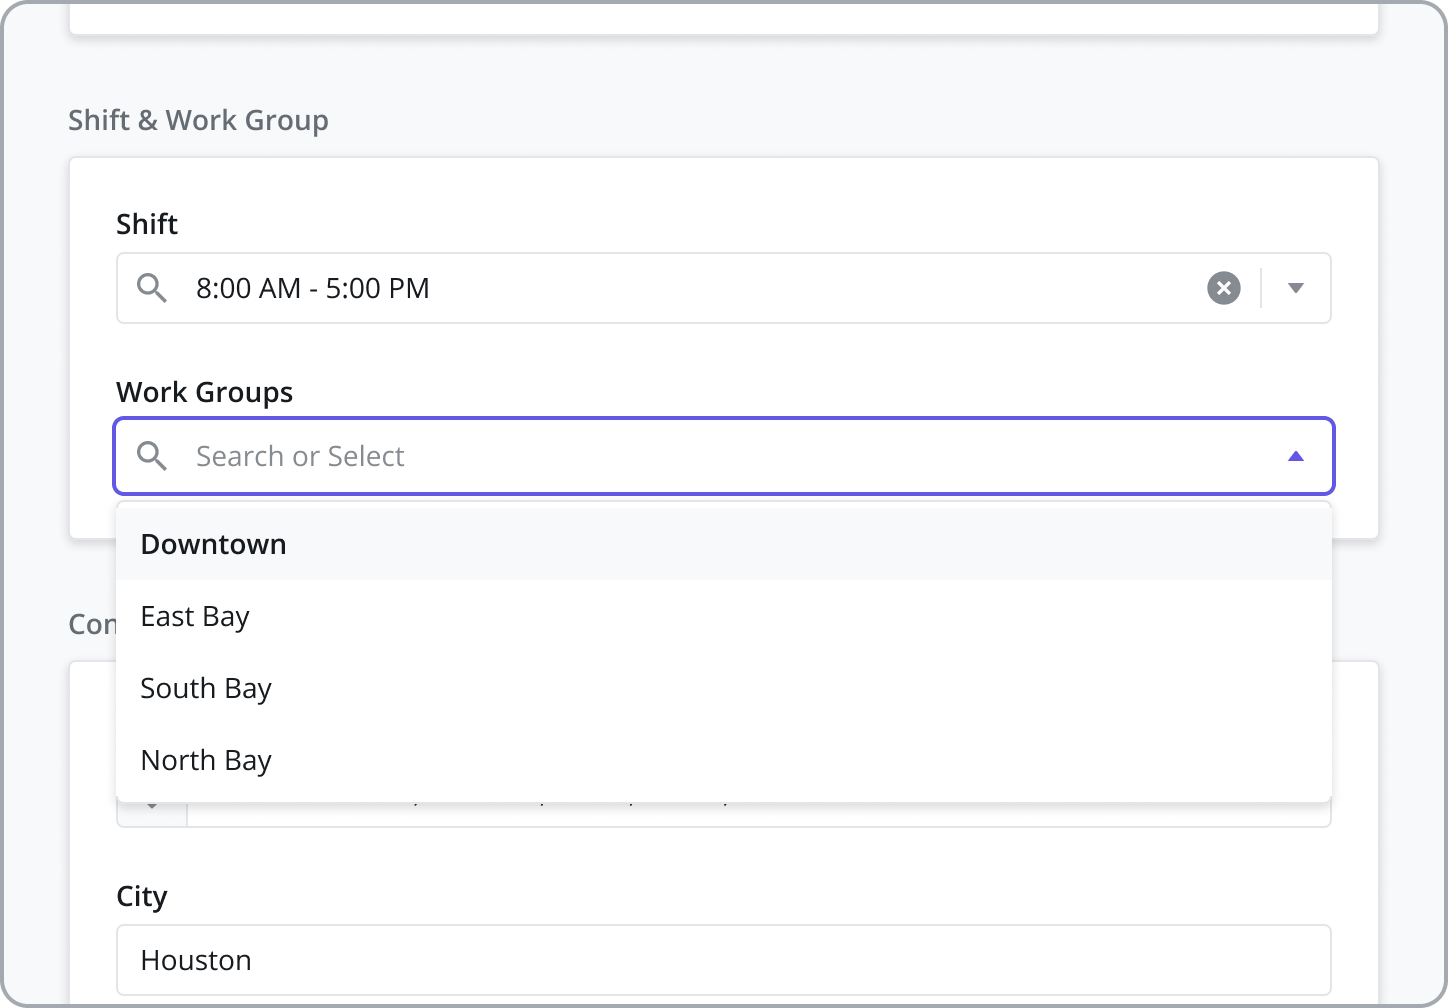
Assign Work Groups
Assign a Technician to Work Groups to set their task assignment eligibility based on Region, Work Order Type, Task Type, or Customer. Assign Technicians to the default All work group if you want them to be available for any tasks.
Work Groups must first be added from the My Customers > Work Groups module before they can be assigned to a Technician. For more information, refer to the Work Groups page.
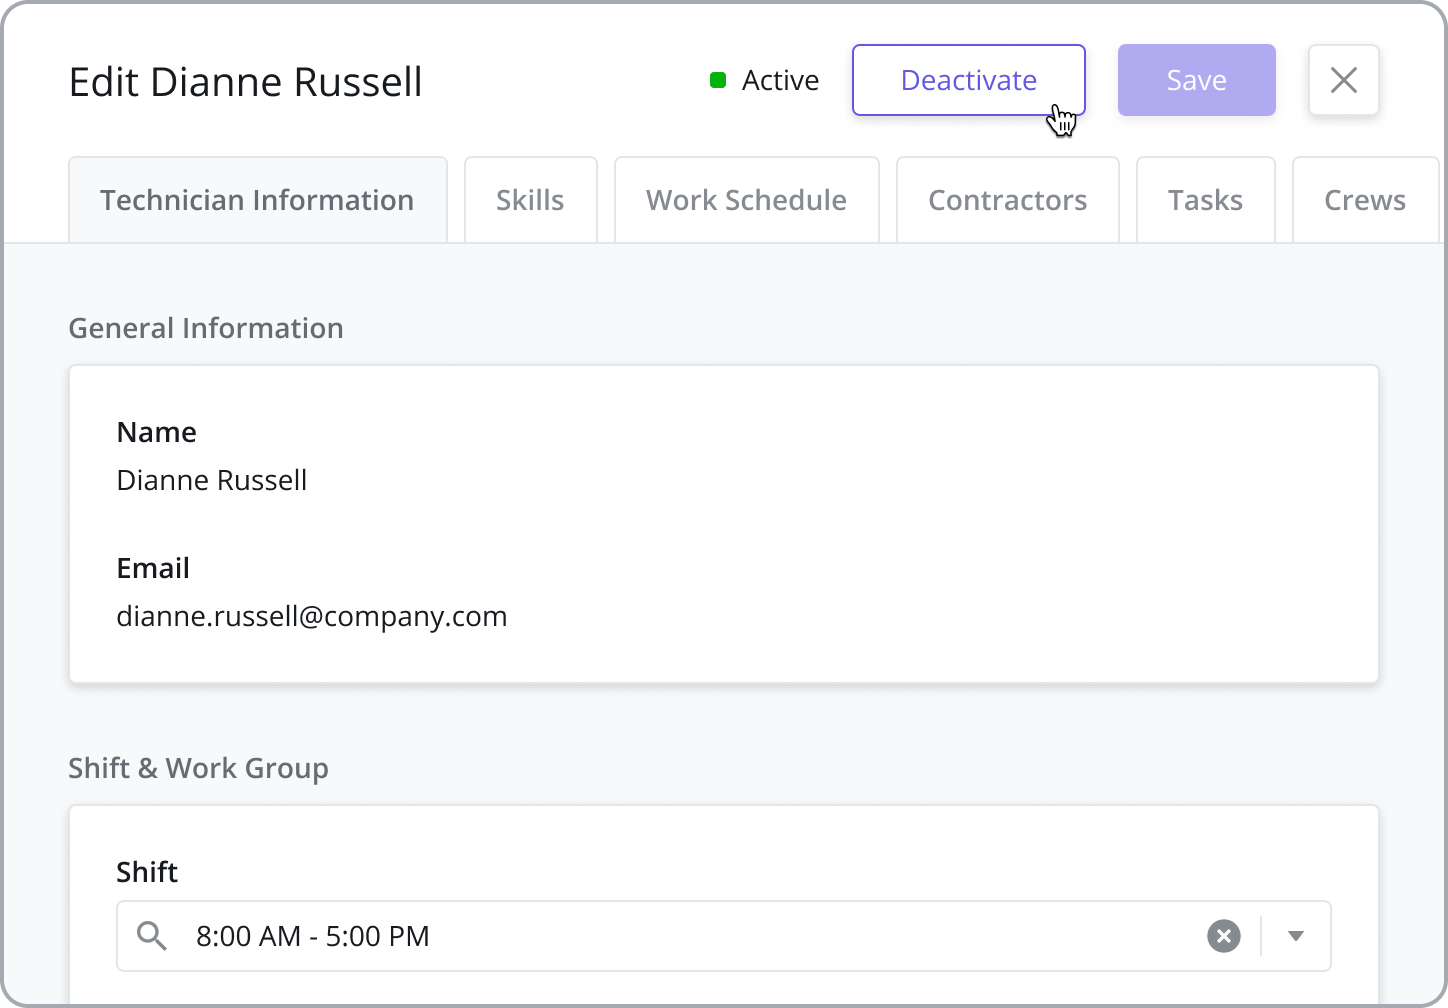
Deactivating Technicians
To deactivate a Technician, click the Deactivate button at the top of the side panel. Deactivating a Technician does the following:
Scheduling & Dispatching: Dispatchers will no longer be able to assign tasks to deactivated users.
Assigned Tasks: If the user has previously assigned tasks, those tasks will be recalled and given a task status of Unassigned.
Mobile App Access: The user will still be able to log in to the mobile app but will no longer see tasks in their Task List.
If you deactivate a user who has assigned tasks, a warning message will appear letting you know that those tasks will be recalled and unassigned. Before deactivating the user, you may want to check the user's Task logs from the side panel tab of the user and review their assigned tasks.
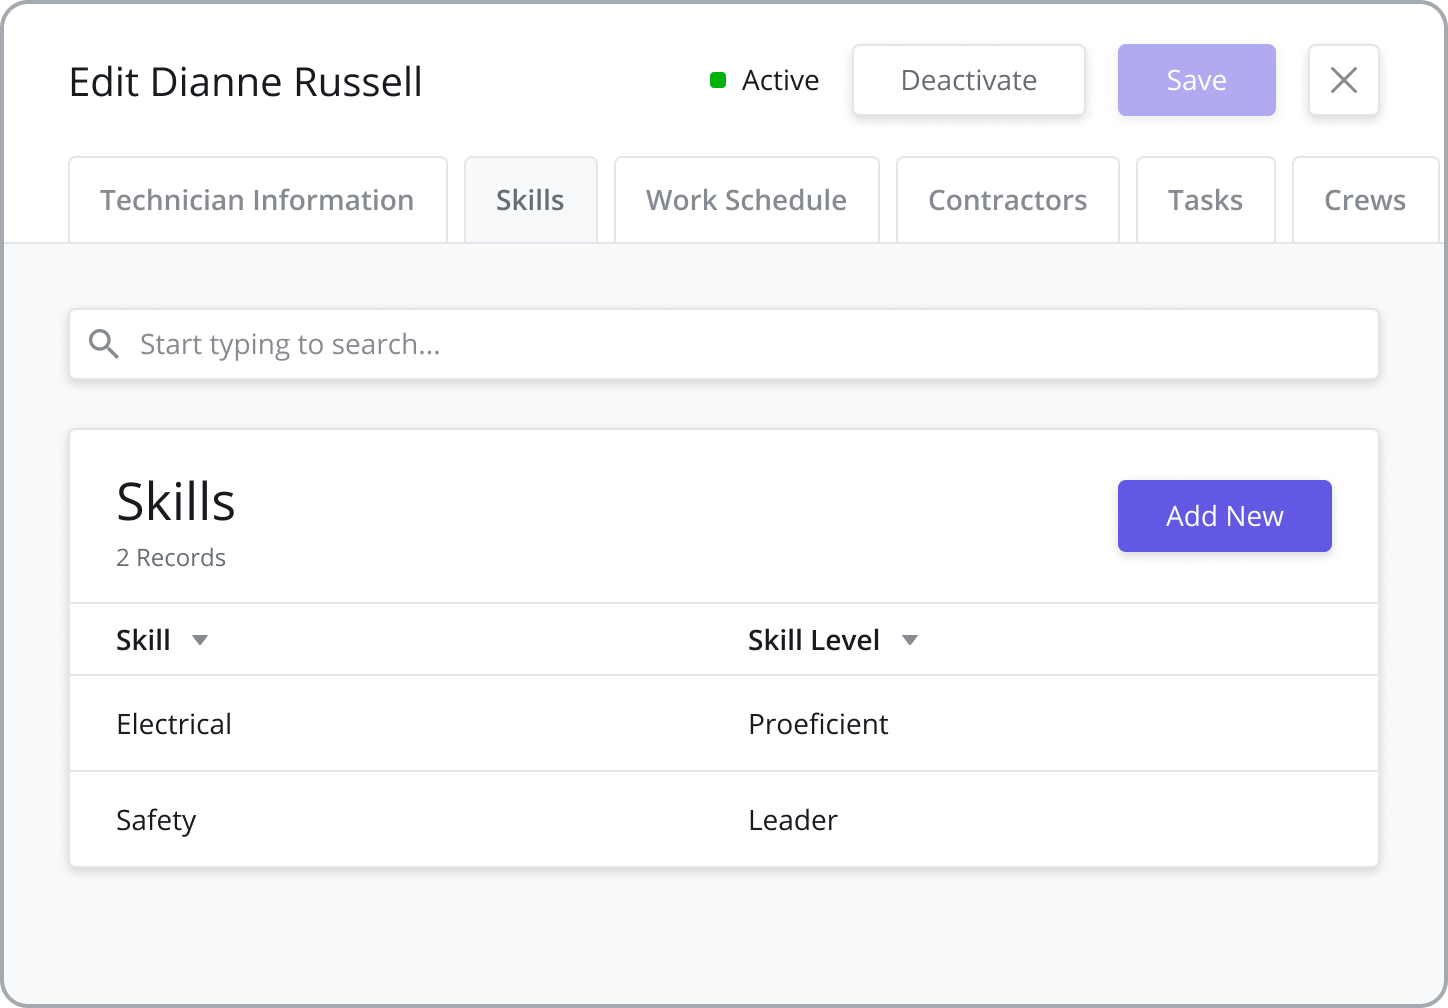
Assign Skills & Skill Levels
Assign Skills and Skill Levels to Technicians to be used by the Tech Recommendation/Auto Scheduler when matching a technician to a task type.
Skills must first be added from the Settings > Workforce Settings > Skills module before they can be assigned to a Technician. For more information, refer to the Workforce Management Settings page.
Work Schedule/Shift
A technician’s Work Schedule tab is populated based on the Shift selected in the previous tab (Technician Information). To change the Shift (shown as read-only), go back to the prior tab. The Shift determines the Weekly Schedule and defaults to Public Holidays as shown in the data grid.
Shifts must first be added from the Settings > Workforce Settings > Shifts module before they can be assigned to a Technician. For more information, refer to the Workforce Management Settings page.
View Public Holidays
View all public holidays observed by each web user based on their selected shift to ensure that backoffice support is available when needed.
Public Holidays must first be added from the Settings > General Settings > Public Holidays module before they can be assigned to a Shift. For more information, refer to the Workforce Management Settings page.
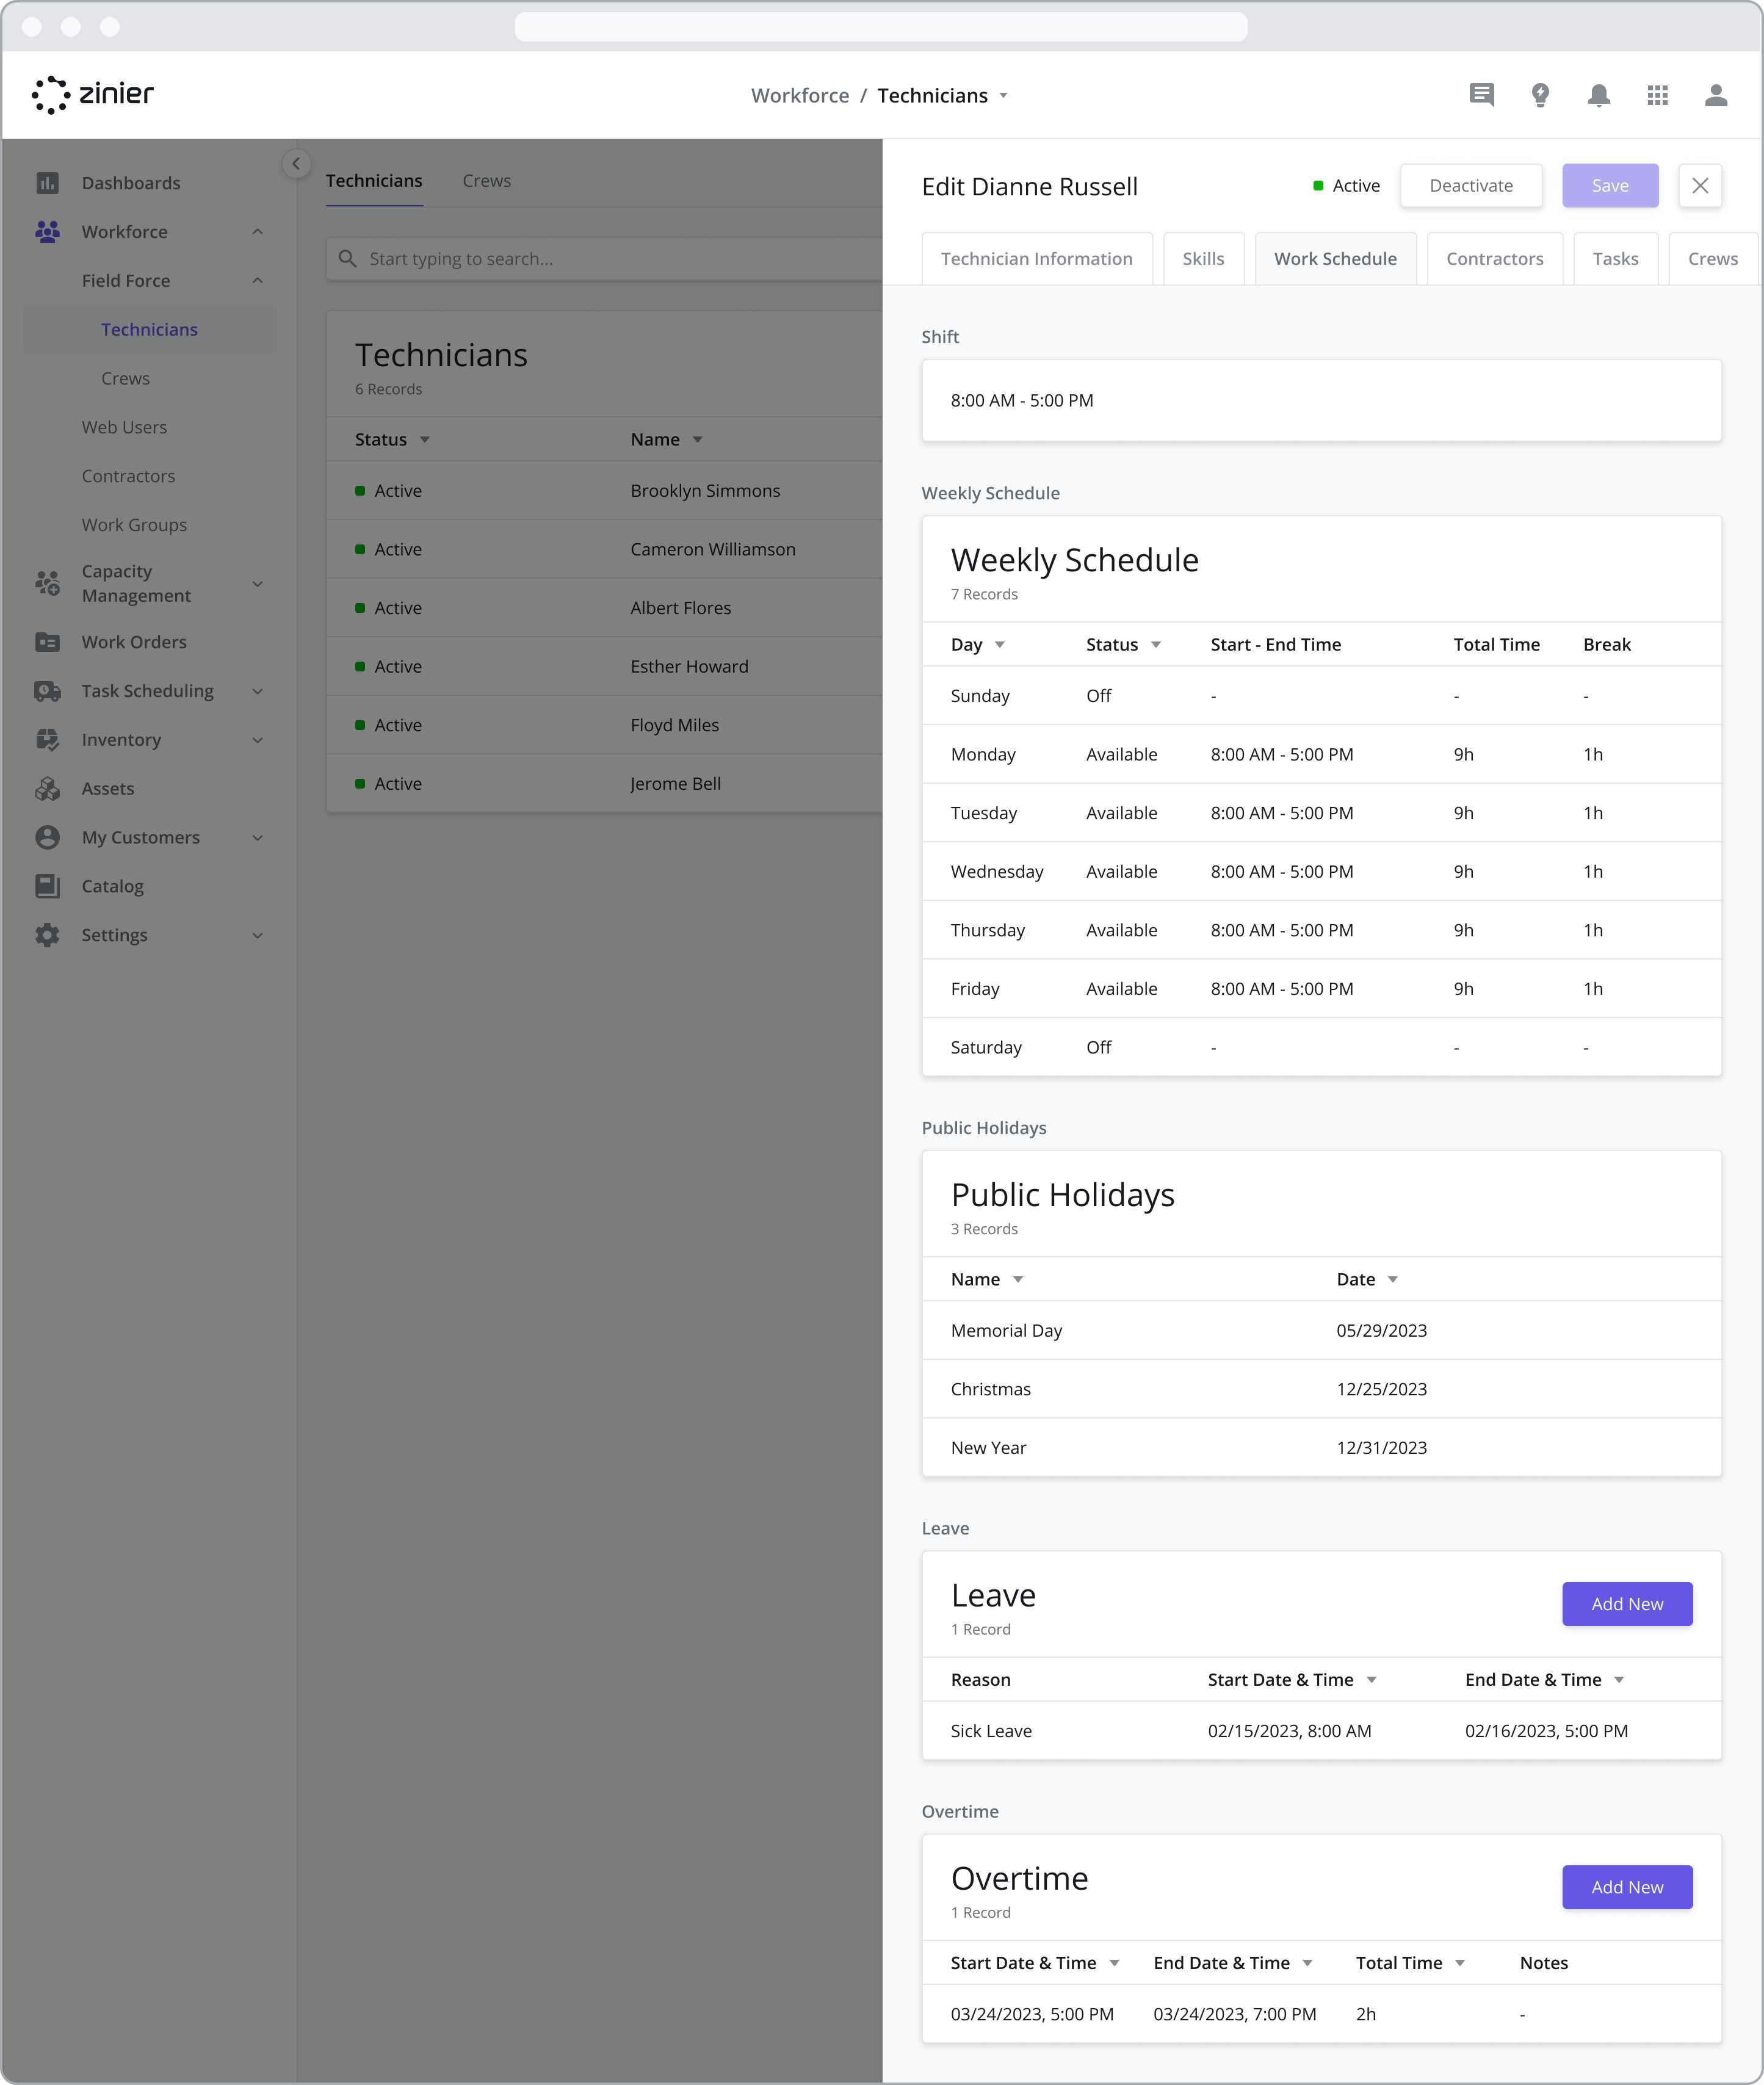
Add Leave
Add Leave to a tech's calendar which blocks off any availability from their calendar during the specified times.

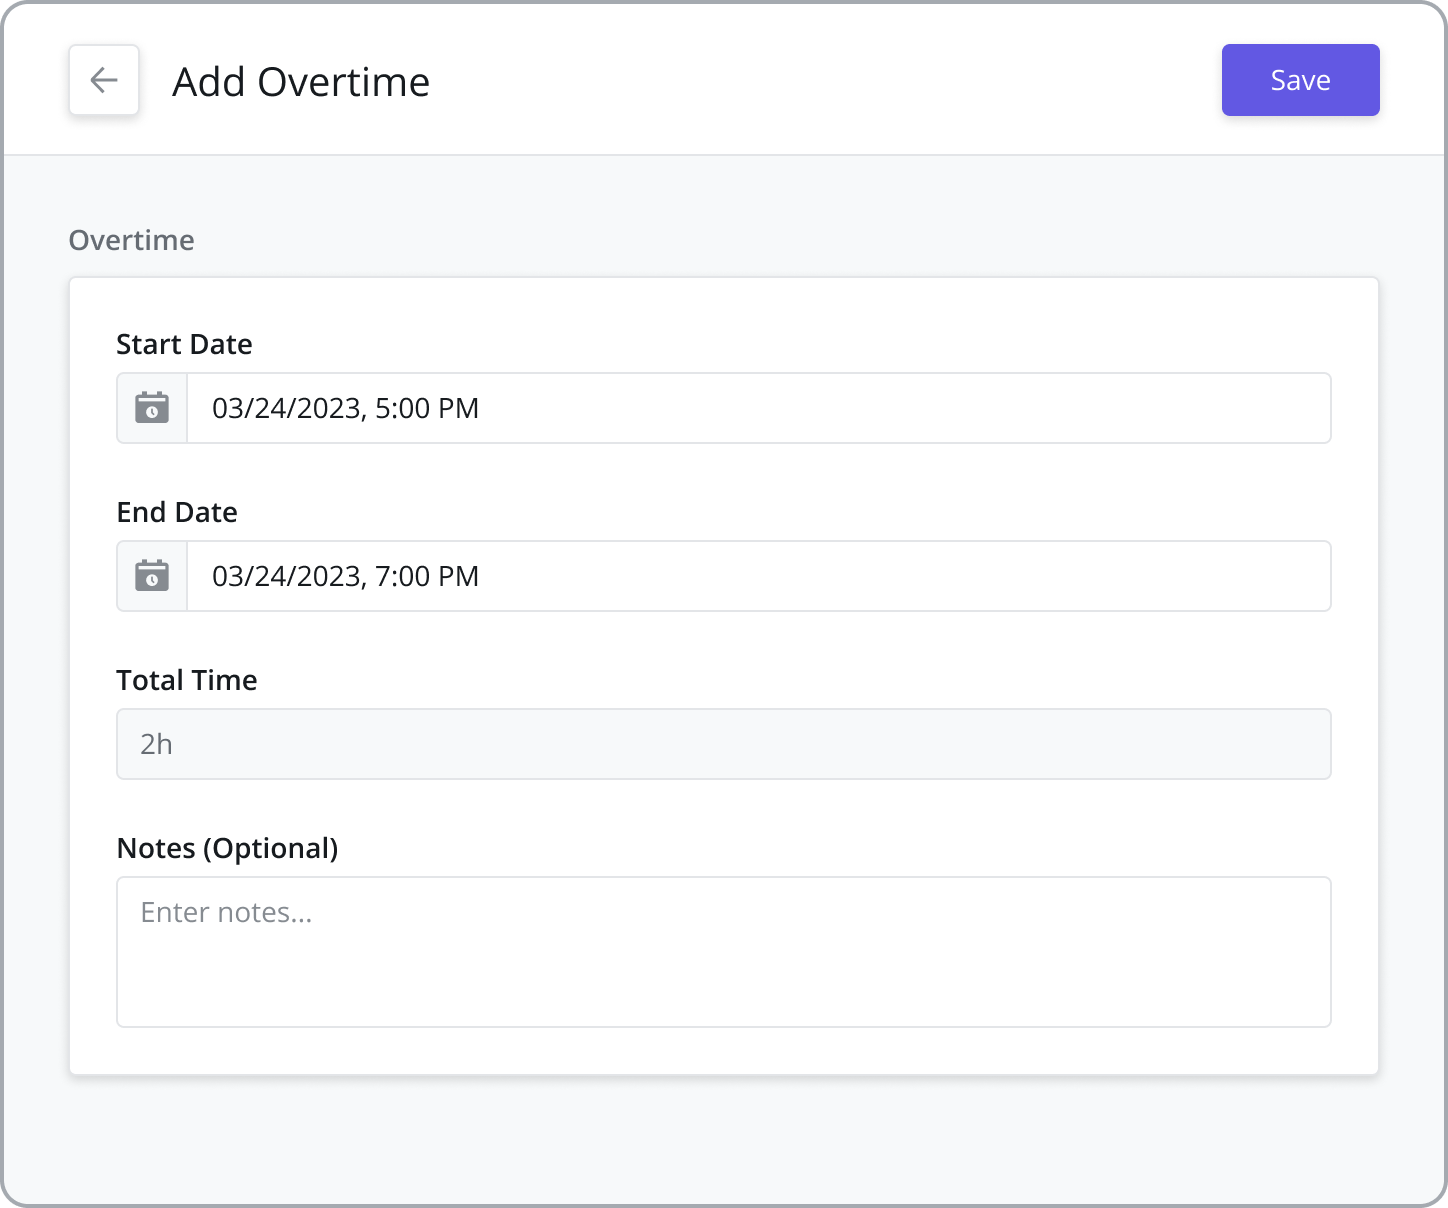
Add Overtime
Add Overtime to a tech's calendar to add additional availability to their calendar during the specified times.
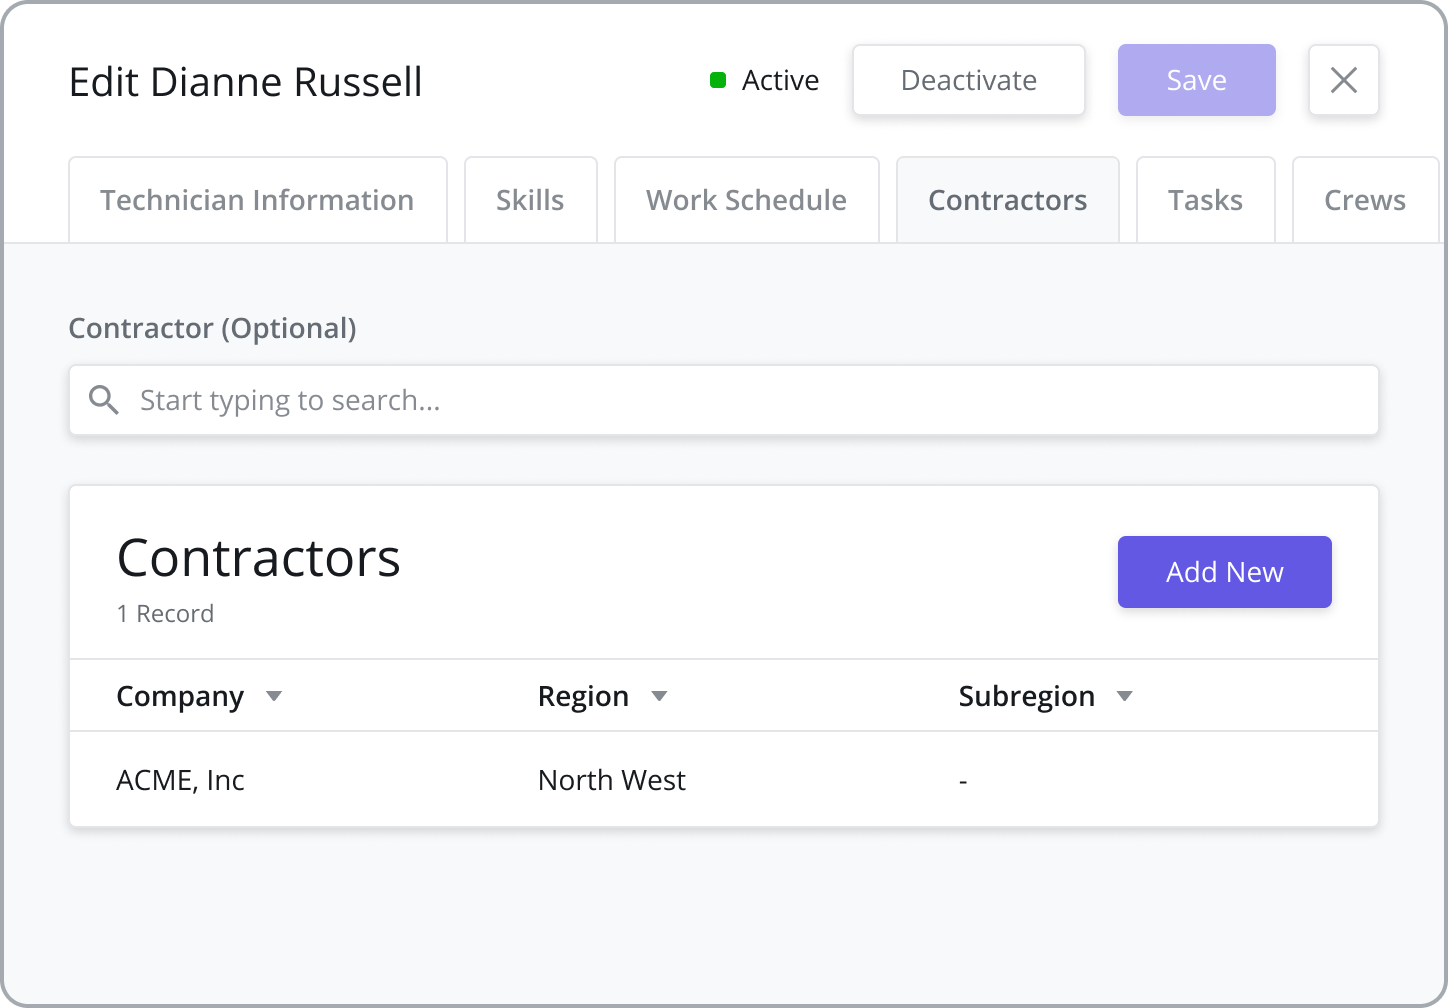
Assign to a Contractor
Optionally assign the Tech to a Contractor.
Contractors must first be added from the My Customers > Contractors module before they can be assigned to a Technician. For more information, refer to the Contractors page.
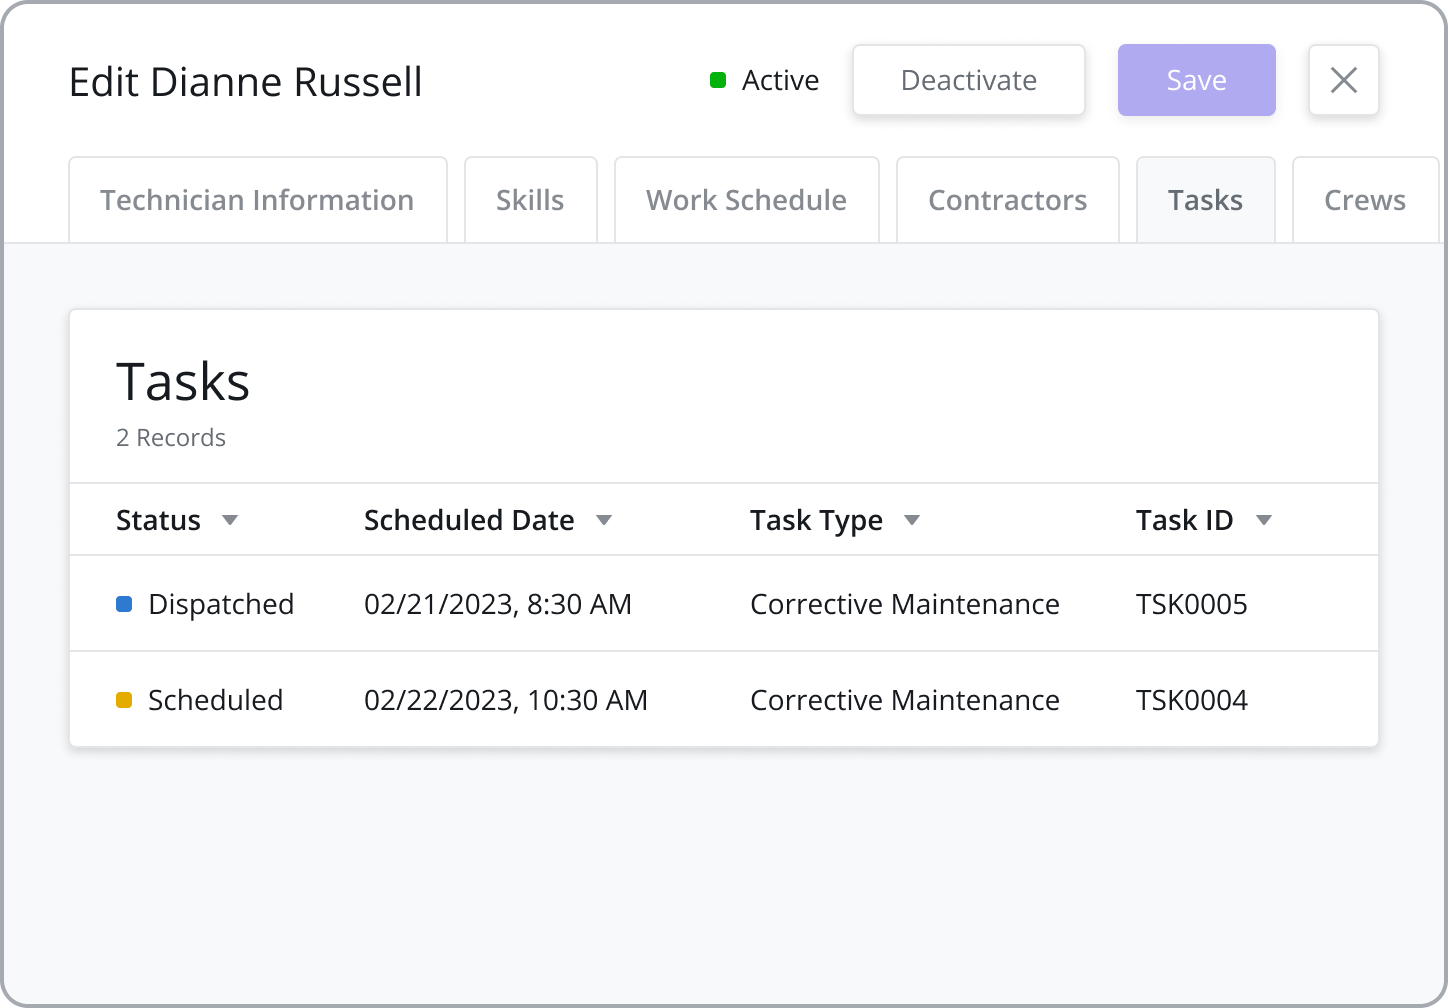
View Task Logs
View the tasks logs of the technician.