Timesheets Configurations
NEW (24.4)
Before jumping into the Timesheet functionality, it is important to highlight the different configurations available for a service organization when setting up Timesheets for the first time.
Configuring Timesheet Templates
Timesheet configurations are extremely flexible and based on what we call Timesheet Templates. Multiple templates can be used within a single org and tied to different user groups, giving service teams unlimited flexibility to cater Timesheets to how their field teams operate.
To configure a Timesheet Template, follow the steps below:
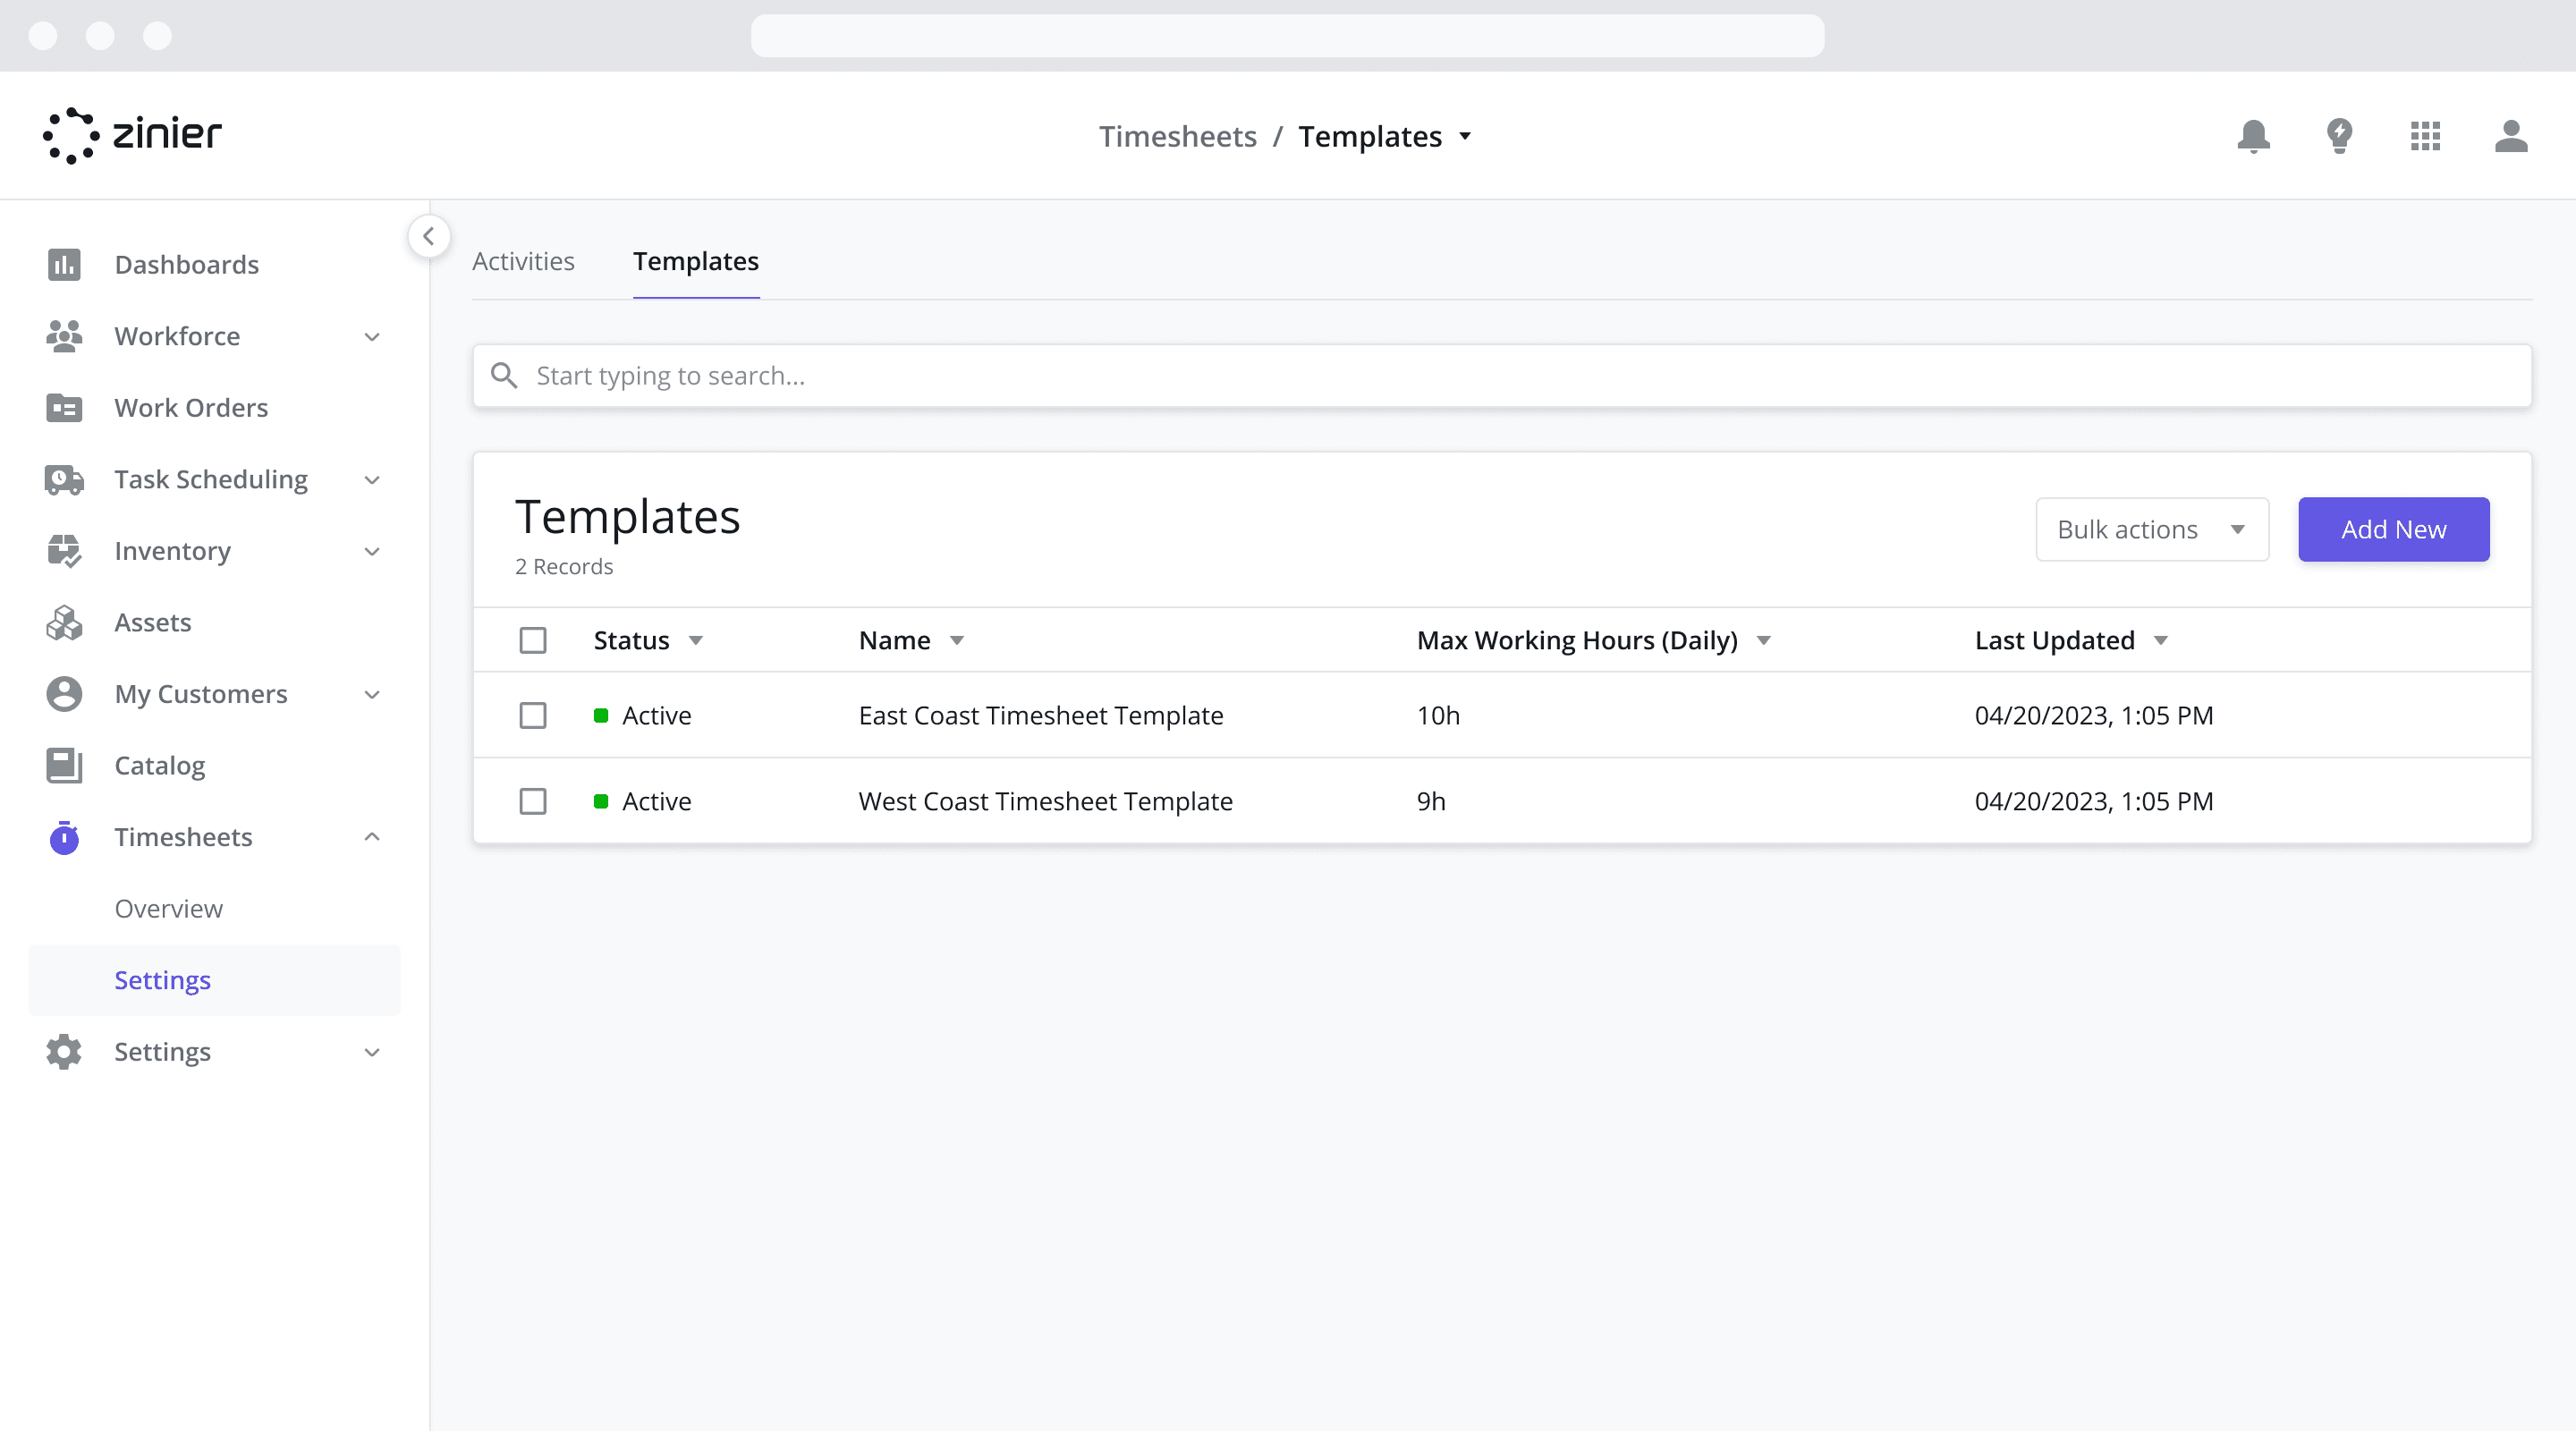
Go to the Timesheets > Settings > Templates module
Click the “Add New” button from the data grid
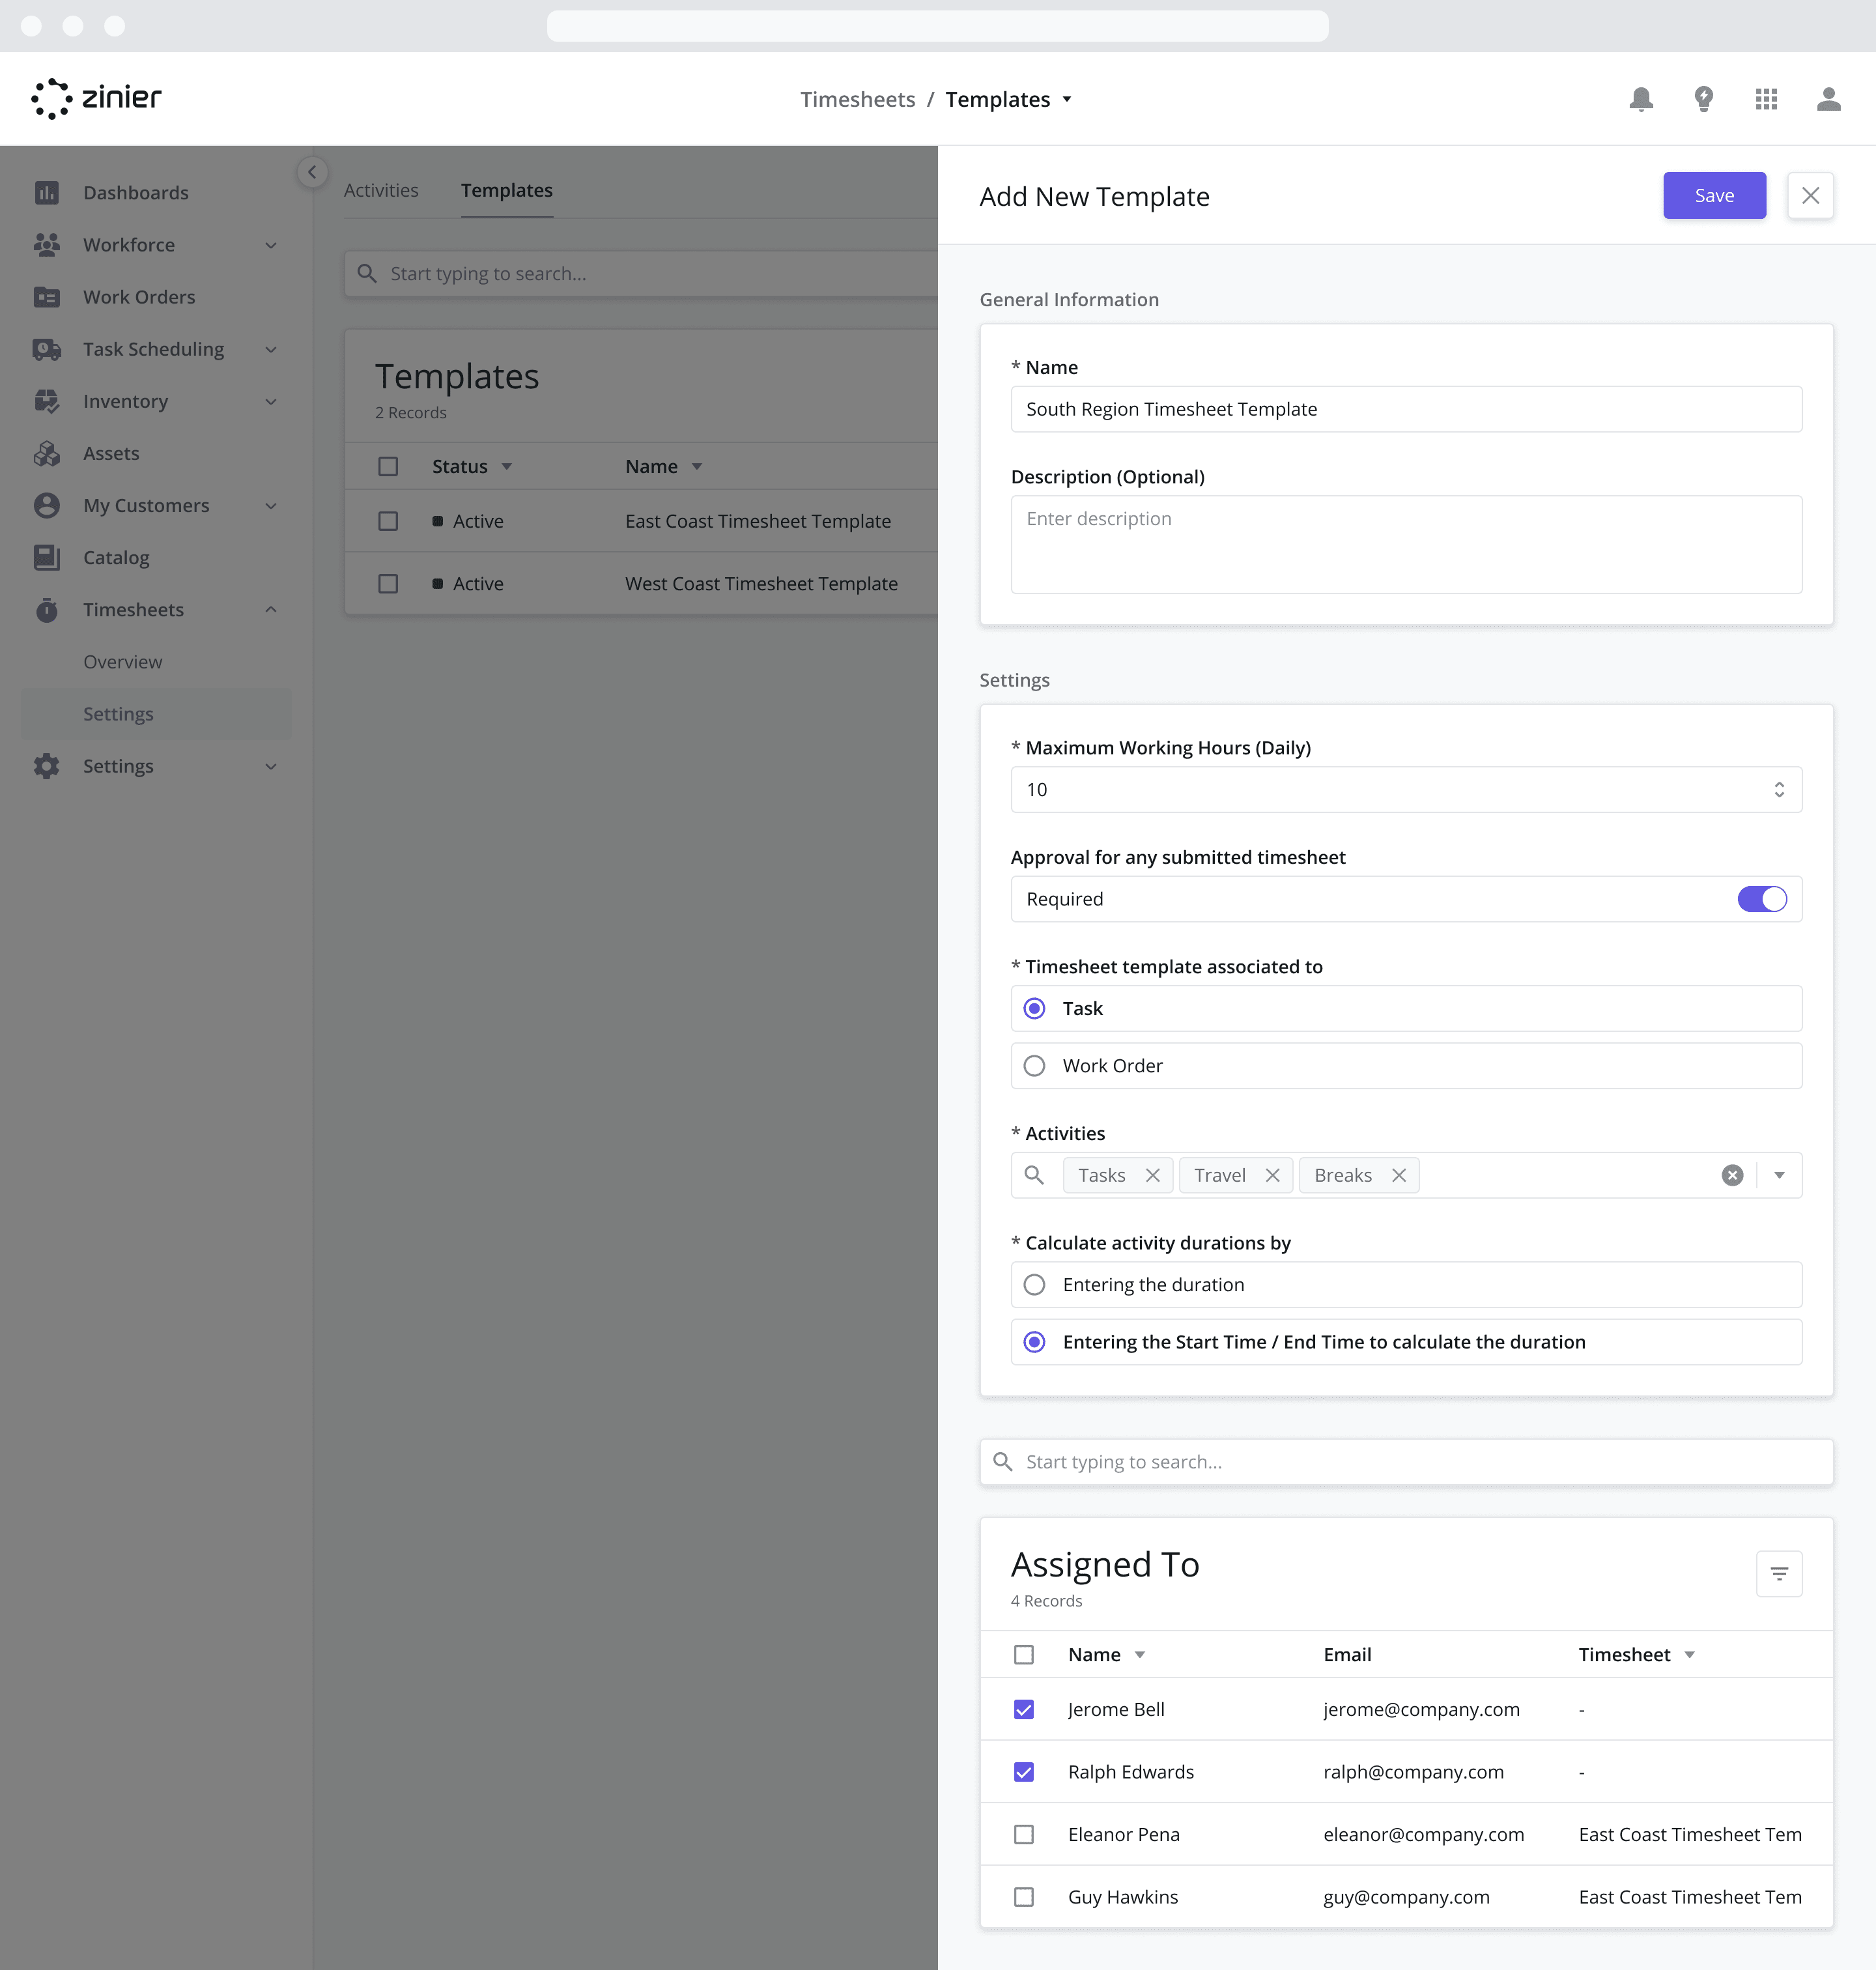
Enter a Name and Description (Optional)
Enter the Settings for the template:
Maximum Working Hours (Daily): You have the option of providing a maximum number of working hours that can be logged in a timesheet. Technicians will not be able to submit a timesheet if it exceeds the total working hours defined by the Timesheet Template assigned to the technician.
Approval for any submitted timesheet: Decide whether the timesheets require approval from an admin/dispatcher after submission.
Required: After the timesheet is submitted, the admin/dispatcher will be required to approve the timesheet from the Timesheets > Open module on the web and Open Timesheets module on mobile.
Not Required (Disabled): After the timesheet is submitted, the timesheet is automatically approved and will move to the Timesheets > Closed module on the web and Closed Timesheets module on mobile.
Timesheet template associated to: Whether to tie timesheet activity at the Work Order or Task level. When users add new activities to a timesheet, the users will be asked to either associate the activity to a Task or Work Order based on this configuration. Not that this only applies to activities that have been configured to Allow this activity to be associated with a Task or Work Order. See the Creating Custom Activities for Use in Templates section below for details on how to configure this attribute.
Activities*: Add the Activities that you want the technicians to be able to select from when filling out the timesheet. Activities measure daily events such as Task Work, Breaks, Overtime, etc.
Calculate activity durations by: This setting determines how a user fills in the time associated with an activity when adding an activity to an open timesheet.
Entering the duration: If selected, the user will be required to fill in a single duration field (in minutes)
Entering the Start Time / End Time to calculate the duration: If selected, the user will be required to enter a start and end time which will be used to automatically calculate the duration in minutes.
Select the Assigned Technicians you wish to add to the template. Each Technician can only belong to one template.
Click Save to activate the Timesheet, changing its status to Active. Doing so will automatically generate open timesheets daily for the Assigned Technicians selected above.
*Activities must first be added from the Timesheets > Settings > Activities module before they can be included in a template. For more information, see the Creating Custom Activities for Use in Templates section below.
Timesheet Auto-Creation Timing
For applicable technicians (those who have been added as Assigned Technicians to a template), Timesheets are auto-created between midnight and 1 am before his or her day begins for any day a technician is on shift.
Deactivating a Timesheet
If at any time you wish to Deactivate a Timesheet template to stop it from automatically deploying timesheets, follow the steps below:
Go to the Timesheets > Settings > Templates module
Hover over the template you wish to deactivate and click the “Edit” row action button.
Click the Deactivate button at the top of the sidepanel. Doing so changes its status to Deactivated.
Alternatively, you can select the template from the datagrid and select the “Deactivate” option from the Bulk Actions button at the top of the main page datagrid.
Deactivating a timesheet template will NOT impact or delete any timesheets that have already been generated. You can reactivate a timesheet at any time by following the steps above and clicking the “Activate” button from the sidepanel.

Creating Custom Activities for Use in Templates
Activities are the individual entries in a timesheet that capture time spent on daily events such as Task Work, Breaks, Overtime, etc. They represent the list of activities that technicians can choose from when submitting their timesheets and can play an important role for auditors. For example, if your field team takes part in weekly inventory counts, you could create a custom activity called “Inventory Count” which technicians could then track against when submitting their work. Activities must first be created before they can be added to a timesheet template.
To create a new Activity, follow the steps below:
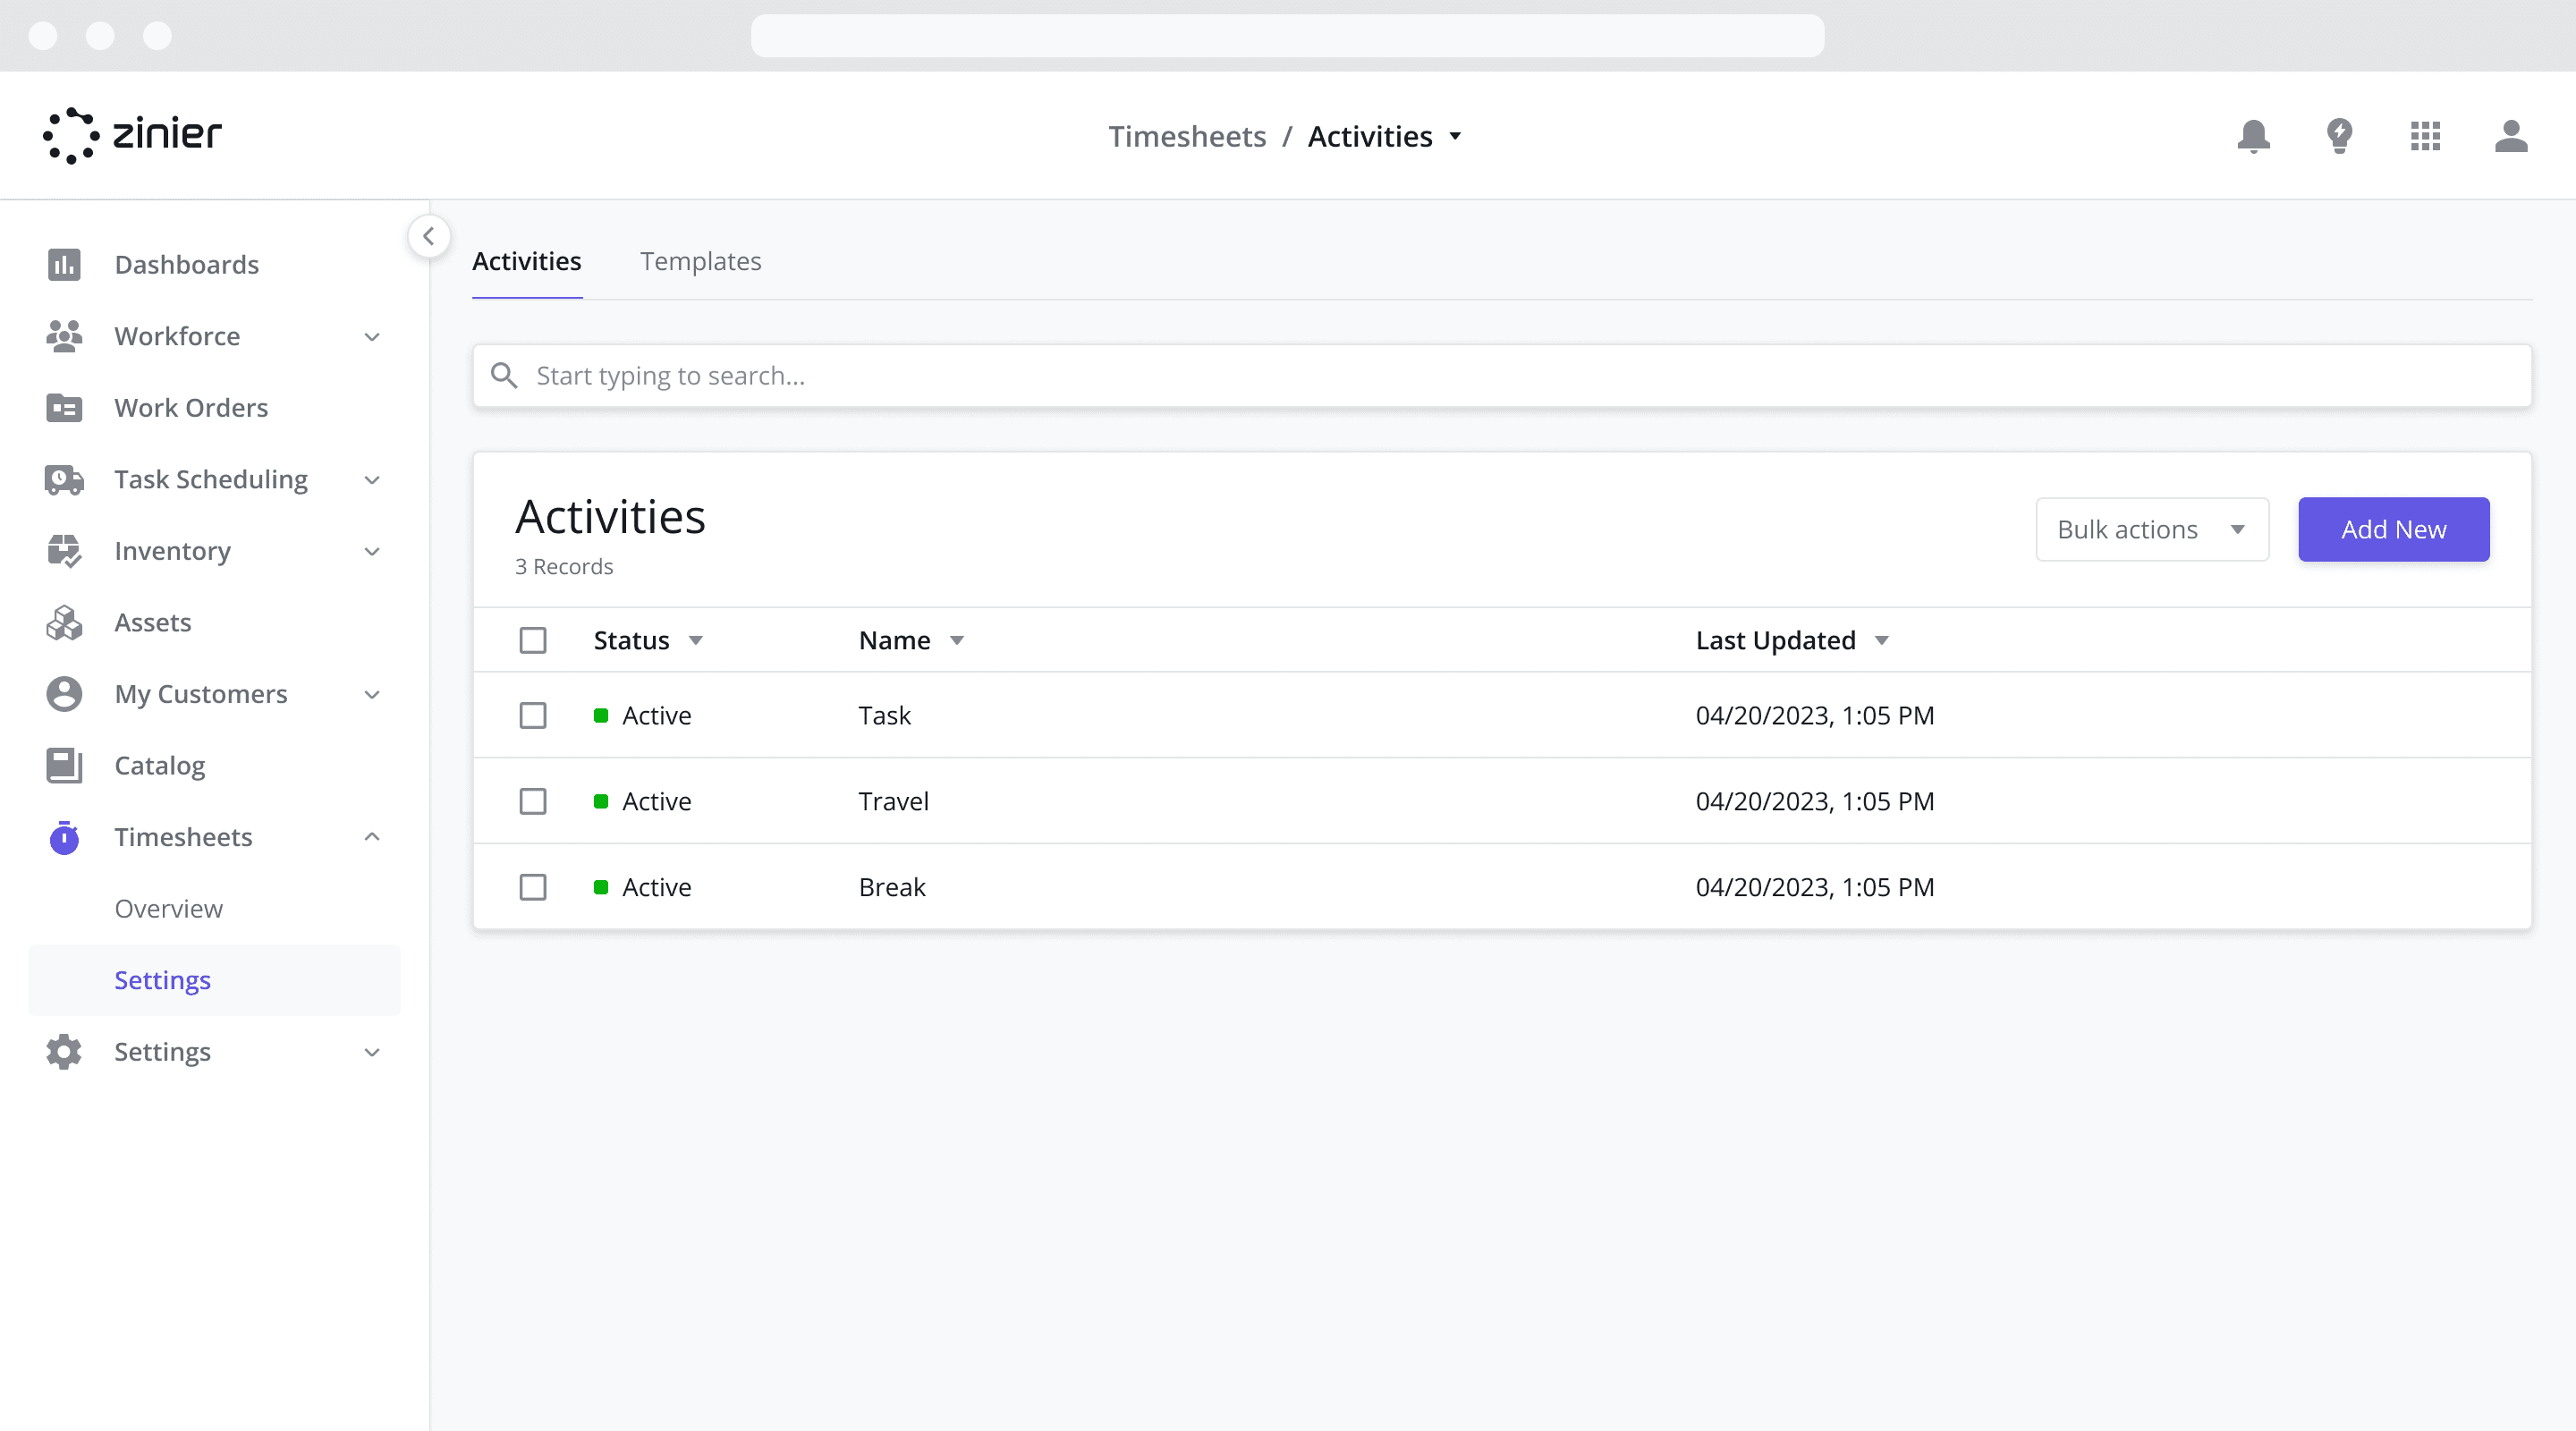
Go to the Timesheets > Settings > Activities module
Click the “Add New” button from the data grid
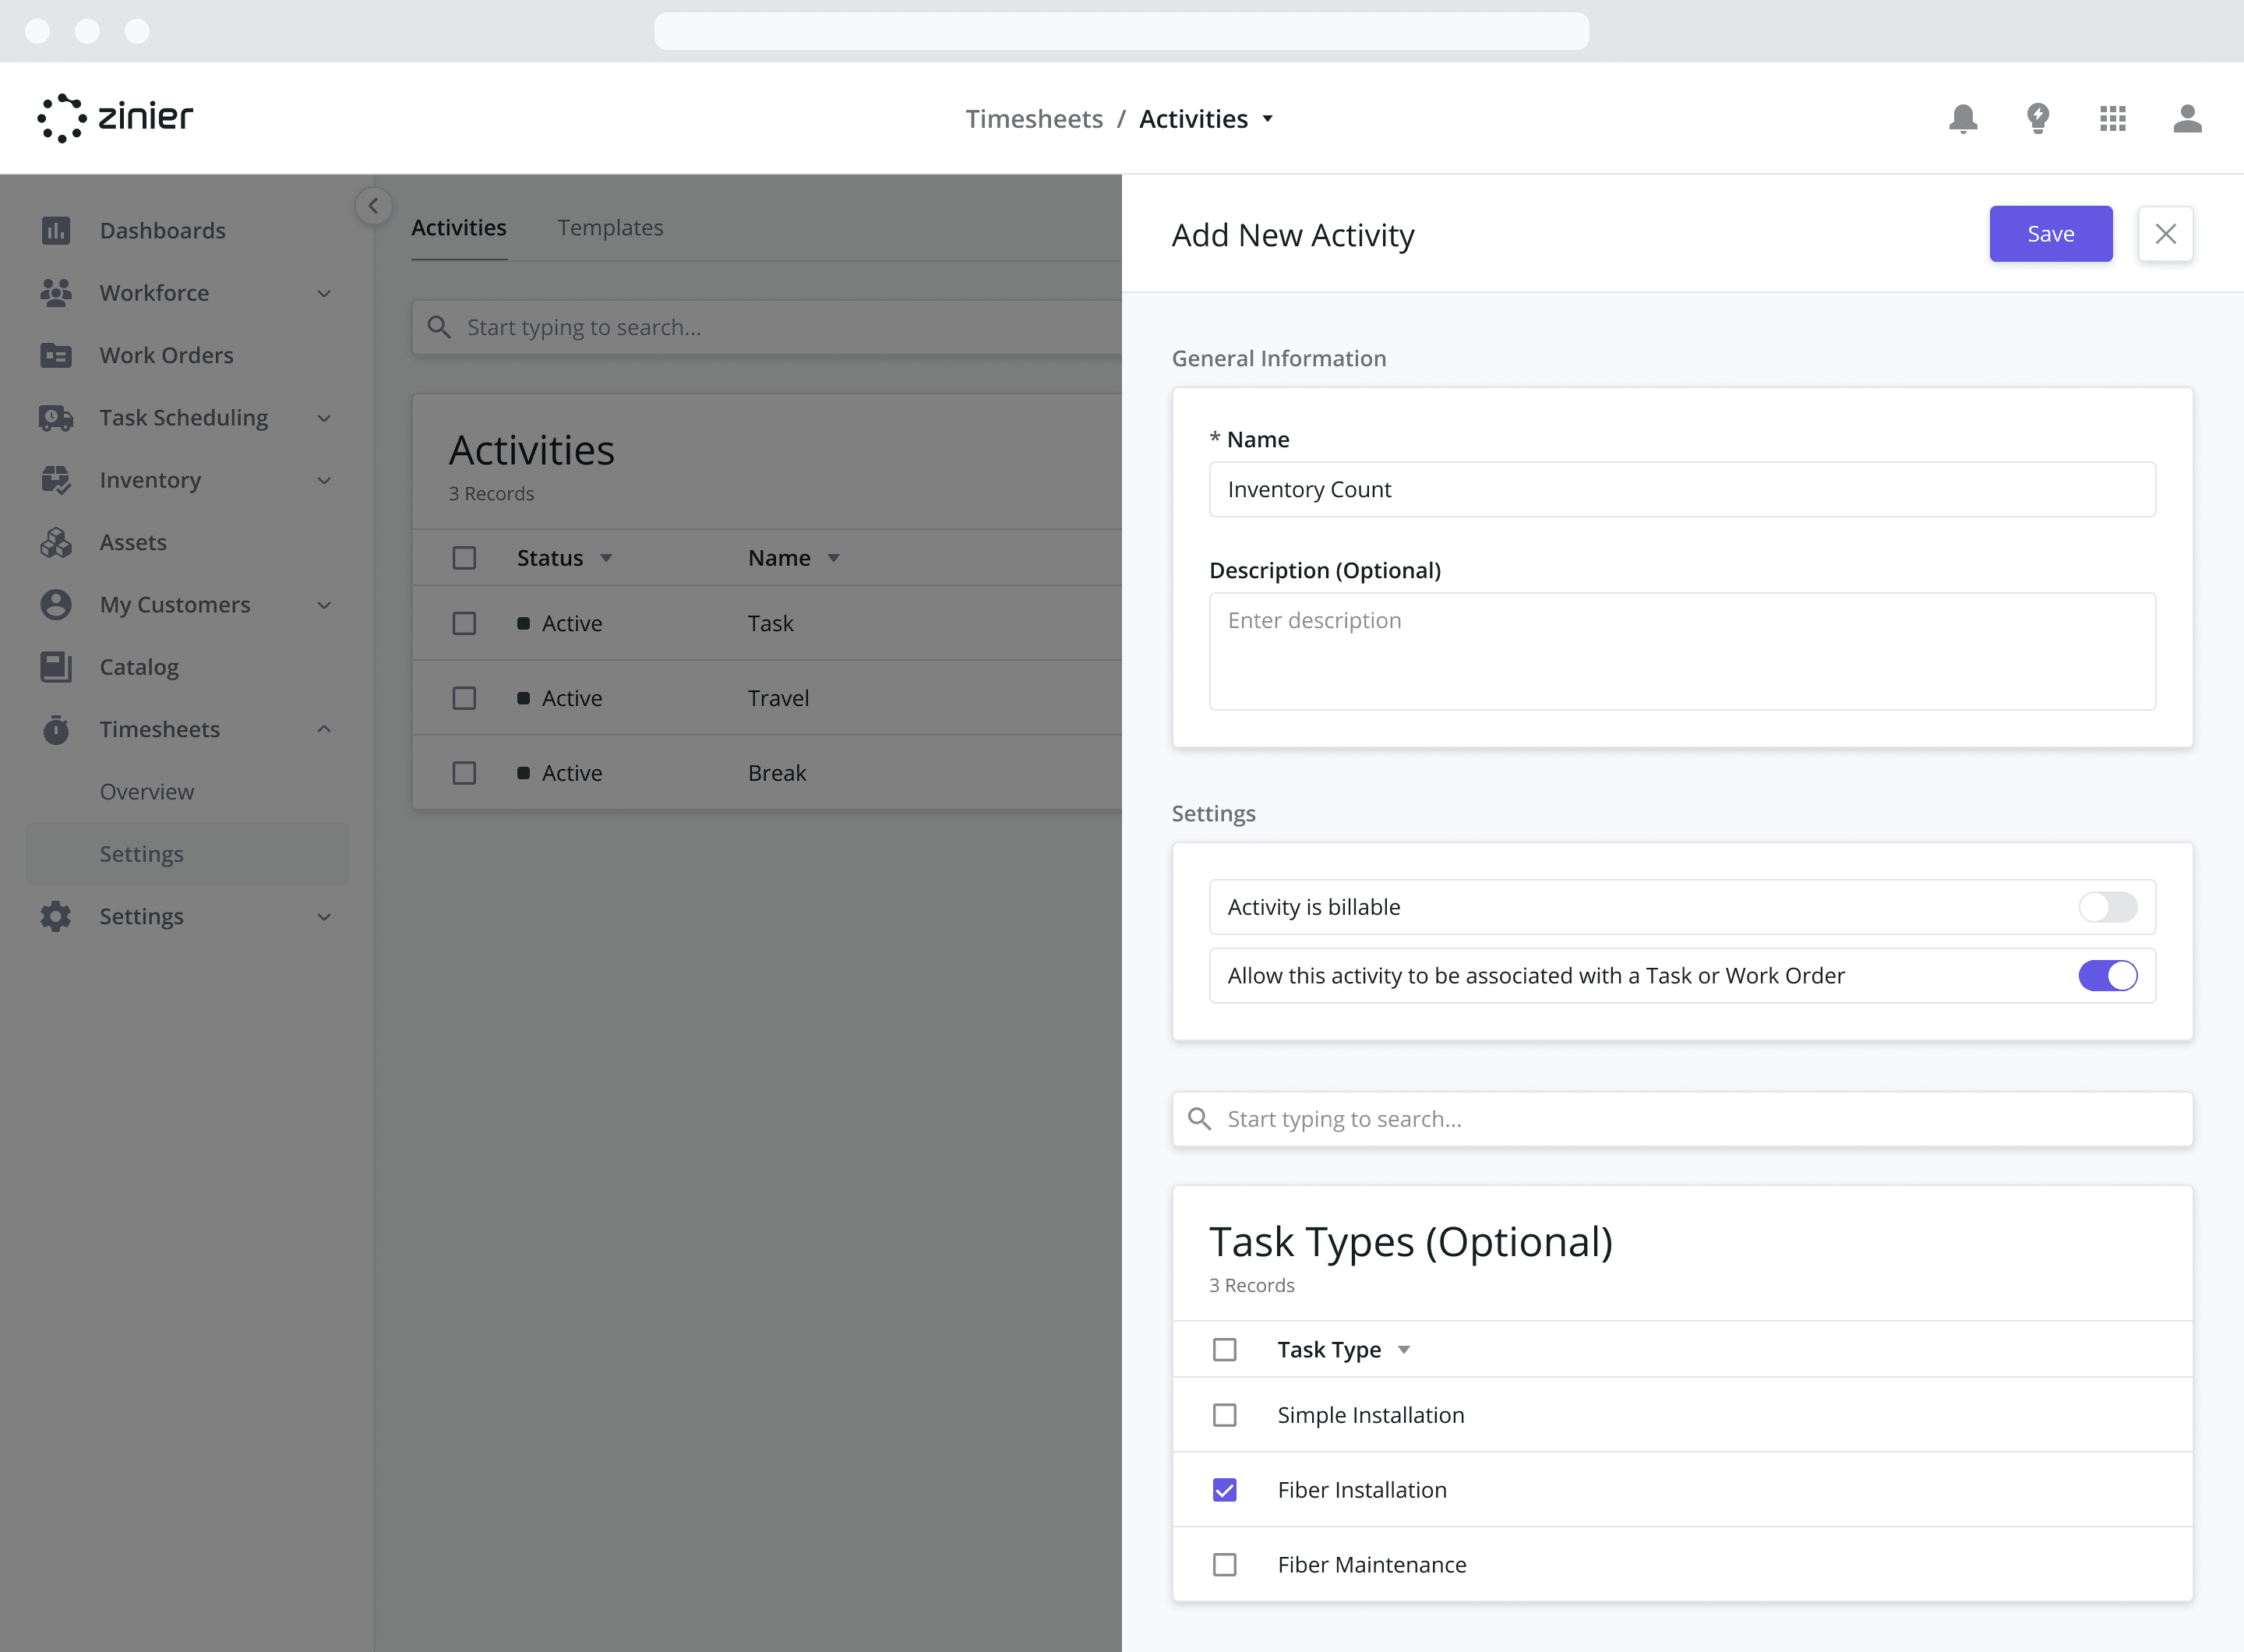
Enter a Name and Description (Optional). The name is what will be visible to a technician when adding a new Activity entry to a Timesheet.
Decide whether or not the Activity is billable. This is simply a tag that can be used for billing / payment purposes later on.
Decide whether or not you want to Allow this activity to be associated with a Task or Work Order or not.
Enabled: If you select this option, the user filling out the timesheet will be required to associate the activity with a specific task or work order when adding activities to a timesheet. The template configuration you select (either Task OR Work Order) from the “Timesheet template associated to” field determines which of the two options the user must select. See the Configuring Timesheet Templates section above for more details.
Disabled: If you select this option, the user filling out the timesheet will NOT be required to associate the activity with a specific task or work order when adding activities to a timesheet.
If the Allow this activity to be associated with a Task or Work Order is enabled, you also have the option of specifying which Task Types (Optional) the user can select from when associating an activity to a Task. This only applies to timesheets where the template configuration “Timesheet template associated to” is set to Task Types. If it is set to Work Orders, the user will be able to select from any work orders they are assigned to.
Click Save to activate the Activity, changing its status to Active. Doing so will make the activity available for use in Timesheet Templates.
Deactivating an Activity
Deactivating an Activity will hide it from use in Timesheet Templates. If at any time you wish to Deactivate an Activity, follow the steps below:
Go to the Timesheets > Settings > Activities module
Hover over the activity you wish to deactivate and click the “Edit” row action button.
Click the Deactivate button at the top of the sidepanel. Doing so changes its status to Deactivated.
Alternatively, you can select the Activity from the datagrid and select the “Deactivate” option from the Bulk Actions button at the top of the main page datagrid.
Deactivating a timesheet activities will NOT impact any timesheets that have already been generated. You can reactivate an activity at any time by following the steps above and clicking the “Activate” button from the sidepanel.
Auto-generated Timesheet Activities
COMING SOON (Q2 2024)
To cut down on the time it takes to submit a timesheet, the following activities are auto-generated within a timesheet:
Travel: An activity is automatically generated for travel time. This calculates the number of minutes between when a technician clicks the “Starts Travel” function on mobile until they Check-In and Start Task. This entry is logged immediately after travel is completed.
Task Work*: An activity is automatically generated to capture the amount of time spent working on a task. This calculates the number of minutes between when a technician does a Check-In and Start Task on mobile until they Submit the task on mobile (with a cut-off point at the end of the technician’s shift end time). This entry is logged immediately after task submission. If the shift runs past midnight, into the following day, two activities will be created: 1 for each timesheet.
Break: An activity is automatically generated to capture the amount of time the technician spends on Break as determined by a break entry on the user’s Work Schedule. These entries are logged at the start of the day based on the user’s shift details.
Leave: An activity is automatically generated to capture the amount of time the technician spends on Leave as determined by a leave entry on the user’s Work Schedule. These entries are logged at the start of the day based on the user’s shift details.
Overtime*: An activity is automatically generated to capture the amount of time the technician spends on Overtime work. This includes any travel or task work performed outside of the user’s shift hours. This is determined by calculating the number of minutes between when a technician either clicks the “Starts Travel” function on mobile (if it falls outside of their Shift hours) or does a Check-In and Start Task on mobile (if it falls outside of their Shift hours) until they Submit the task on mobile. This entry is logged immediately after task submission.
*These entries are only auto-generated if the Timesheet Template is tracking using Tasks and not Work Orders.
Managing Admin Access
Timesheets are accessed from two different web modules depending on the role of the user:
Timesheets [Dispatcher View]: This is where Dispatchers with Timesheet Admin Access can view all open, pending, and closed timesheets for their technicians. Dispatchers can also add or edit activities on behalf of technicians, and re-open closed timesheets for further modifications. To give dispatchers/admins/backoffice users access to this Timesheets module, they must be added to the “Timesheet Admin” User Group.
My Timesheets [Technician View]: The MyTimesheets module is where Technicians track, edit, and submit their own Timesheets for approval. To give technicians access to the My Timesheets module so that they can submit timesheets, they must be added to the “Timesheet Technician” User Group.