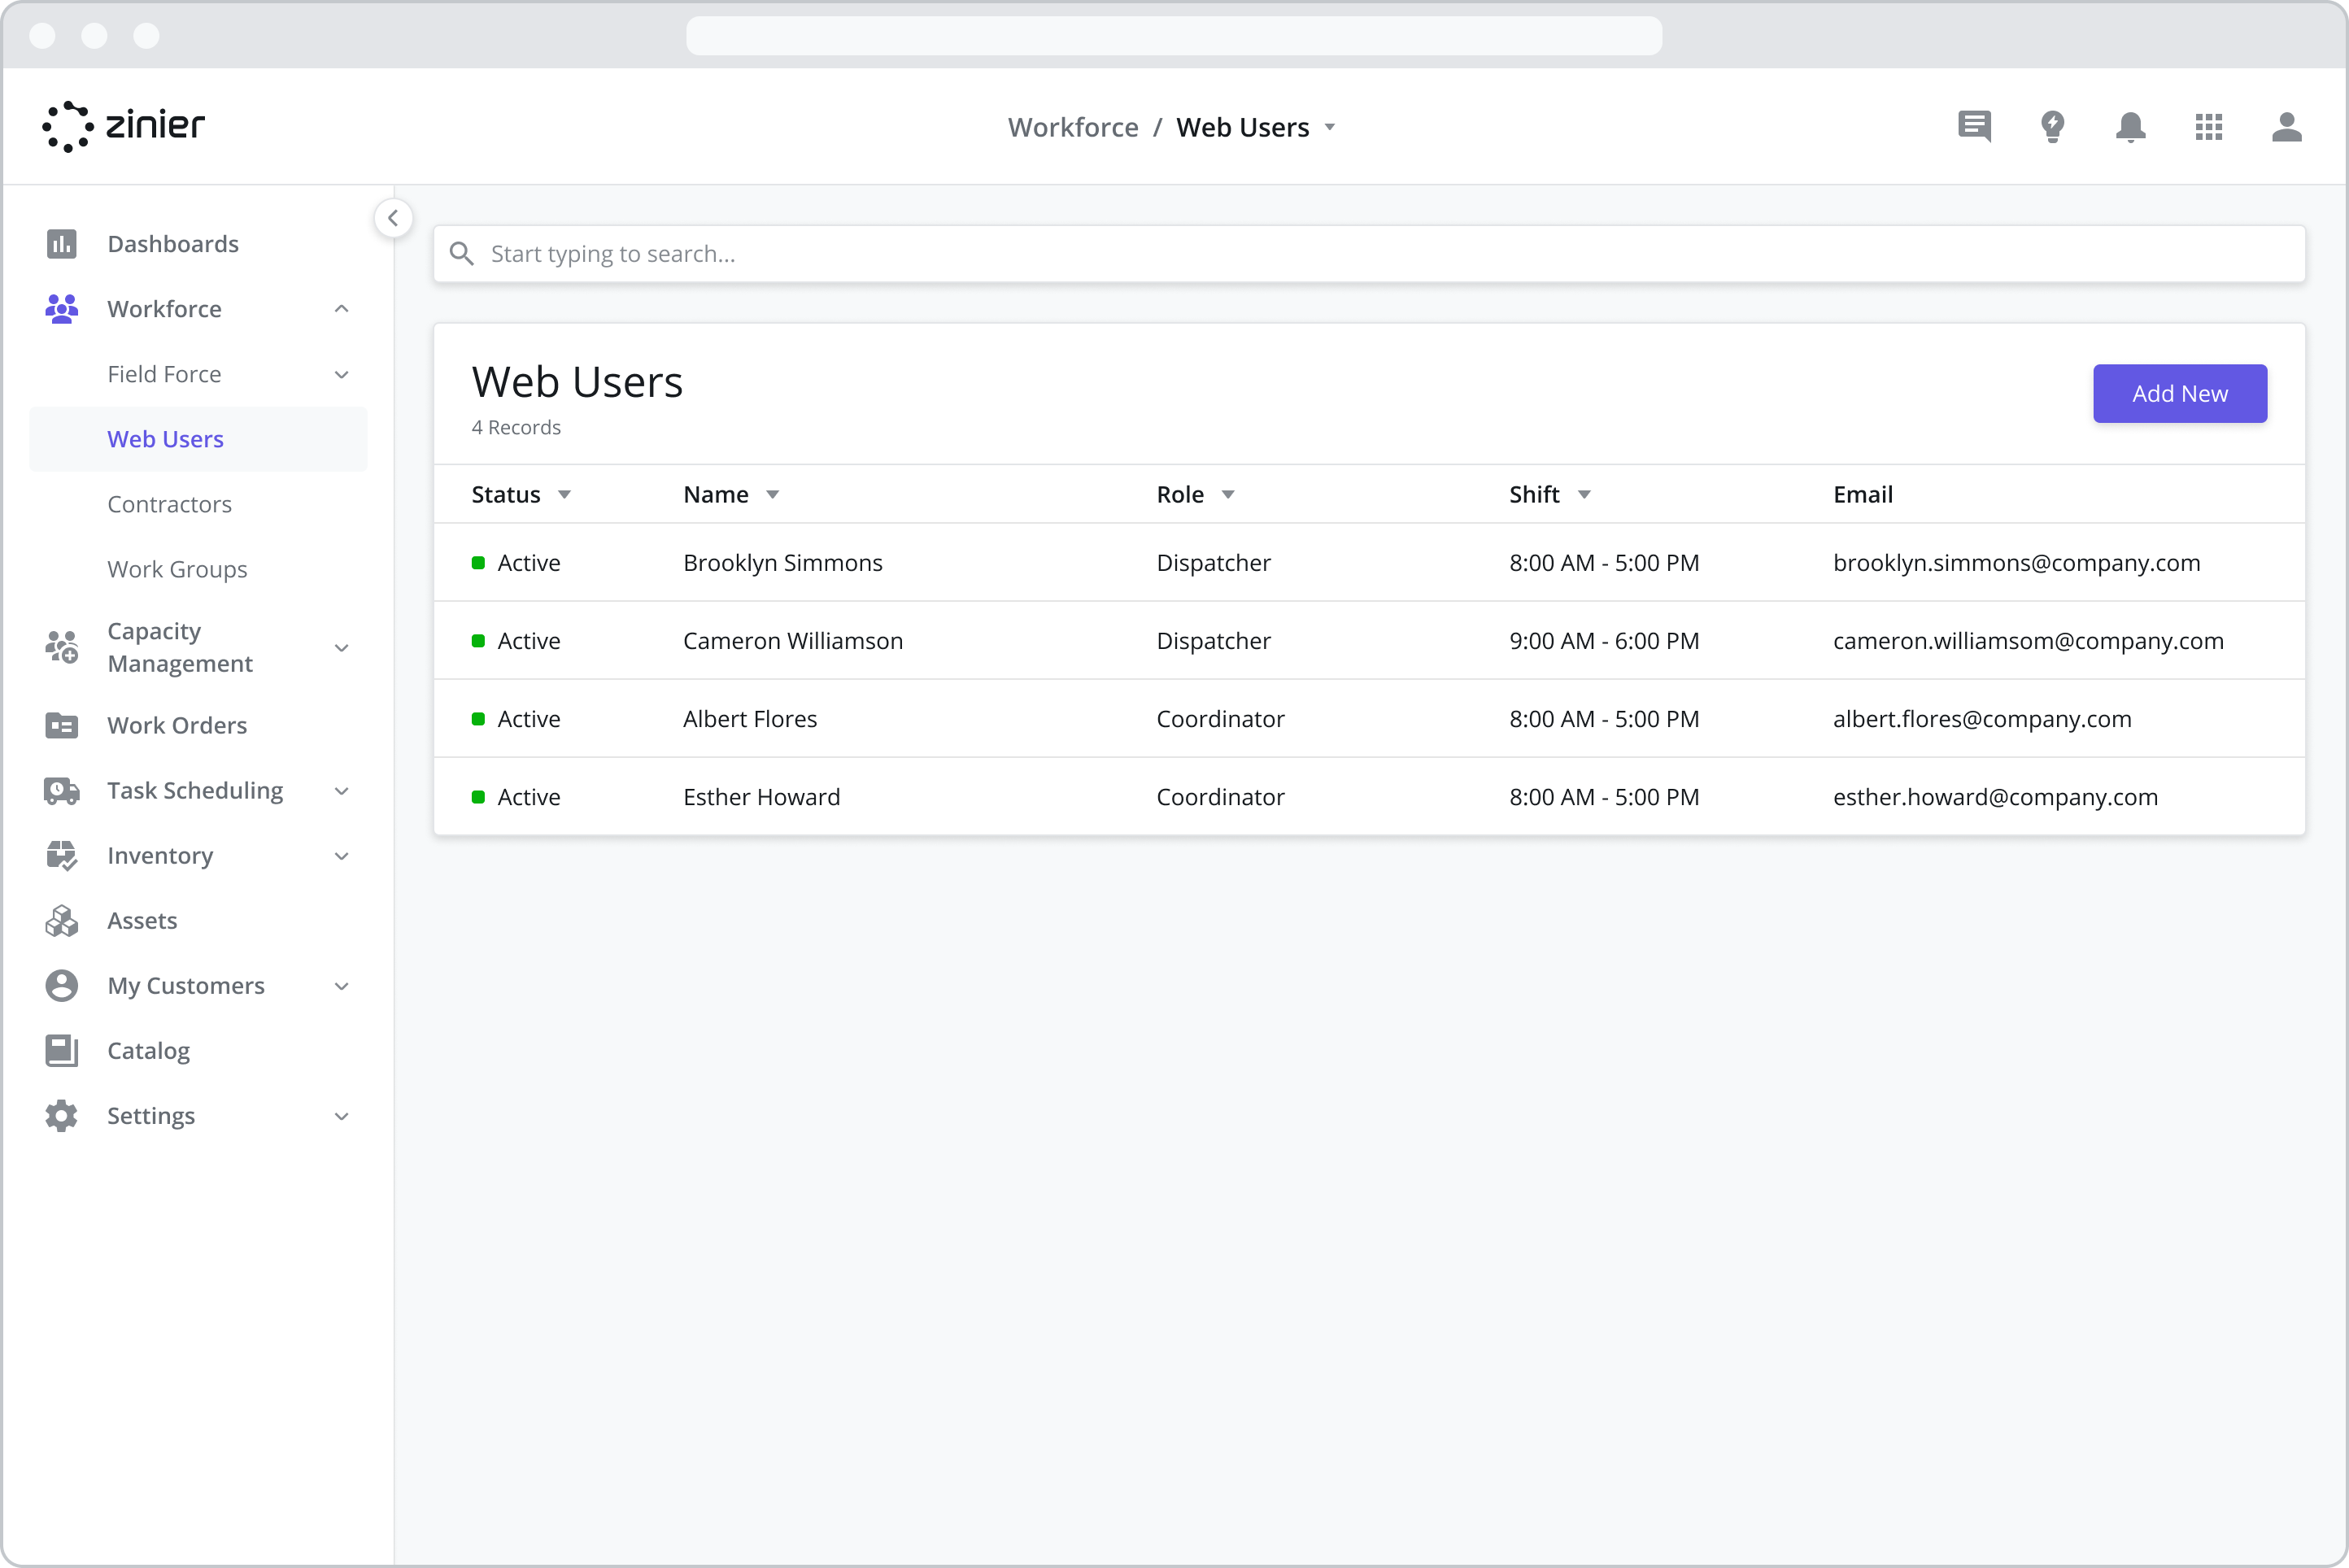
Web Users
The Web Users module is where you manage (add, edit, and deactivate) the Web Users in your workforce. Once a user has been invited to the org by the Admin from the Users module, the user can then be added to the workforce.
Technicians vs. Web Users
Technicians and Web Users are different in several important ways:
Technicians are mobile-only users (with mobile app access) that can be scheduled and assigned tasks in Scheduling & Dispatch. They do not have access to web applications.
Web Users, on the other hand, have access to the Web application. Which web modules they have access to is determined by their “role” (see below).
Adding New Web Users
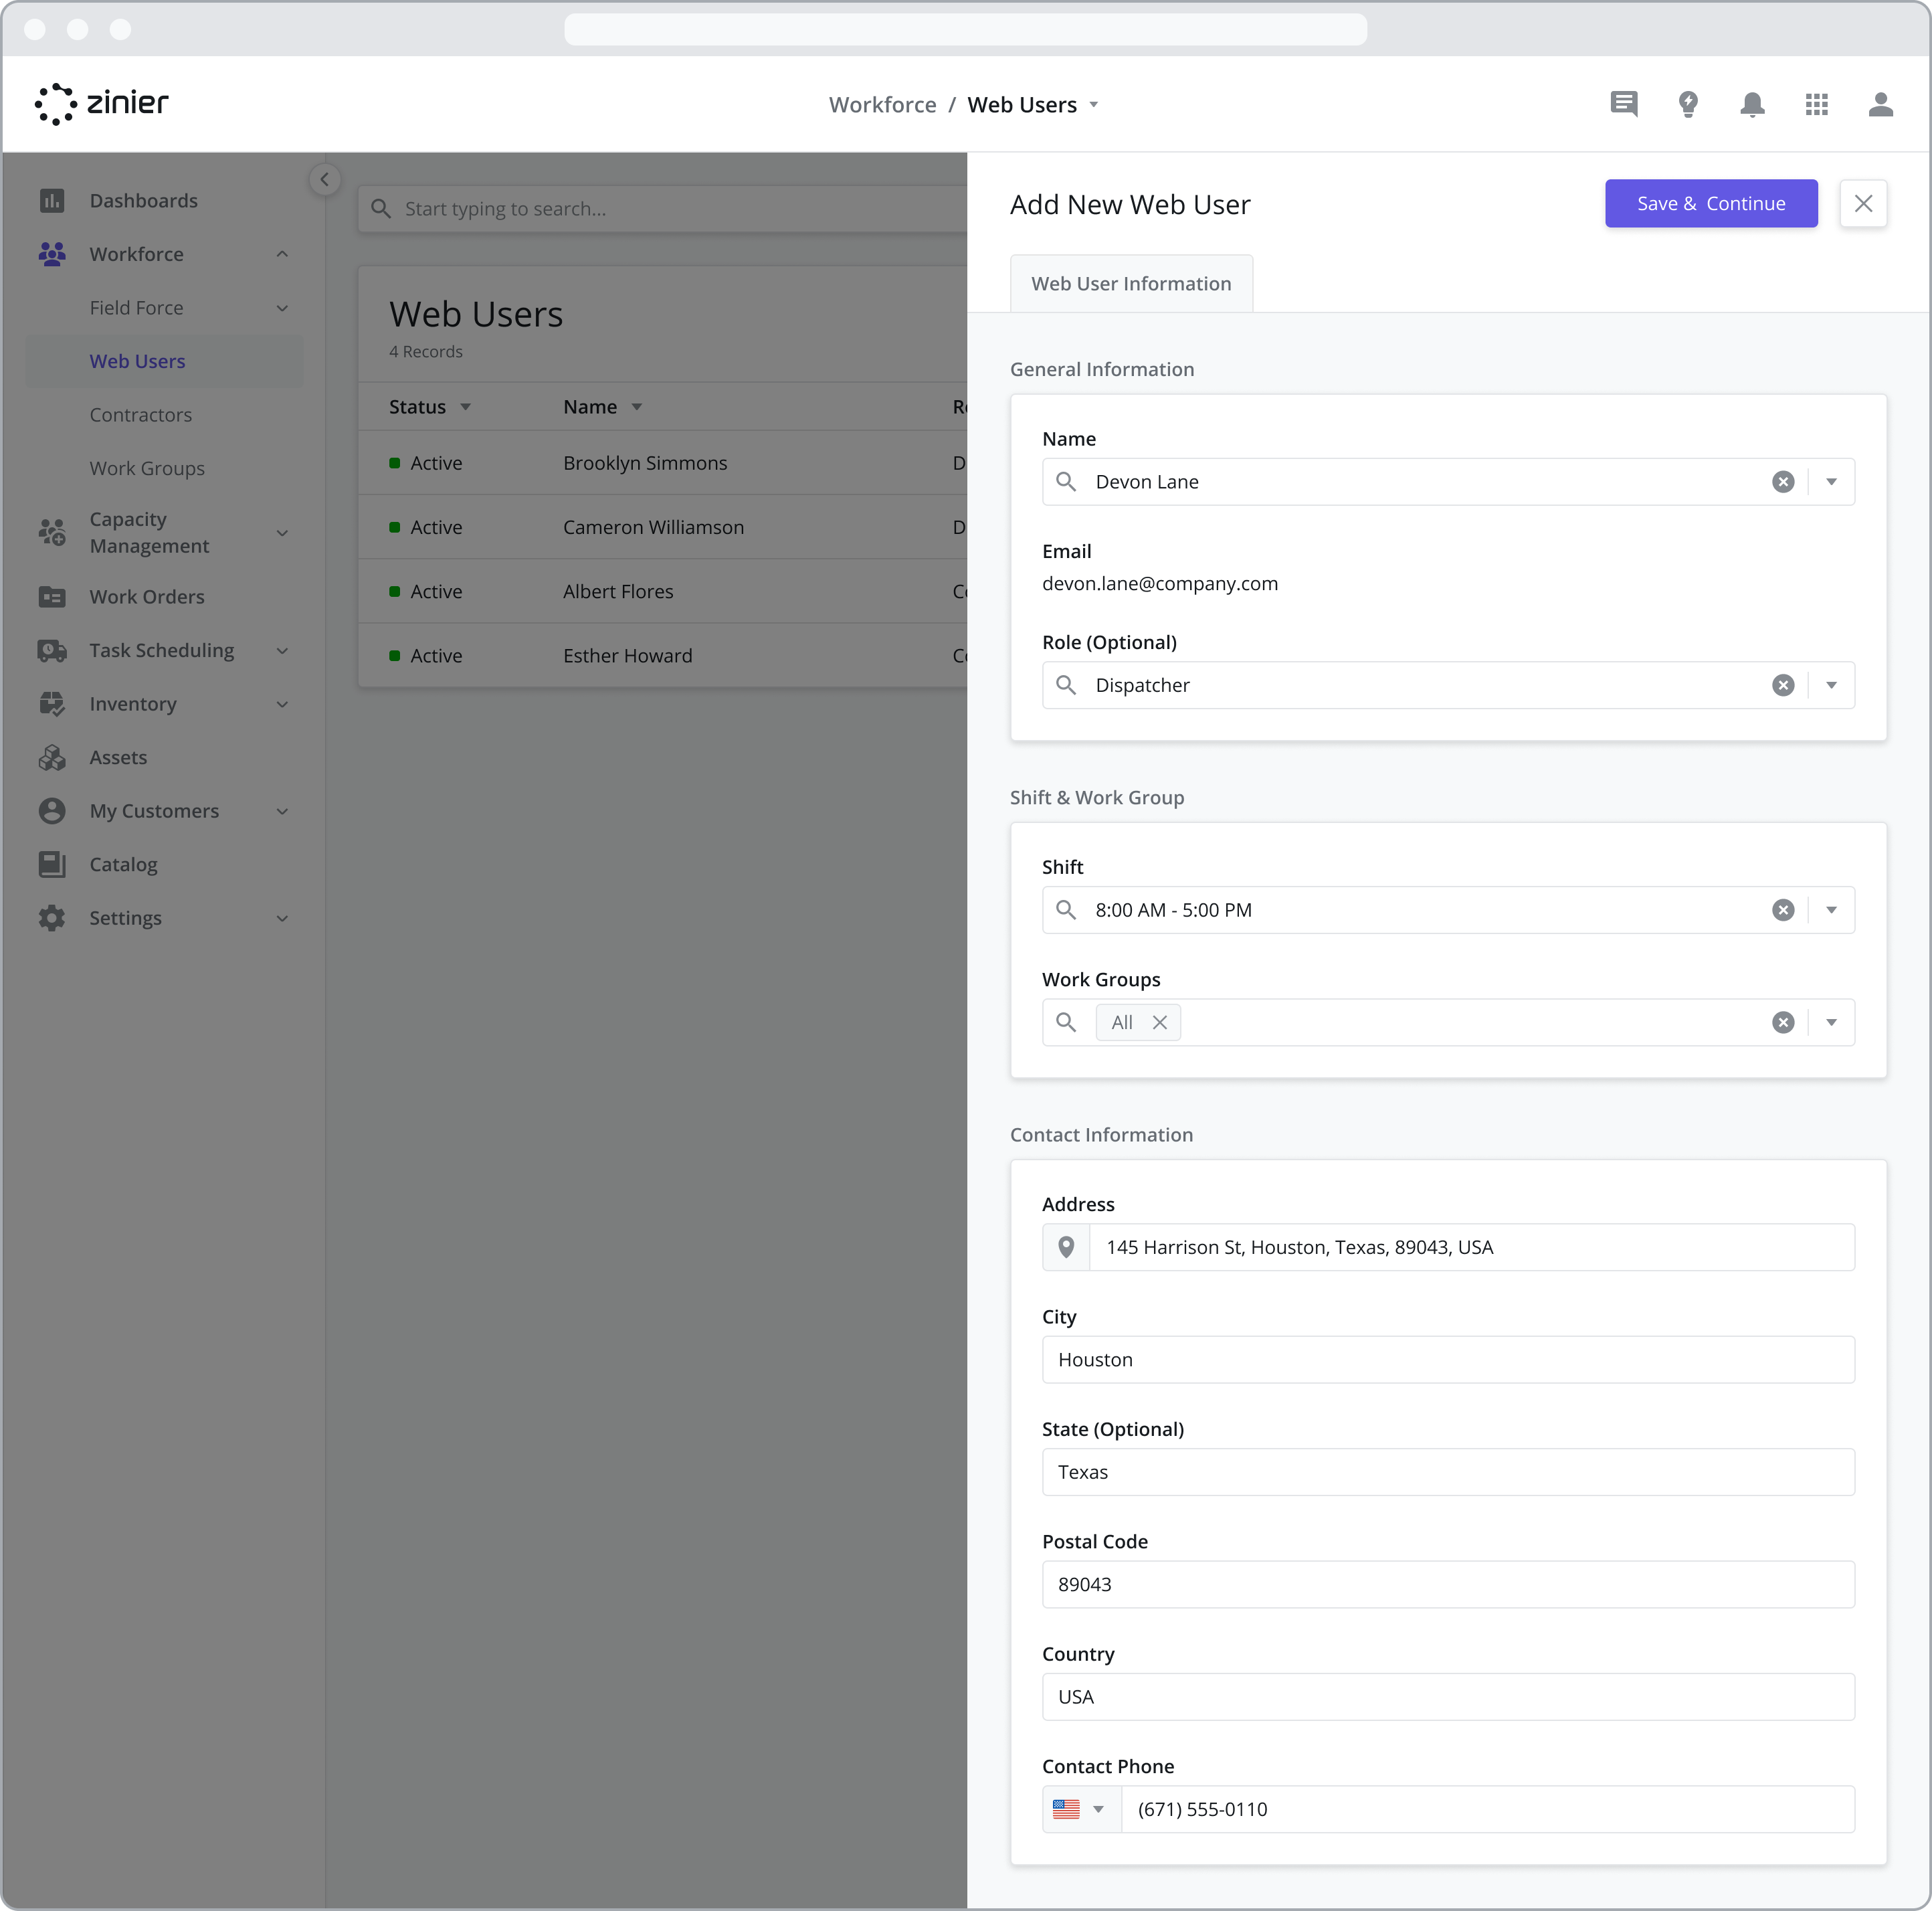
To add a new Web User, go to the Workforce > Web Users module, click the “Add New” button in the top right of the data grid, select the User, and then fill in the details in the sidepanel.
A Web User must first be invited as a User from the Admin application. Only then will they be visible in the list of users.
Assign a Role
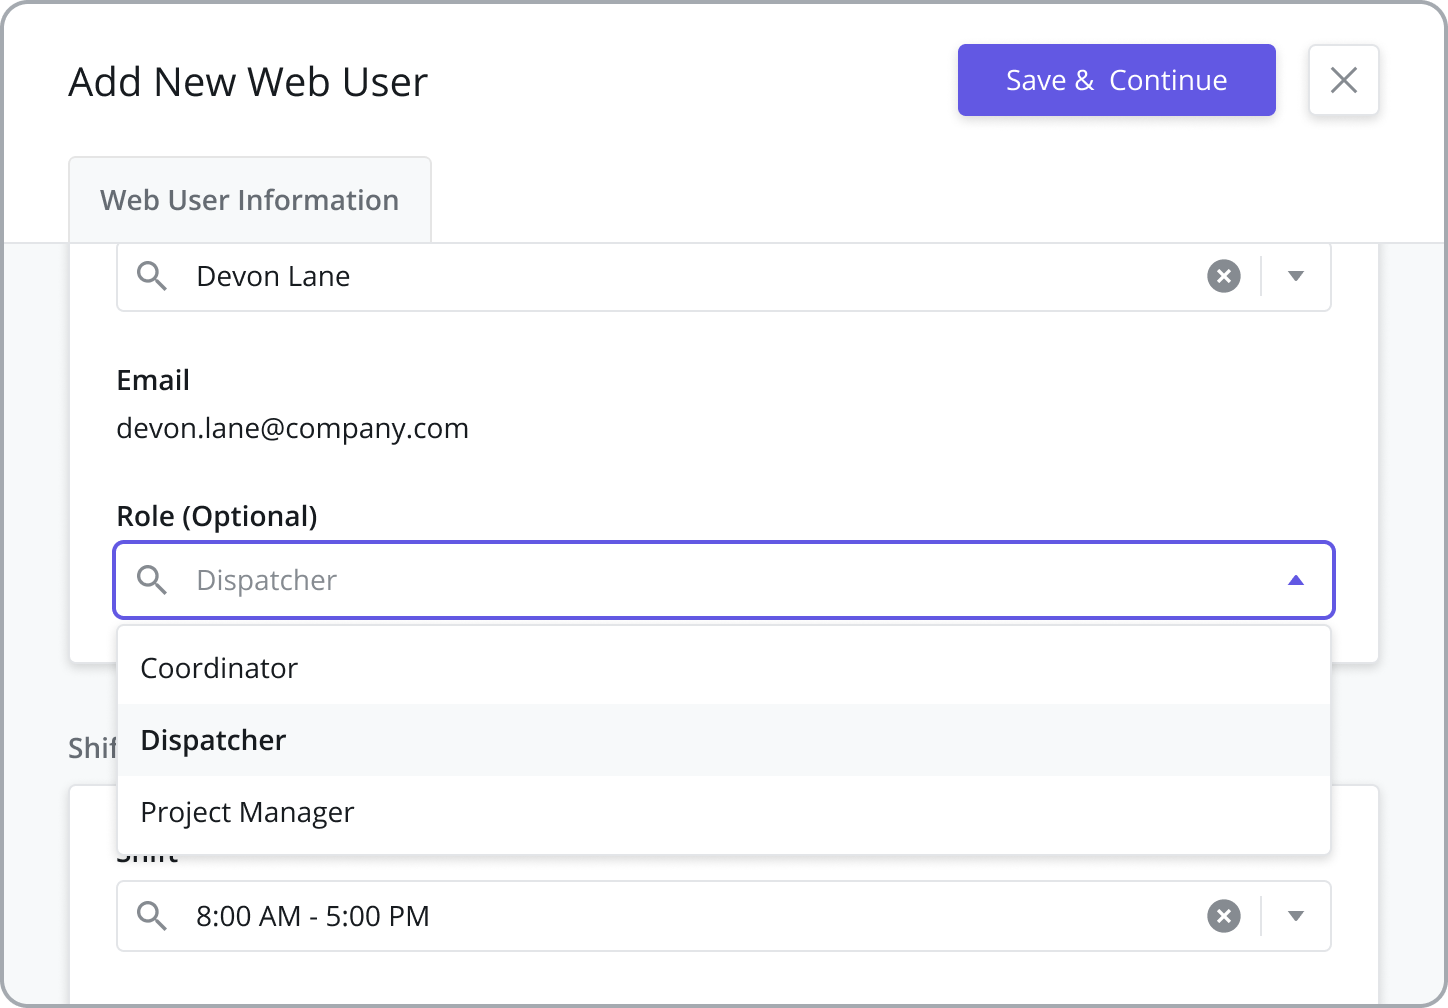
Zinier has several pre-defined user roles that act as tags to help you understand the role of the user. These have no functionality associated with them (hence they are “Optional”) and DO NOT grant access to the various web application in your solution. Web Application / Module access is granted through a combination of User Roles (Web vs. Mobile access) and User Groups (which grant access to the various web modules).
For more information, see the Inviting Users and Managing Groups page.
Assign Work Schedule / Shift
Assign each web user a shift to keep track of normal working hours for back office staff. When creating a new web user, the selected “Shift” will populate the “Work Schedule” tab in the side panel after the record is saved.
For more information on configuring Shifts, see the Workforce Management Settings page.
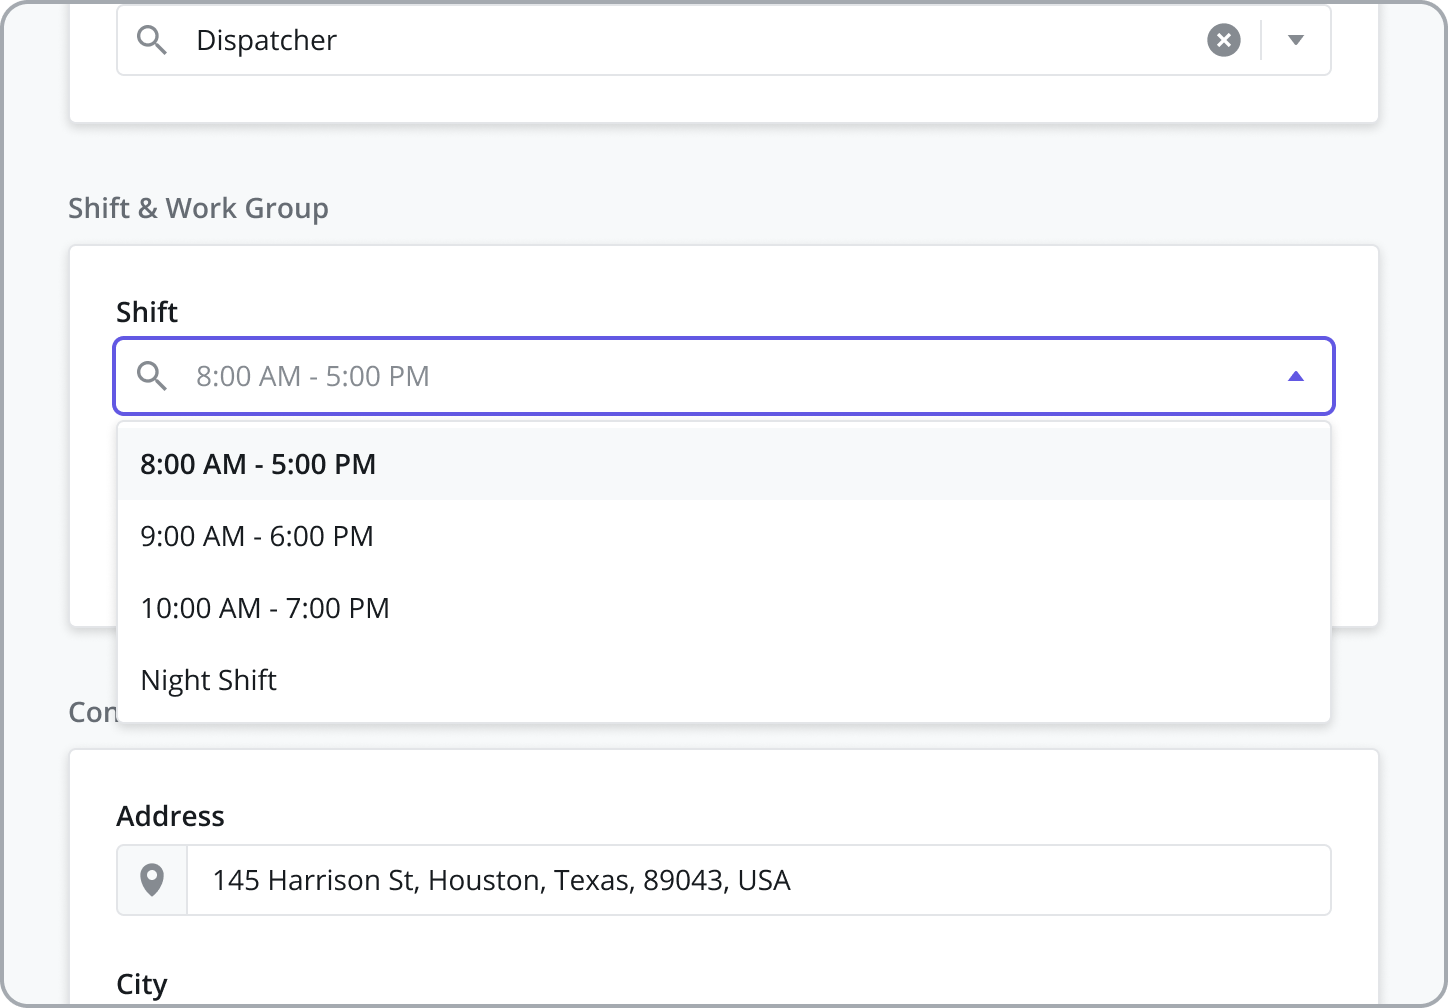
Assign Work Groups
Assign a Web User to Work Groups to filter the tasks and technicians they see in the Task Scheduling module based on Region, Work Order Type, Task Type, or Customer. Assign Web Users to the default "All" Work Group and they will be able to see all tasks and all technicians in the Task Scheduling module, in both the List and Calendar Views.
For more information, see the Work Groups page.
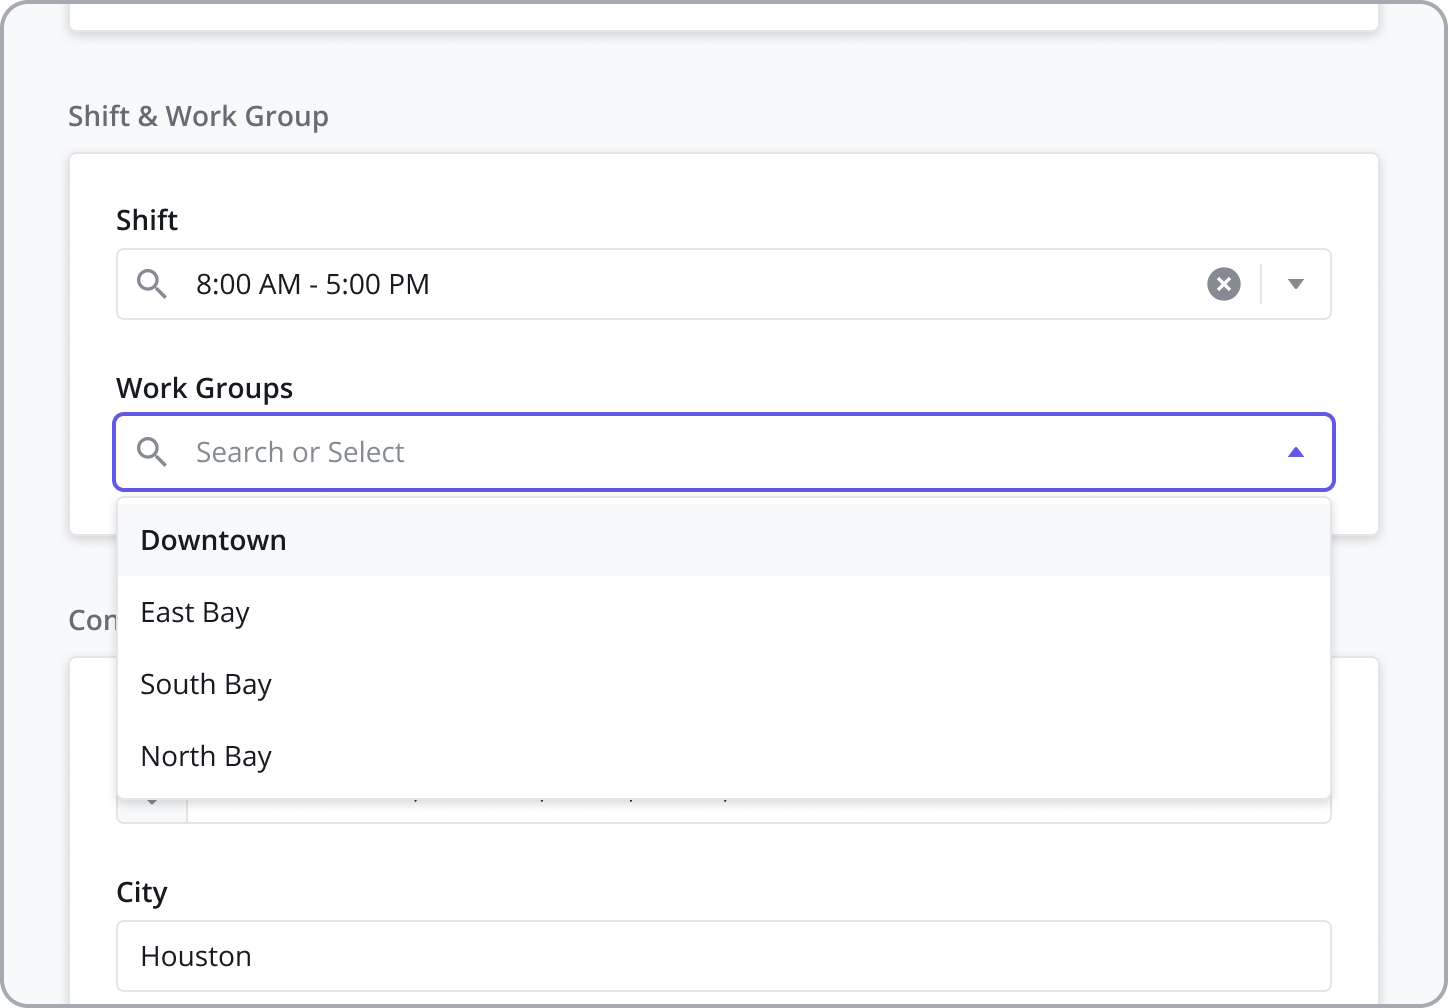
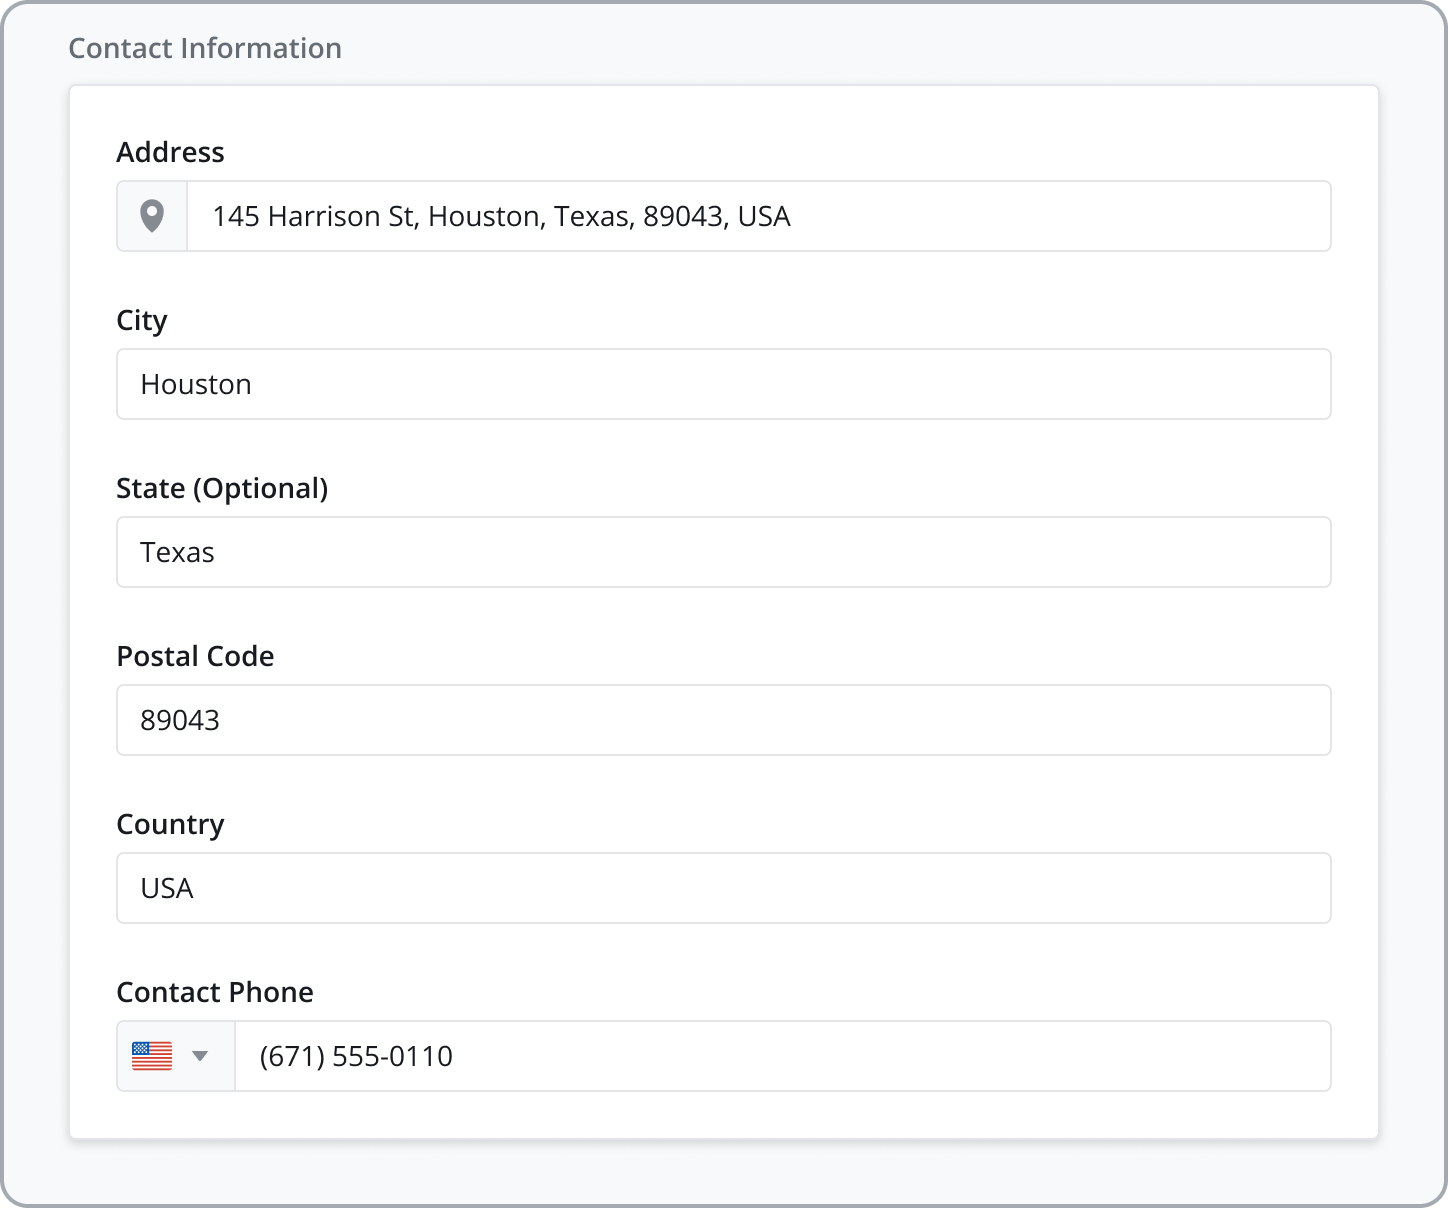
Provide Contact Details & Address
Maintain contact information for Web Users such as their phone number and address.
Deactivating Web Users
To deactivate a Web User, click the “Deactivate” button at the top of the sidepanel. Deactivating a Web User does the following:
Web Access: The user will still be able to log in to the web app and access all their previously assigned modules.
Work Groups: If the user was assigned to any Web Groups, the filters will be turned off and the user will be able to view all tasks/technicians in the system.
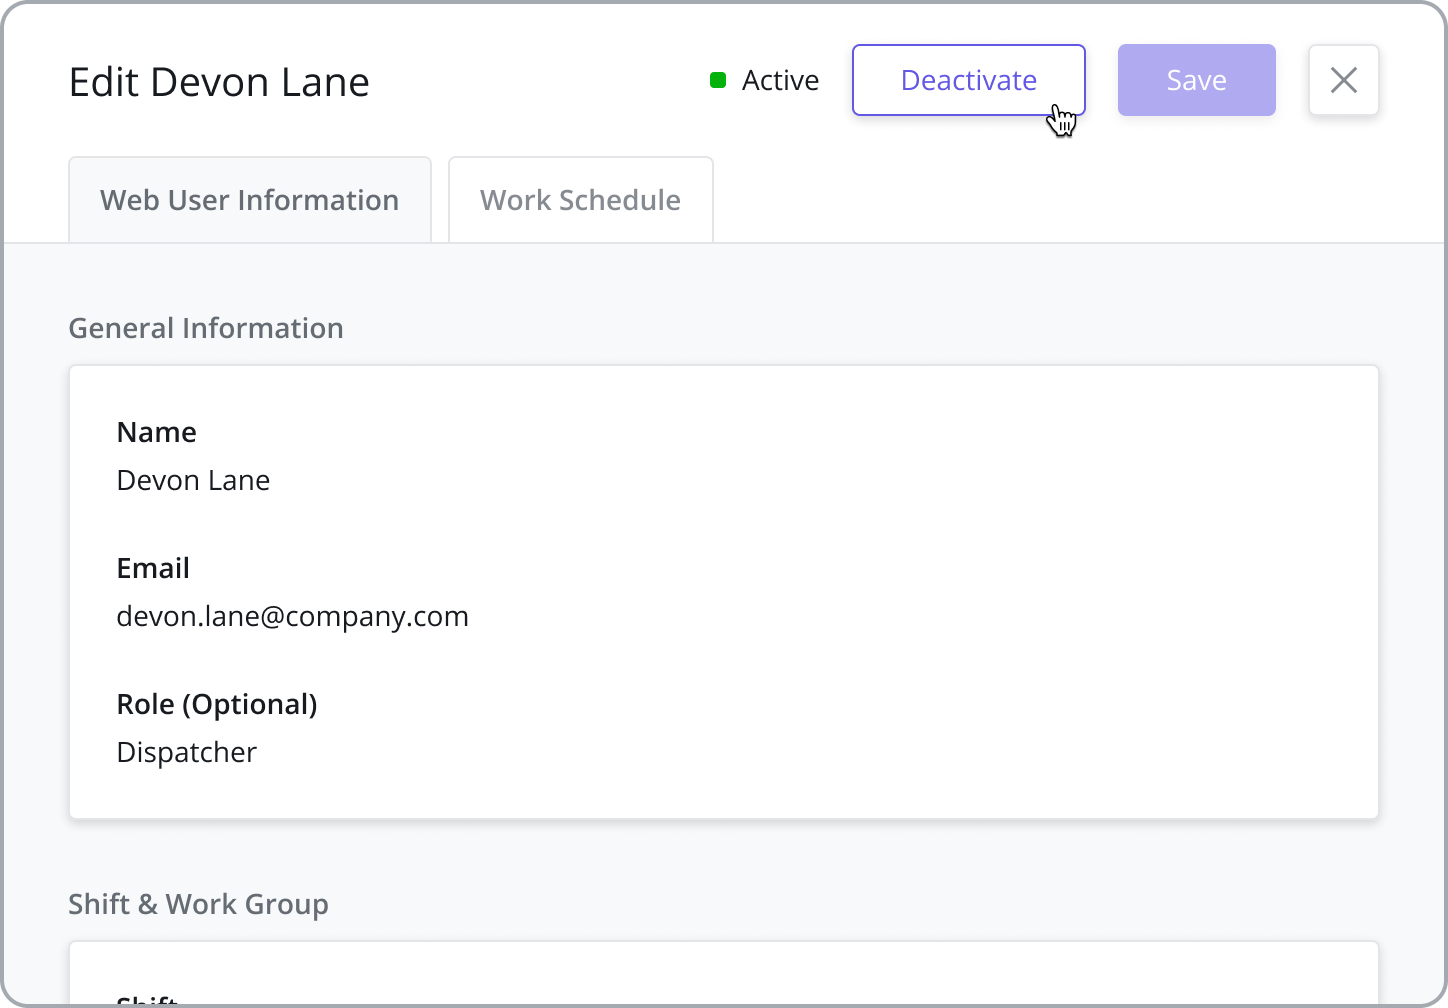
Currently, information such as shift, leave, and overtime can be added but is not utilized by functionality such as scheduling. The Web Users module lays the foundation for web user scheduling but it does not exist in the current out-of-the-box implementation.
Work Schedule / Shift
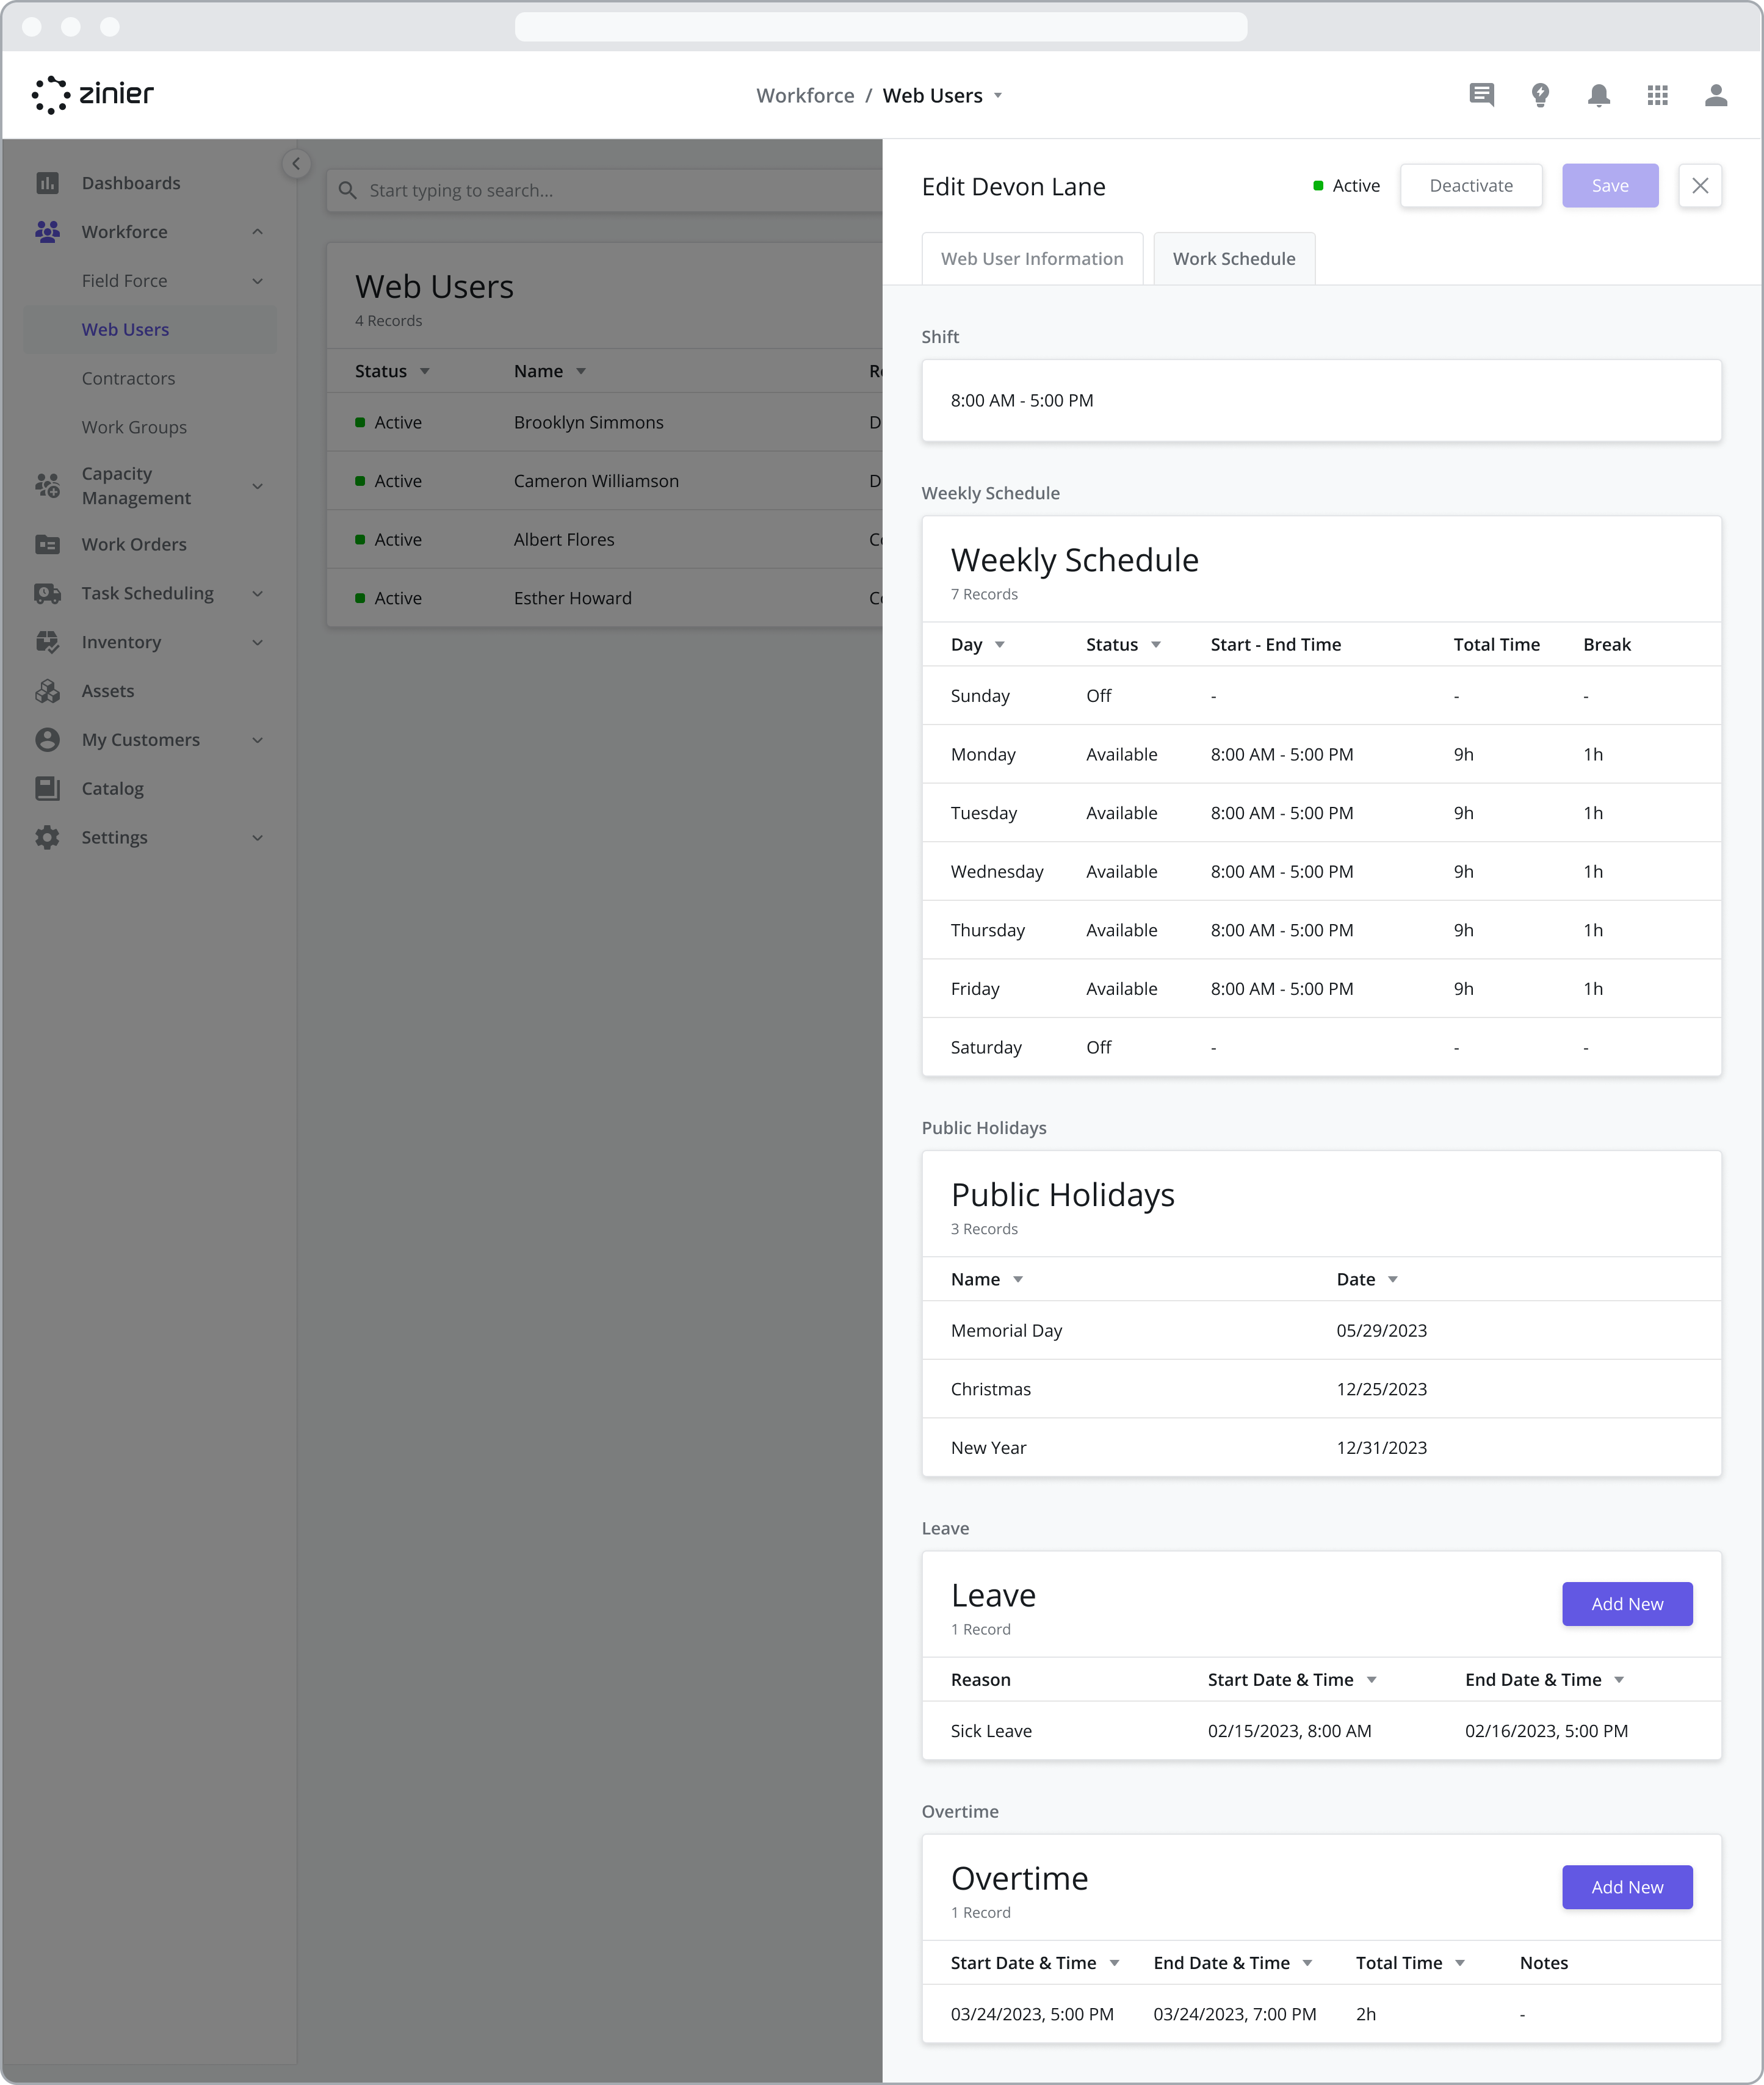
The Work Schedule tab is populated based on the Shift selected in the previous tab (Web User Information). To change the Shift (shown as read-only), go back to the prior tab. The Shift determines the Weekly Schedule and default Public Holidays as shown in the data grid.
For more information on configuring Shifts, see the Workforce Management Settings page.
View Public Holidays
View all public holidays observed by each web user according to their selected shift to ensure back-office support is available when needed.
For more information on configuring Public Holidays, see the Workforce Management Settings page.
Add Leave
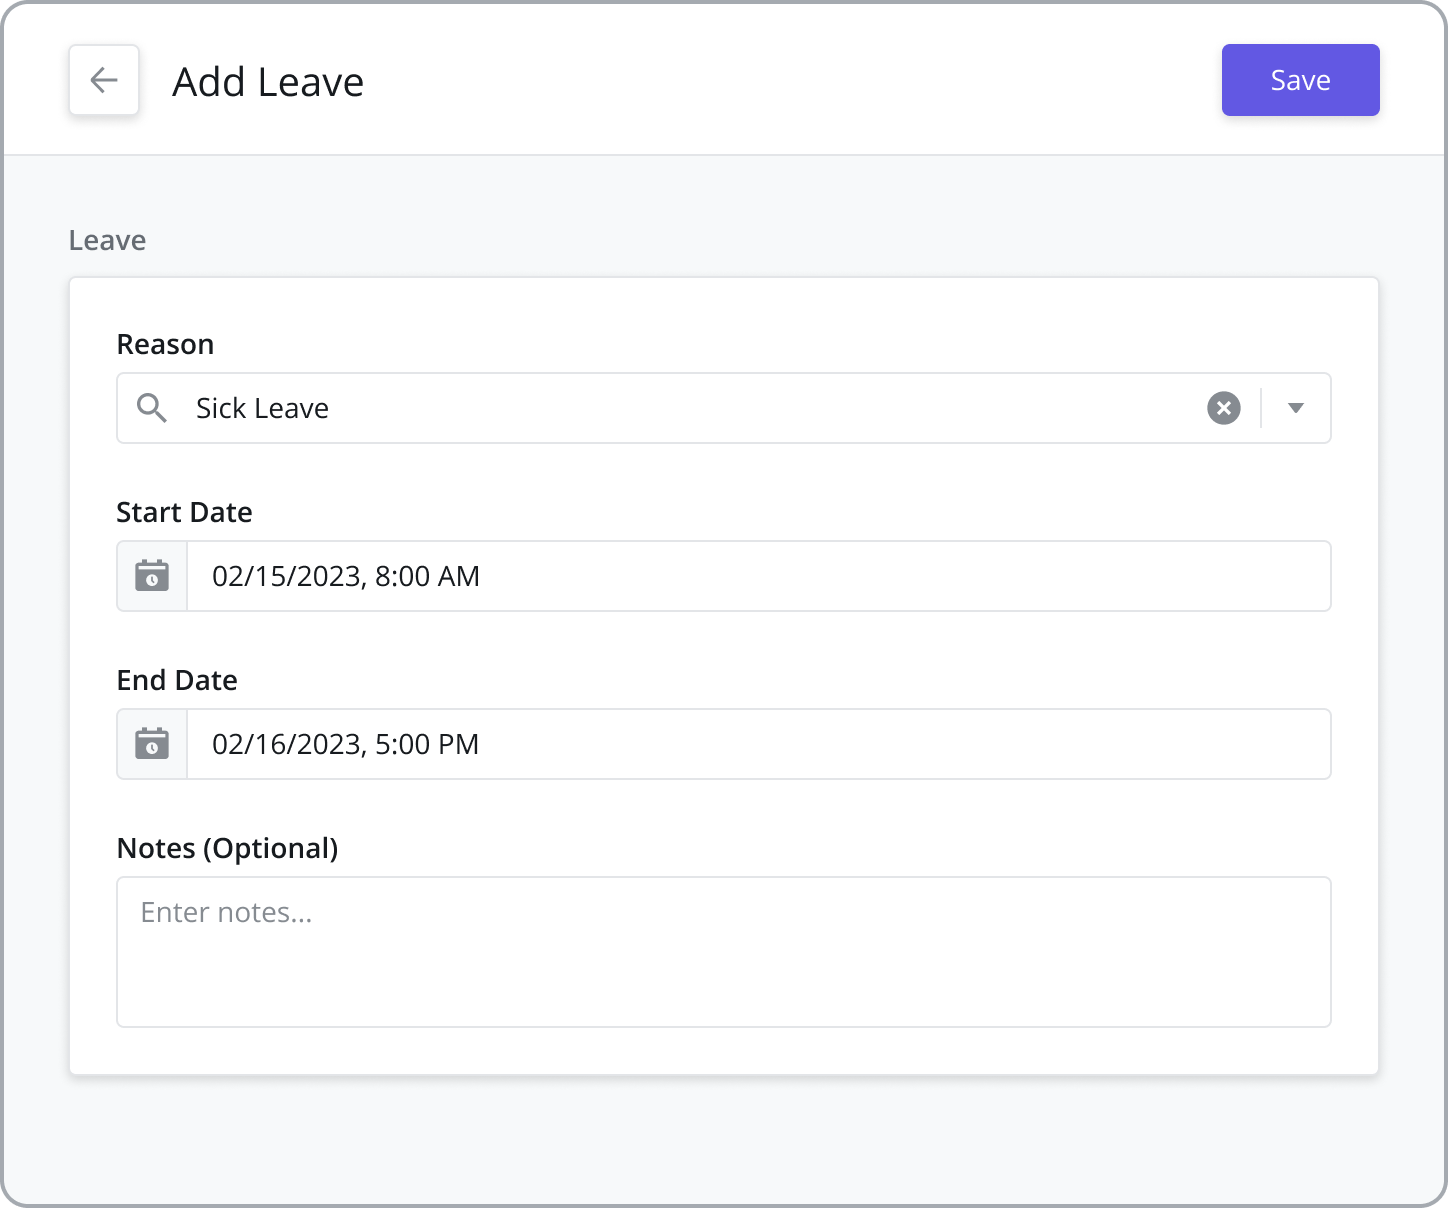
Add leaves for Web Users to block out their availability.
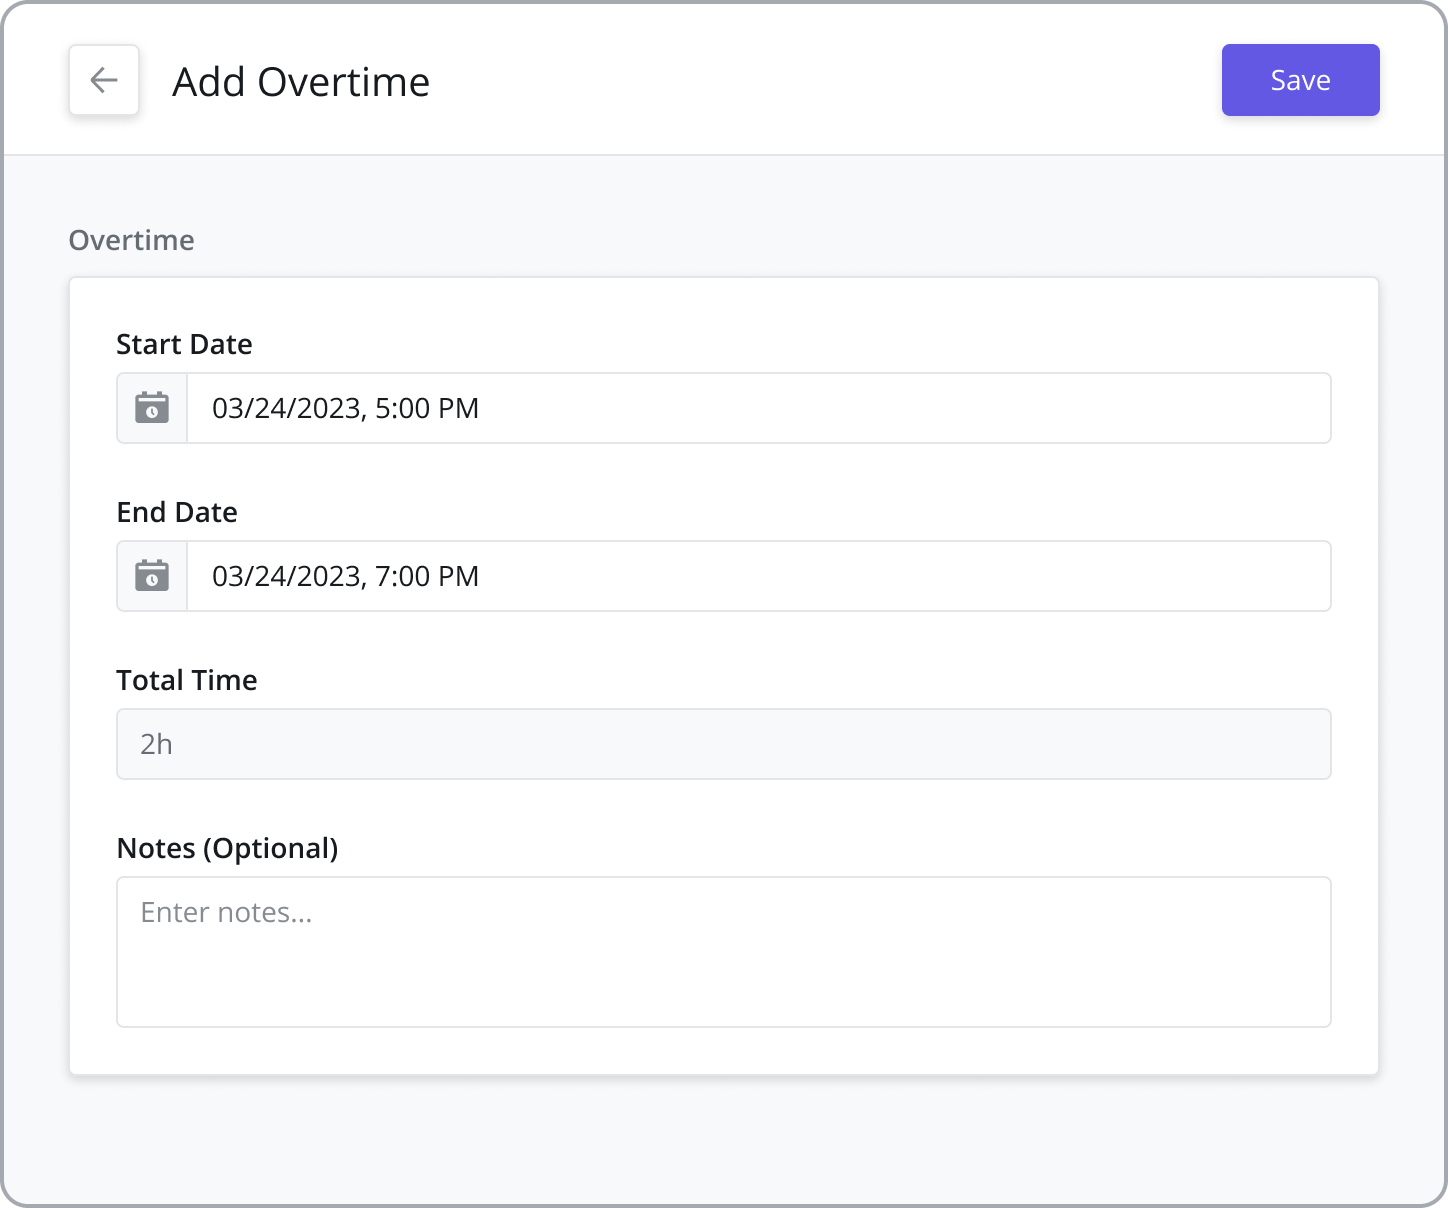
Add Overtime
Add overtime to web users' calendars to schedule them to work outside of their normal shift or on a public holiday.
