Step 1: Configuring the Task Settings
After entering the Task Builder wizard, the first step is configuring the Task Settings.
To configure the Task Settings, follow the steps below:
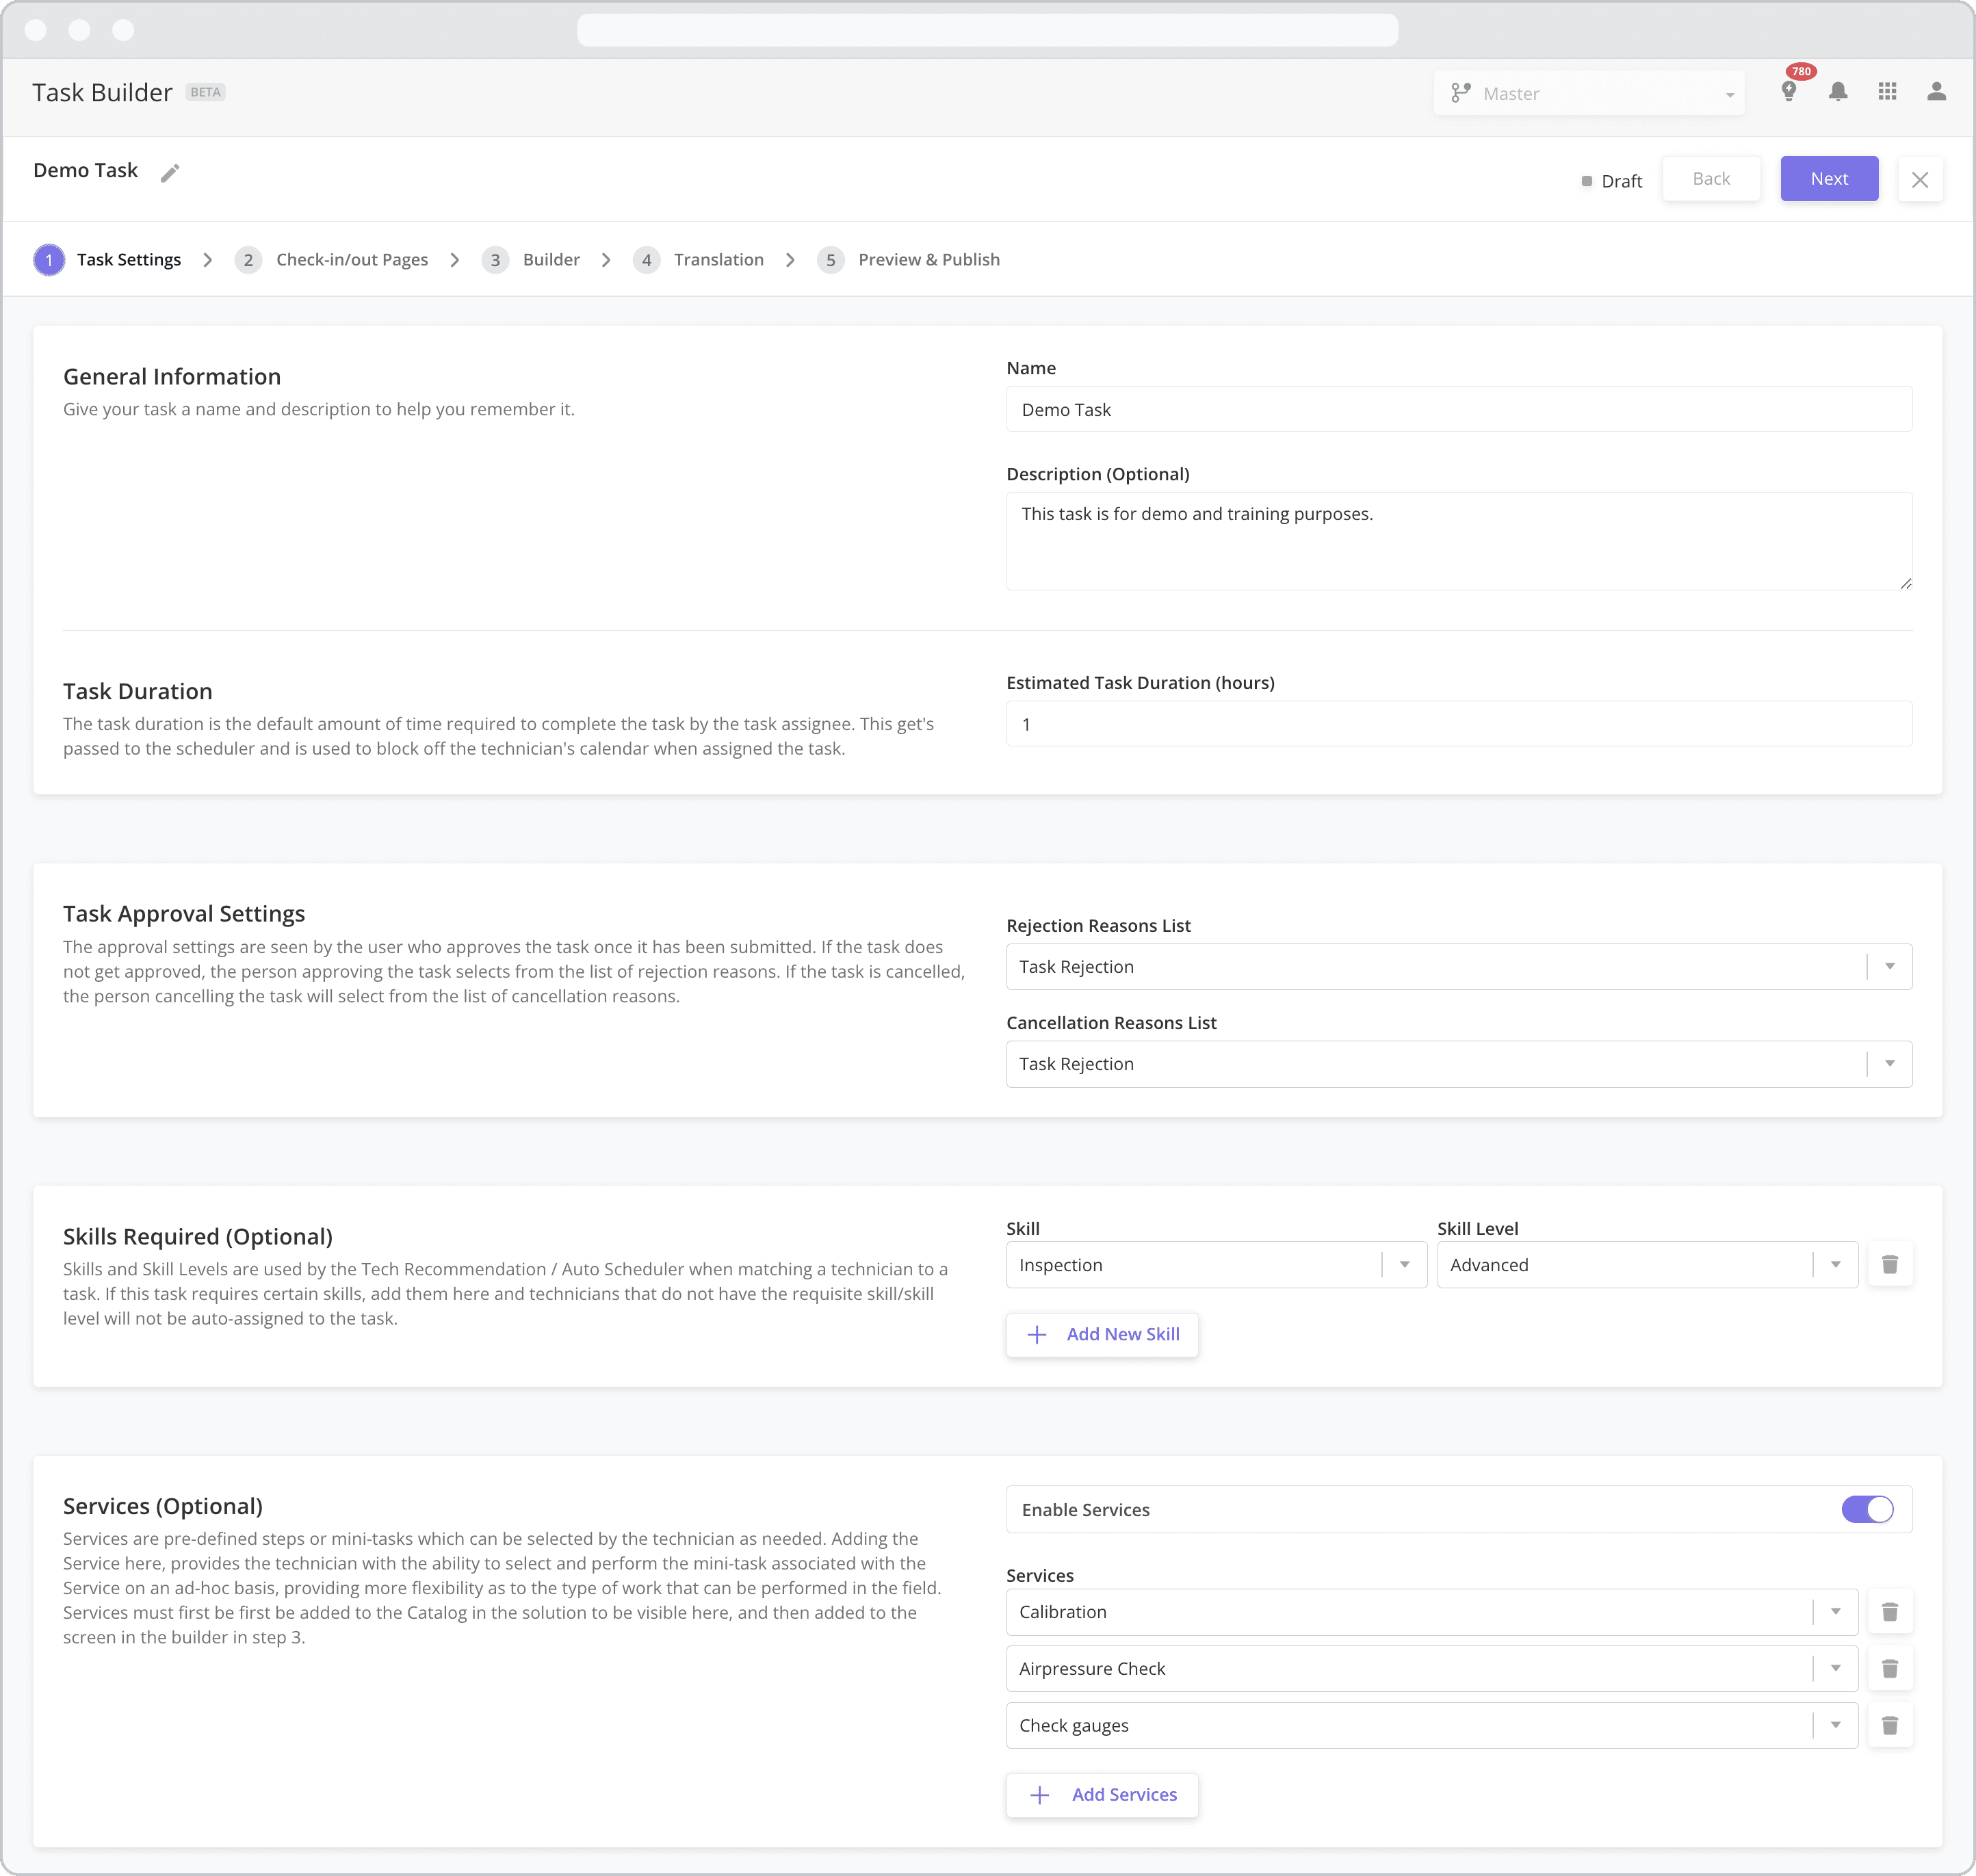
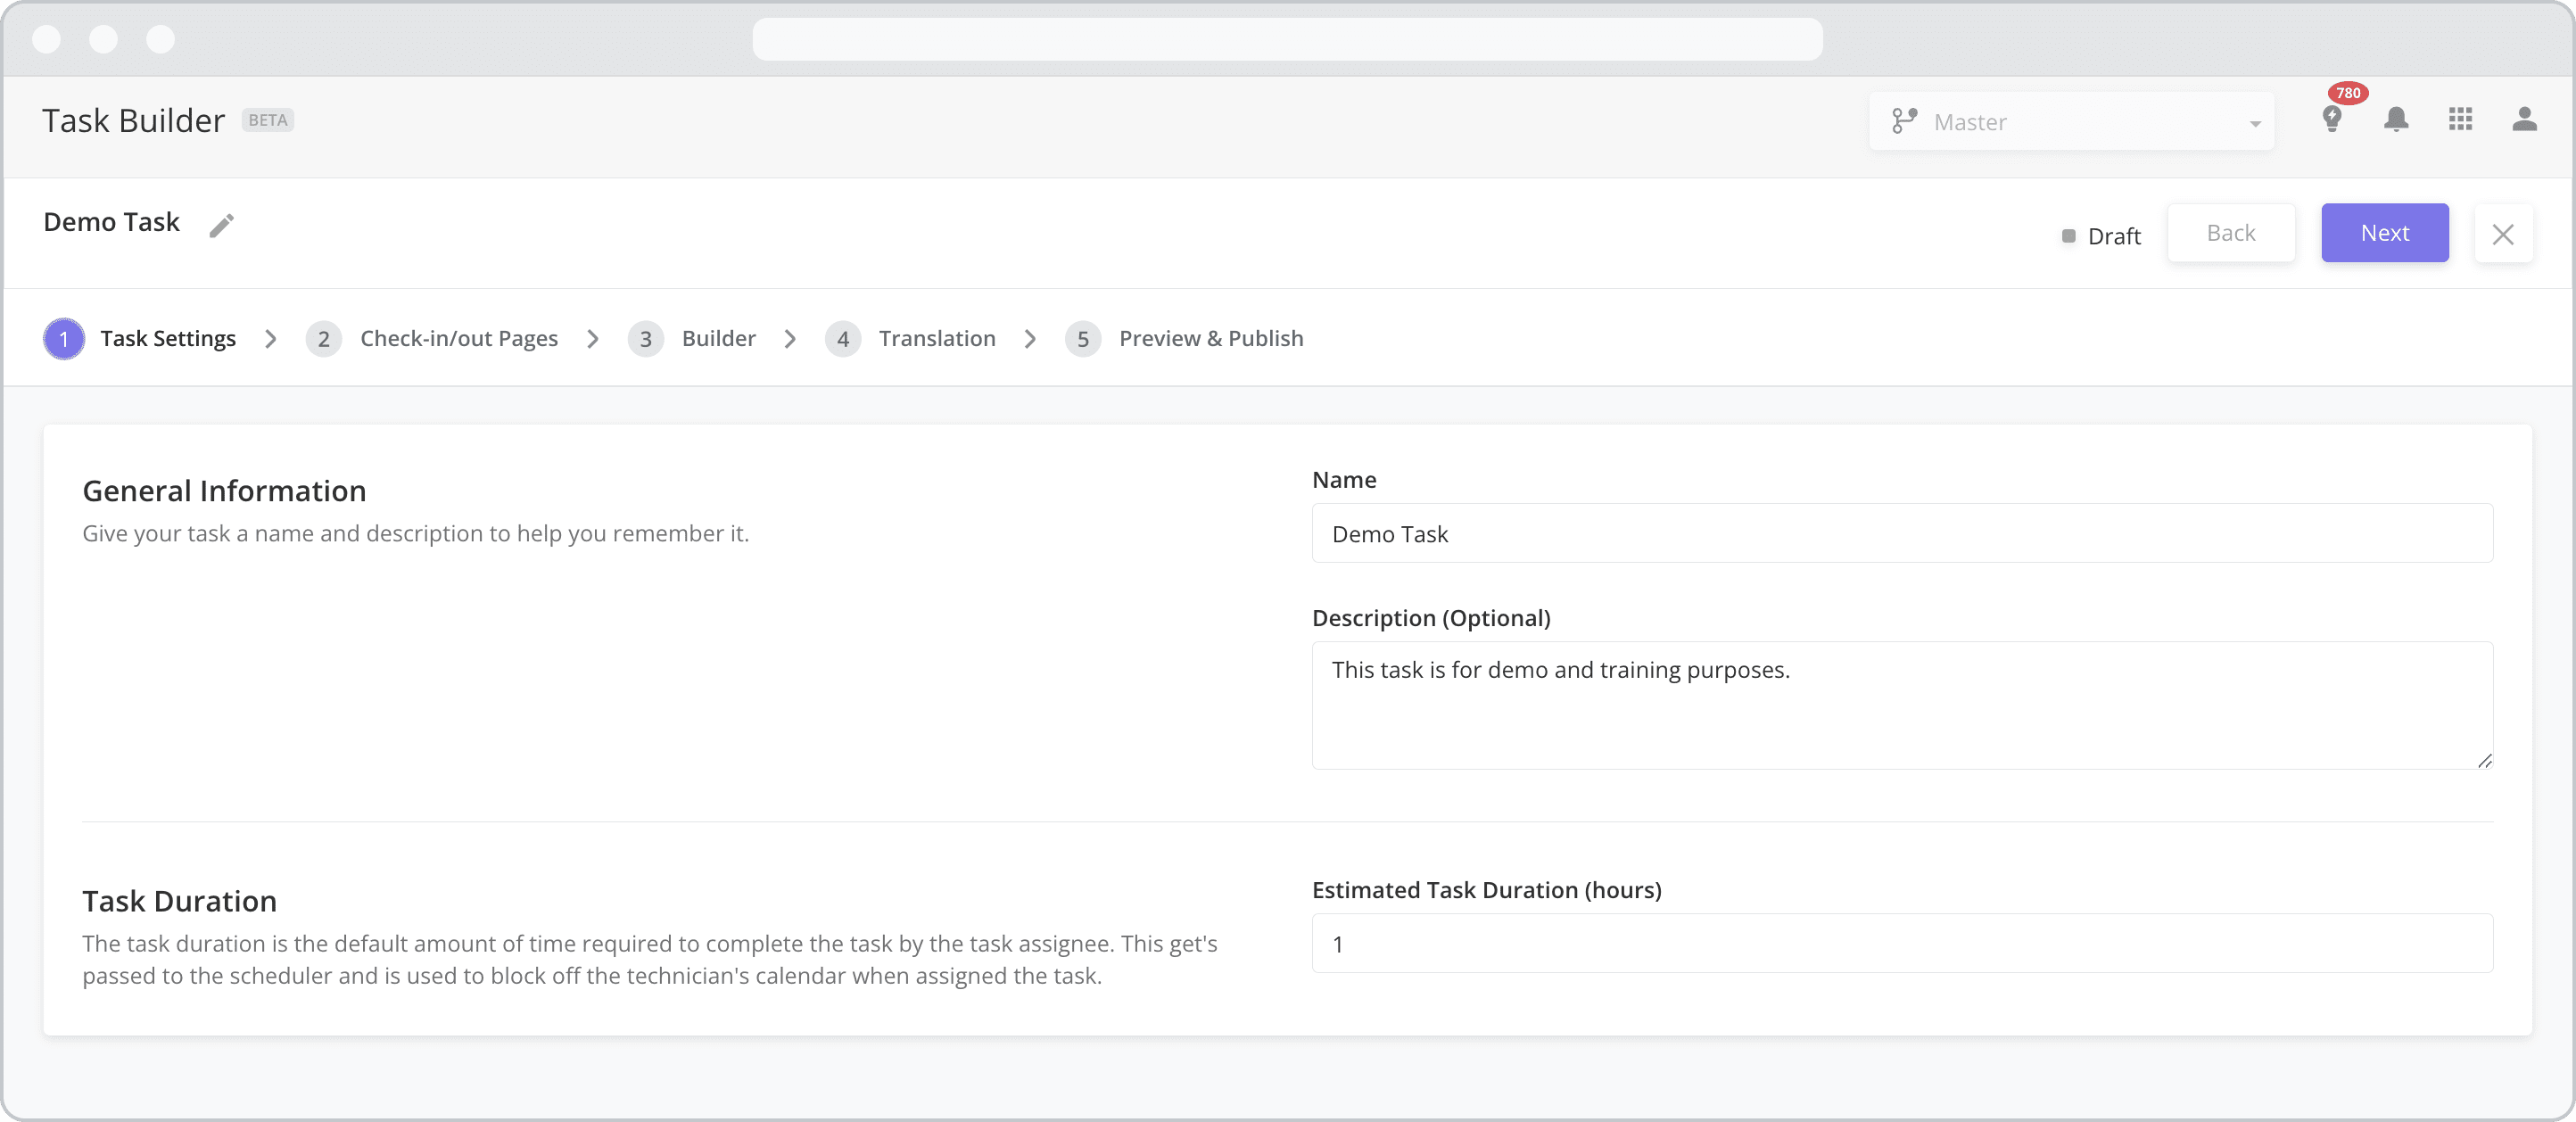
1. General Information
Name: The task name is used across the product and is what dispatchers will see when adding tasks to work orders or dispatching tasks.
Description: Enter a description to help you remember the purpose of the task.
2. Task Duration:
Estimated Task Duration (hours): The estimated duration is used in Task Scheduling to determine the block of time a task takes to complete. It is also seen by technicians when they browse their task list on the mobile app. For example, if a user is assigned a task at 9:00 am and the duration is 60 minutes, the task will then show 9:00 am - 10:00 am in their task list.
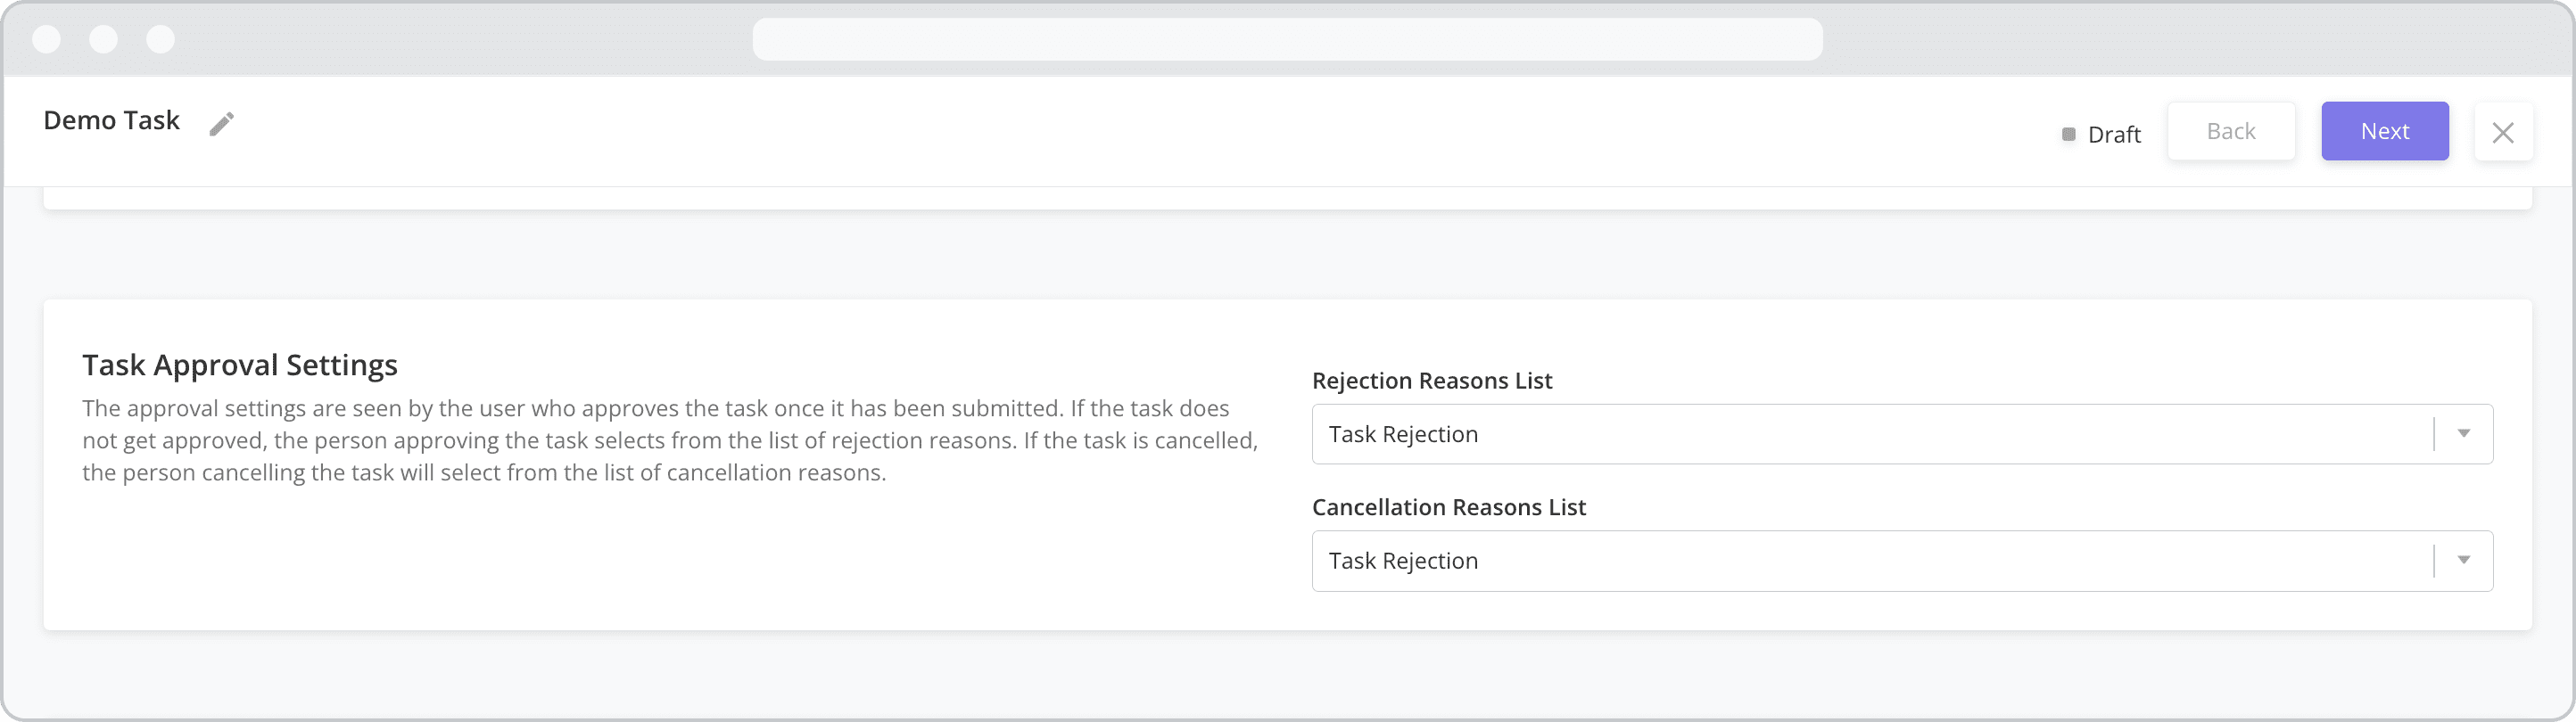
3. Task Approval Settings:
Rejection Reason List: If the task does not get approved, the user approving the task selects from a pre-defined list of rejection reasons. Select the List Option to use if the task does not get approved.
Cancellation Reasons List: If the task is canceled, the user canceling the task will select from the list of cancellation reasons. Select the List Option to use if the task is canceled.
List Options must first be added from the Settings > General Settings > List Options module before they can be assigned here. For more information on adding and configuring List Options, refer to the List Options section.
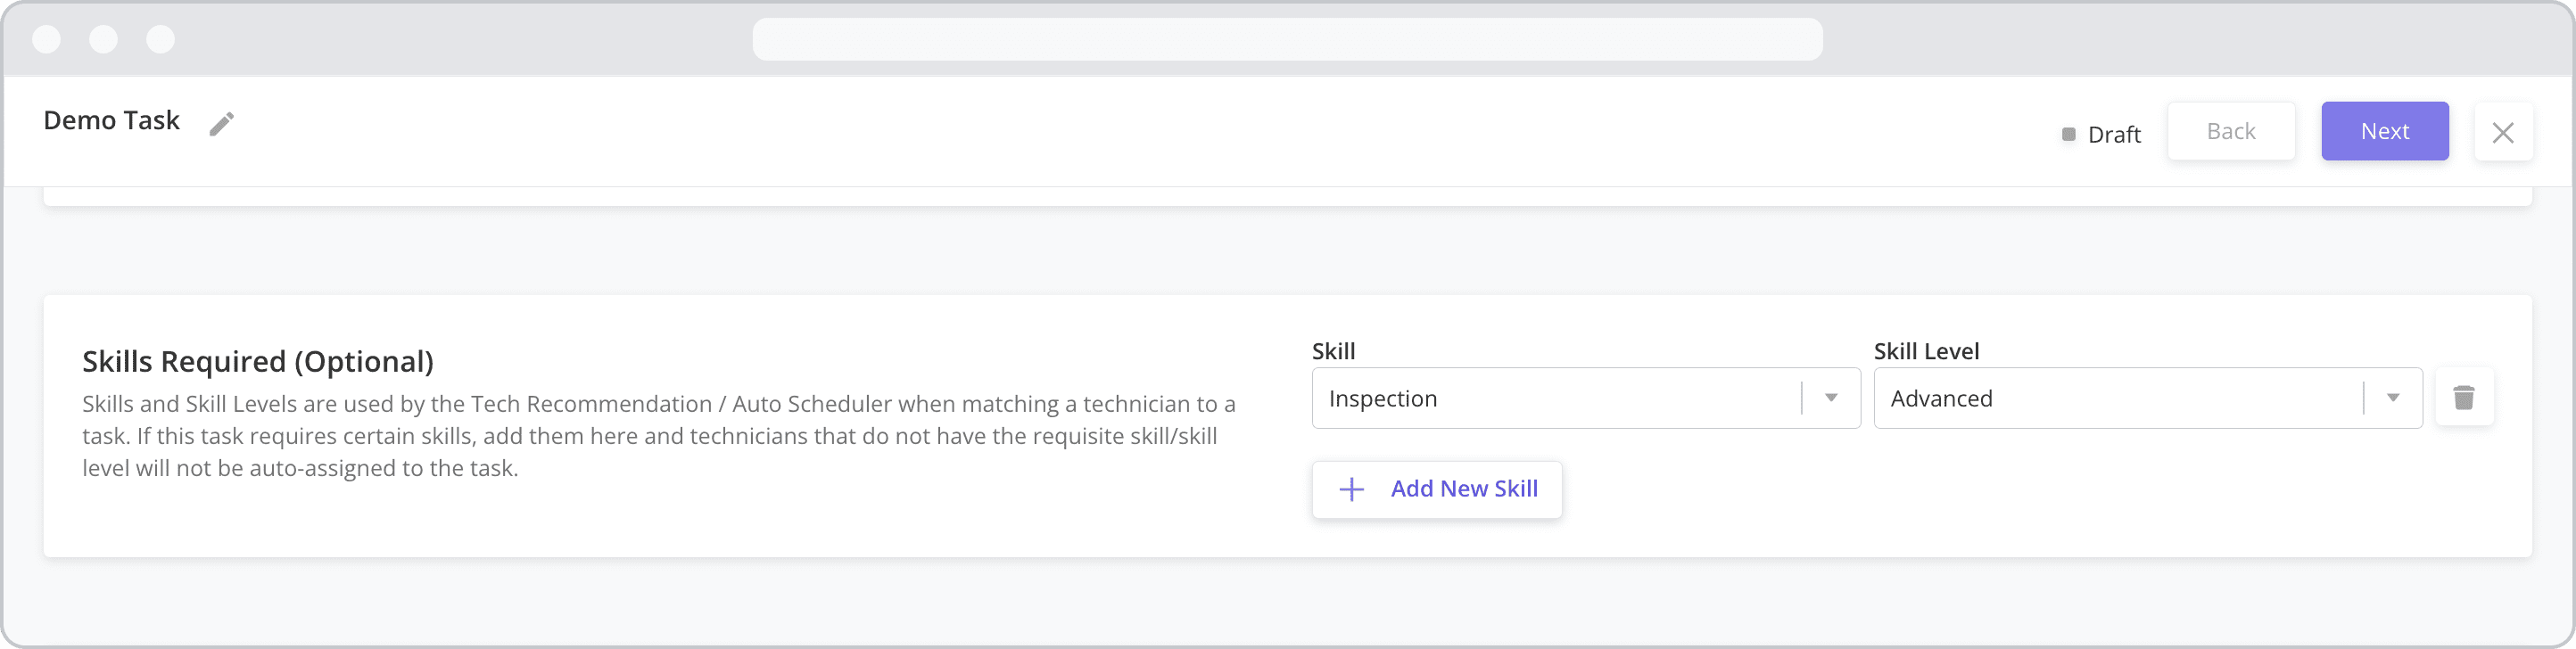
4. Skills Required (Optional):
Skill and Skill Level: Skills and Skill Levels are used by the Tech Recommendation / Auto Scheduler when matching a technician to a task. If this task requires certain skills, add them here and technicians that do not have the requisite skill/skill level will not be auto-assigned to the task.
Skills must first be created from the Settings > Workforce Settings > Skills module. For more information on creating and configuring Skills, refer to the Skills page.
5. Services (Optional)
Services are pre-defined steps or mini-tasks which can be selected by the technician as needed. Adding the Service here provides the technician with the ability to select and perform the mini-task associated with the Service on an ad-hoc basis, providing more flexibility as to the type of work that can be performed in the field.
Enable Services: Enabling Services will make the “Services Page” in the mobile template visible. If left disabled, the page will not be visible to mobile users. Refer to the Mobile Workflow Template Diagram section for more information.
Services: Once Services are enabled, click the “+ Add Services” button to add Services to the task.
Services must first be created from the Catalog > Services module and configured as part of the Mobile Workflow in Studio Z. For more information on creating and configuring Services, refer to the Services page. For more information on adjusting Services for a Task when creating a Work Order, see the Work Orders page.
After completing Step 1, continue to Step 2: Configuring the Check-in / Check-out Pages